Install Minecraft on your Steam Deck the EASY WAY.
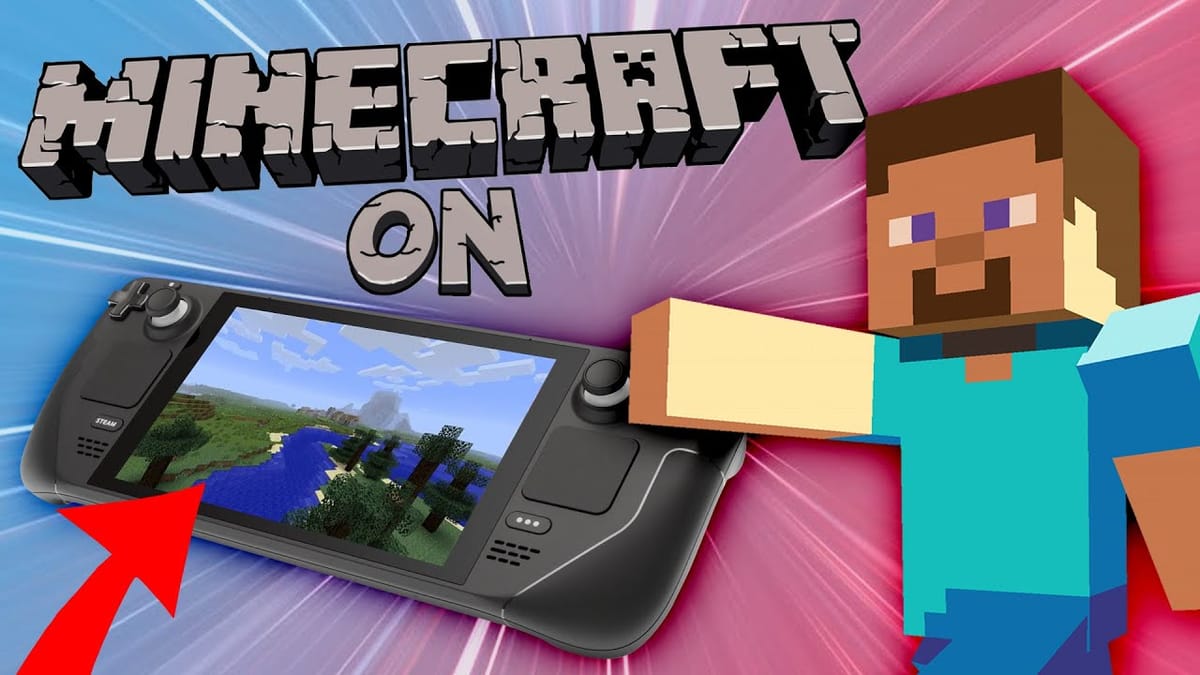
A few months back, I released a video on how to play Minecraft on your Steam Deck. It got a fair number of views, but there's a problem with that video. In it, I recommended a community-made Minecraft launcher called PolyMC.
I don't know if you've heard, but the PolyMC development team recently experienced a hostile takeover by one rogue developer. This developer kicked everyone else off the team and now controls the source code of the launcher. Worse, they've publicly shown disrespect for a large portion of their user base.
Because of this, PolyMC can no longer be trusted on your system. If you already have it installed—whether on your Steam Deck or computer—it's a good idea to remove it.
Thankfully, there are other great options available. In this article, I’ll show you how to run Minecraft using GDLauncher. There are also other launchers like ATLauncher and MultiMC, so if GDLauncher doesn’t suit your needs, you have alternatives.
1 – Switch to Desktop Mode
Start by switching your Steam Deck to Desktop Mode.
2 – Install GDLauncher
Open the Discover Store and search for GDLauncher.
Once it finishes installing, go ahead and launch it—either by clicking the launch button in Discover or by opening the Deck menu and typing in "Minecraft" or "GDLauncher."
3 – First-Time Setup
You'll be guided through GDLauncher's first-run setup:
Set up Java: Unless you have a reason to use a specific version, just click the Automatic Setup button. The app will handle downloading and configuring Java for you.
4 – Log in to Your Minecraft Account
Once Java is set up, log in using your Minecraft/Microsoft account.
5 – Complete the Introduction
Use the down arrow to move through the welcome introduction, then close the announcement screen when it appears.
Creating a Minecraft Instance
Now we have our launcher! Let’s create a new instance of Minecraft:
- Click the plus icon in the bottom-left corner.
- Choose your build of Minecraft and select a version number (for example, Vanilla 1.19.2).
- This will begin downloading and installing that version.
You can install multiple instances—super handy if you want to use mods that work with older versions of the game but not the current one.
Adjusting Settings for the Steam Deck
While it's downloading:
- Open the Settings Panel (gear icon at the top of the window).
- Set the game’s resolution to match the Steam Deck’s native resolution.
Note: If you’re using an external 16:9 display, set the resolution to 1080p or similar to avoid letterboxing.
Testing Minecraft on the Steam Deck
Now that everything’s set up, launch this version of Minecraft to confirm it works.
Add GDLauncher to Your Steam Library
Before switching back to Game Mode, add GDLauncher to your Steam Library:
- Open the Deck menu and search for “Minecraft” or “GDLauncher.”
- Right-click on GDLauncher and choose "Add to Steam."
That’s super annoying—which is why we’re using GDLauncher instead.
Switch Back to Game Mode
Now that everything’s ready, log out of Desktop Mode to return to Game Mode.
Launch and Configure Controls
- Hit the Steam button.
- Go to your Library → Non-Steam Games tab.
- Find GDLauncher and launch it.
Now you can generate a new world, but don’t forget to set up your controls!
- Hit the Steam button again and choose Controller Settings.
- I've created the Gardner Bryant Minecraft Controls and shared them with the community.
- It’s an intuitive layout designed specifically for the Steam Deck.
- Feel free to download, tweak, or comment on it.
Great! You're all set up! Enjoy playing Minecraft on your Deck!

