
Setting Up Bazzite as a Home Theater PC & Beyond
Installing Bazzite is a big deal. Whether it’s your first Linux experience or your next, it’s freeing.
But if you’re new to Linux, you may not know all the fun and exciting things you can do to get the most from your Bazzite install.
That’s where this article comes in. Today we’ll review installing Bazzite and how you can maximize your home theater (and gaming) experience!
Installation
To get started, you’ll need a flash drive with at least 16 GB of storage in order to set this up. Preferably, you’ll want it to be capable of USB 3.0 speeds. I'm using this 32GB SanDisk Cruzer.
Go to bazzite.gg and download the installation ISO. You can select the version that meets your hardware. For example, if you’re installing this on a Desktop PC, you can choose “Desktop” or if you’ve got a handheld, you can select yours instead.

Depending on your hardware, you may need to select which GPU you’ve got. Choose the appropriate one for your system.
I'm using this Minisforum AI X1 Pro so I'm going to select AMD. But you can use any desktop or laptop.
Then choose a desktop environment. KDE Plasma is the simplest choice.
Finally, you can decide if you want Steam Gaming Mode installed. If you’ve got an AMD graphics card or a Ryzen APU, then choosing “Yes” is safe. If you’ve got Intel or Nvidia graphics, though, it’s better to choose “no” for now.
From here on out, I'll assume you made the same selections I did for the sake of brevity. If you’ve got Nvidia hardware, you can choose to install Game Mode, but it might be pretty buggy.
Now, I’m using Fedora Image Writer to create the installation media, but if you’re on Windows you can use Rufus to do this instead. Select the ISO we just downloaded and then choose where you’re going to write it to. In my case, I’m using a SanDisk Cruzer.

Once that’s done, let’s eject it and pop the drive into the PC we’re going to install it to. Make sure you’re using a USB 3 port for a fast install.
If it’s not already off, fully shut down the destination PC. Now, turn it on and hit the button corresponding to a Boot Menu or the UEFI, then select the USB drive to boot from.
This could be the delete key, F2, F7, F8, F9, F10, F11, F12, or another key. When in doubt, you can look up your motherboard’s model number and find the boot menu or UEFI key.

Now we’re in the installation and we’ll select our language and keyboard layout.

From here, we need to decide which internal drive we’ll install Bazzite on.
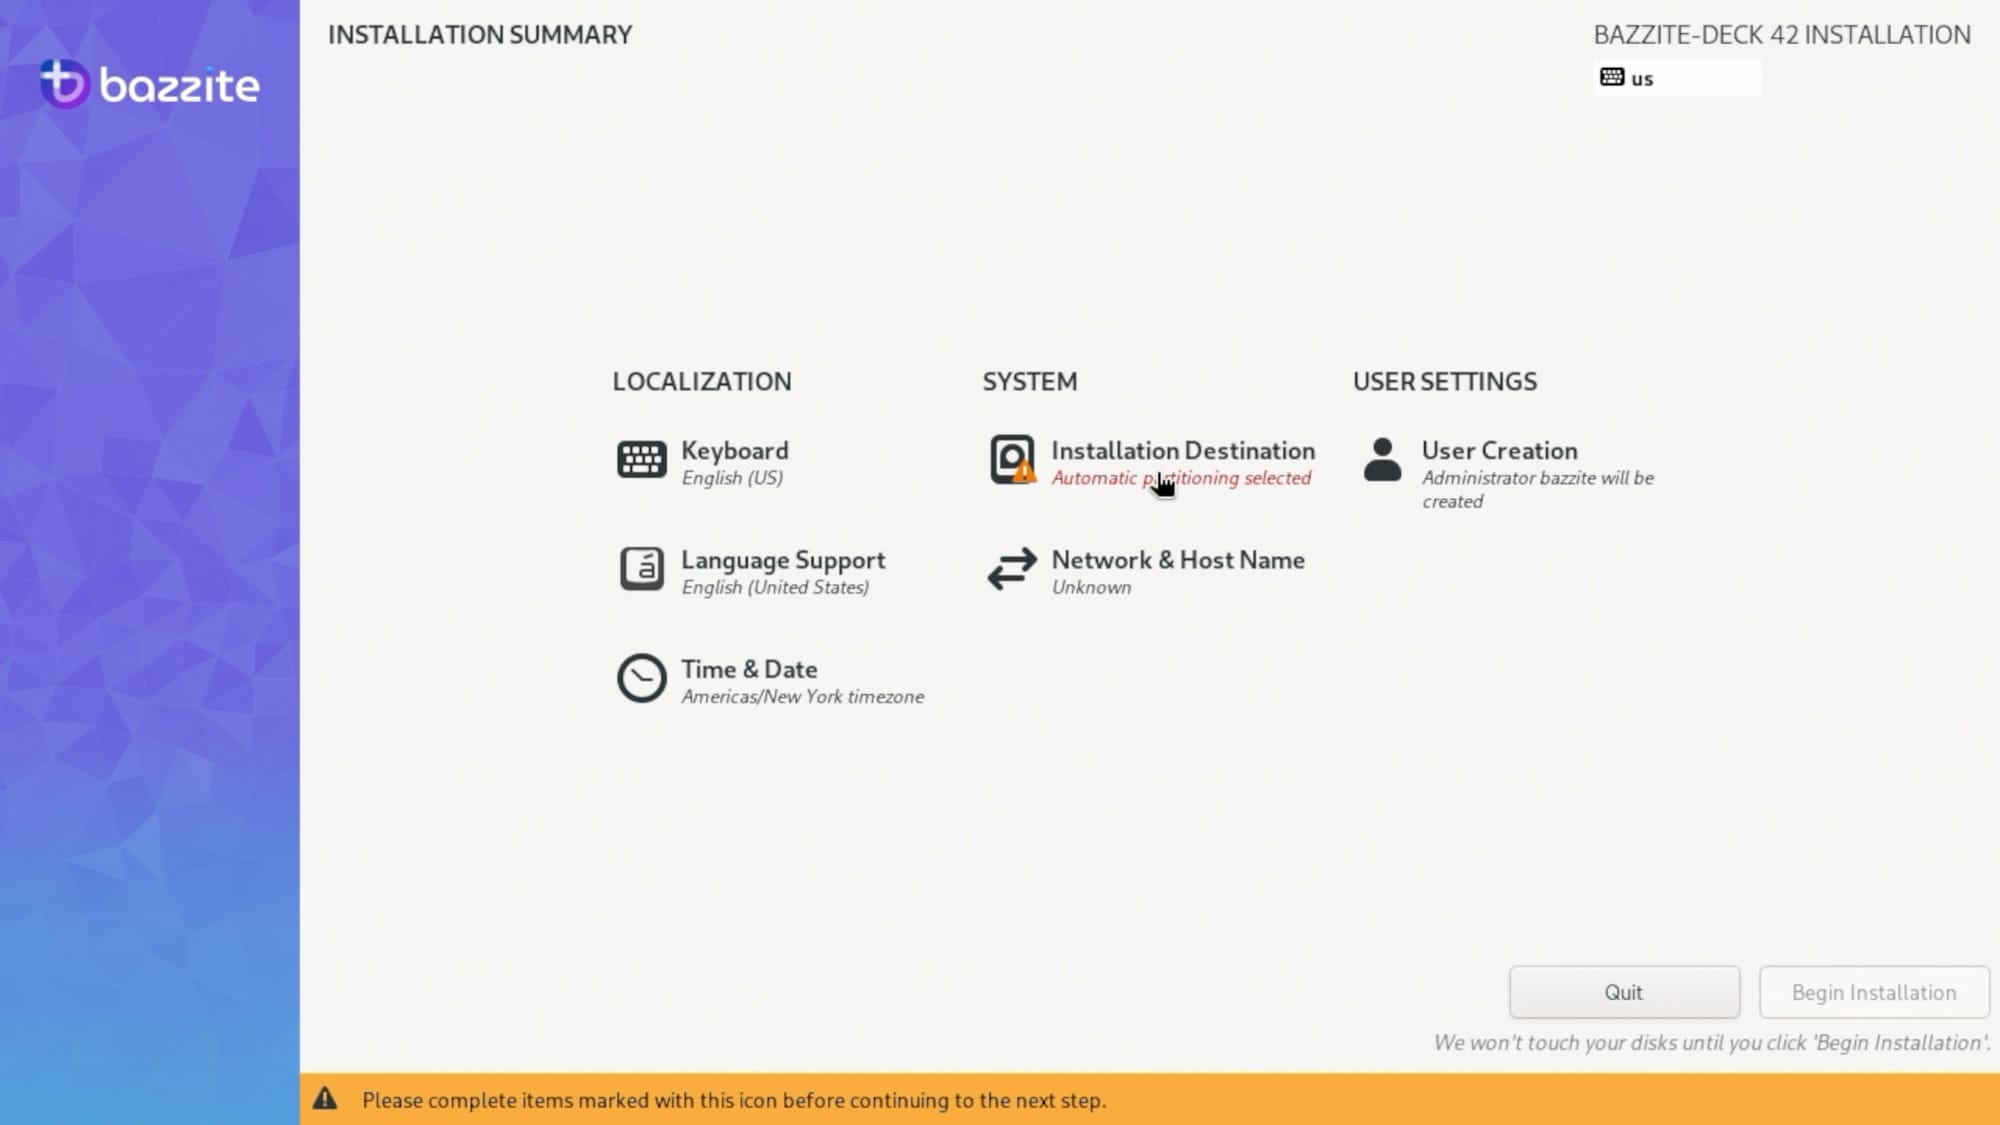
Click “Installation Destination” and then pick the drive you want to install Bazzite on.

Then, check the box labeled "Free up space by removing or shrinking existing partitions."
Now click “done” in the top right corner of the screen and you should see this screen:

This dialog explains what’s going to happen to the drive you selected. I clicked the "Delete all" button here and Bazzite cleared the partitions and reinstalled completely.
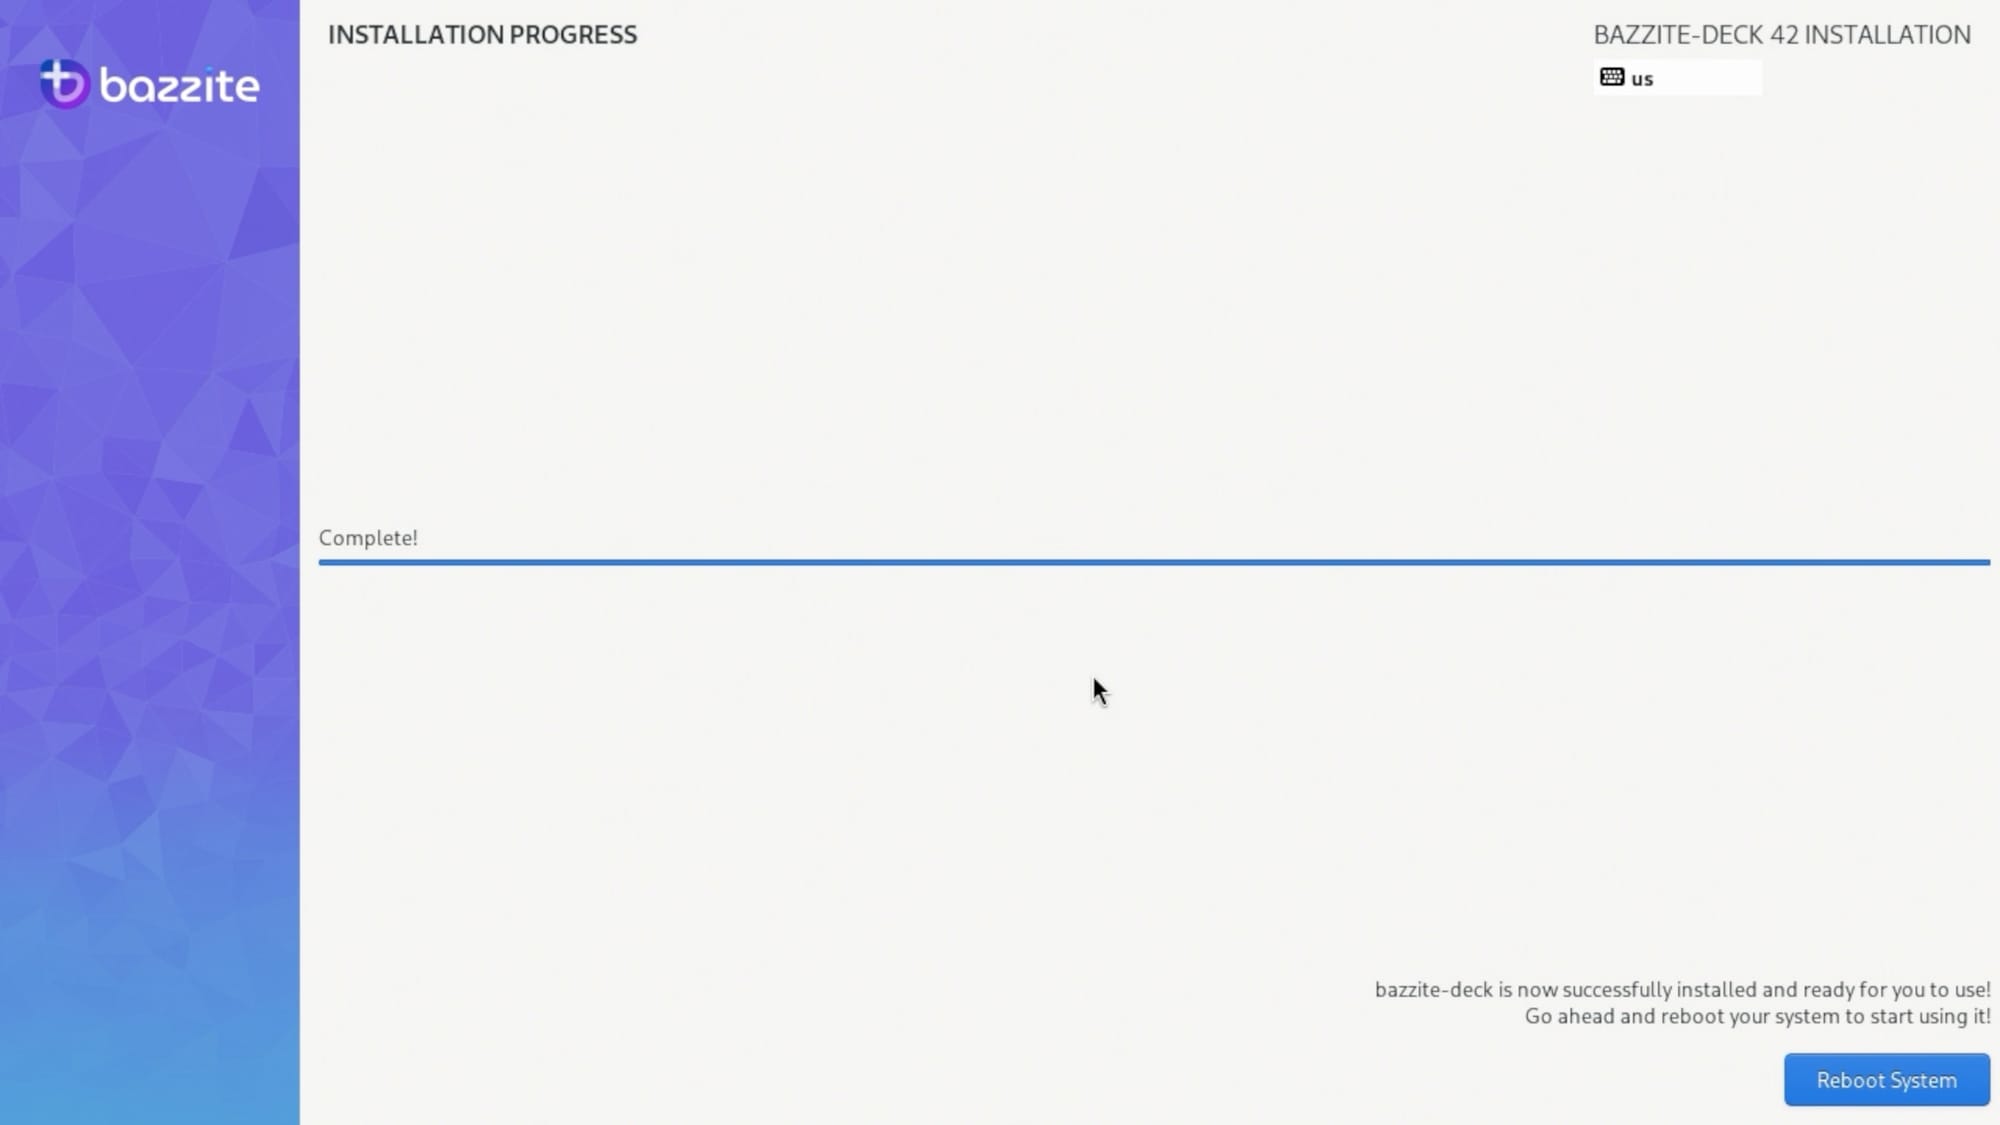
Once we finish the install, you’ll see the “Reboot Machine” button.
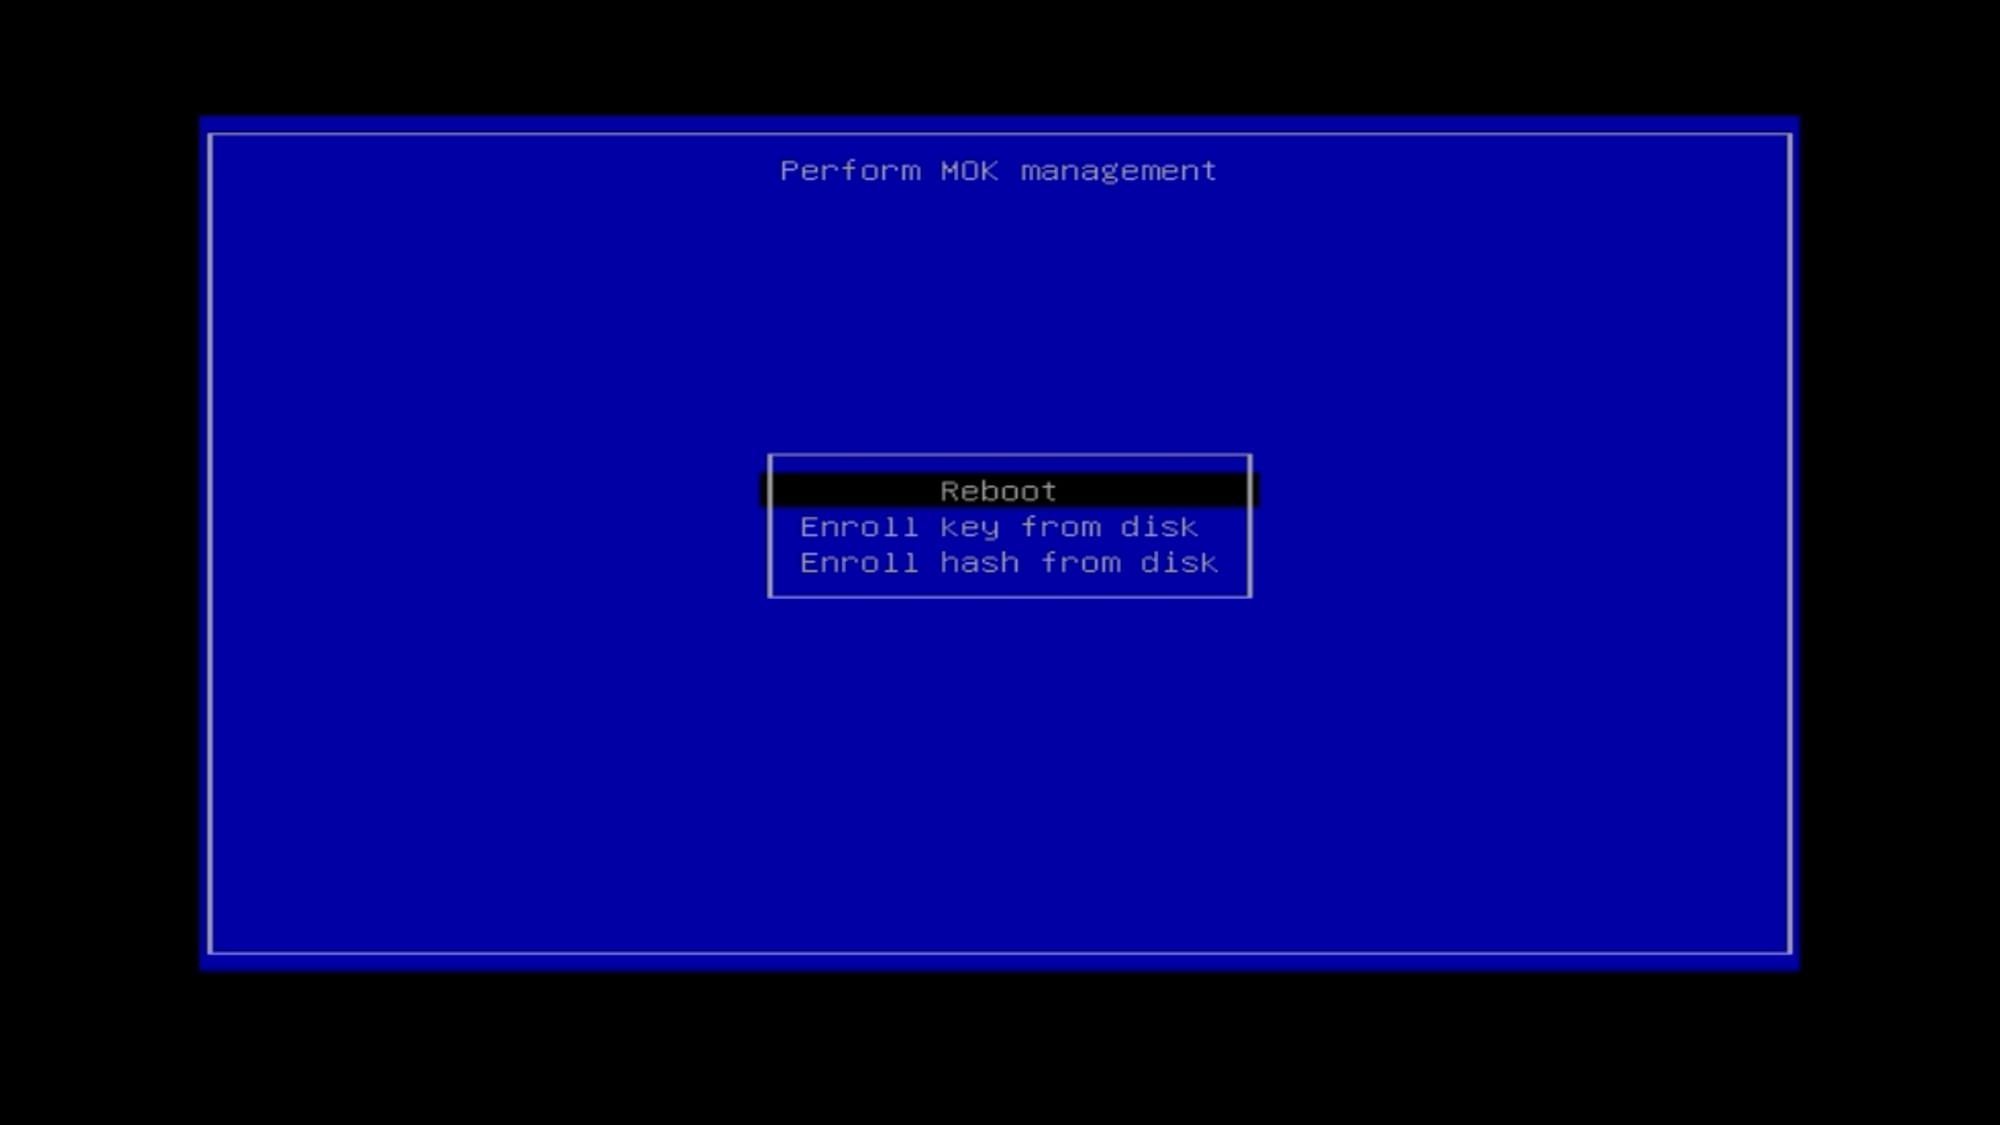
We’re almost done! The first time you boot the machine, you’ll see this screen. It might look scary, but don’t worry!

If your device has Secure Boot enabled (you can check in the UEFI/BIOS screen), then you’ll want to highlight the Enroll MOK option and then press Enter.
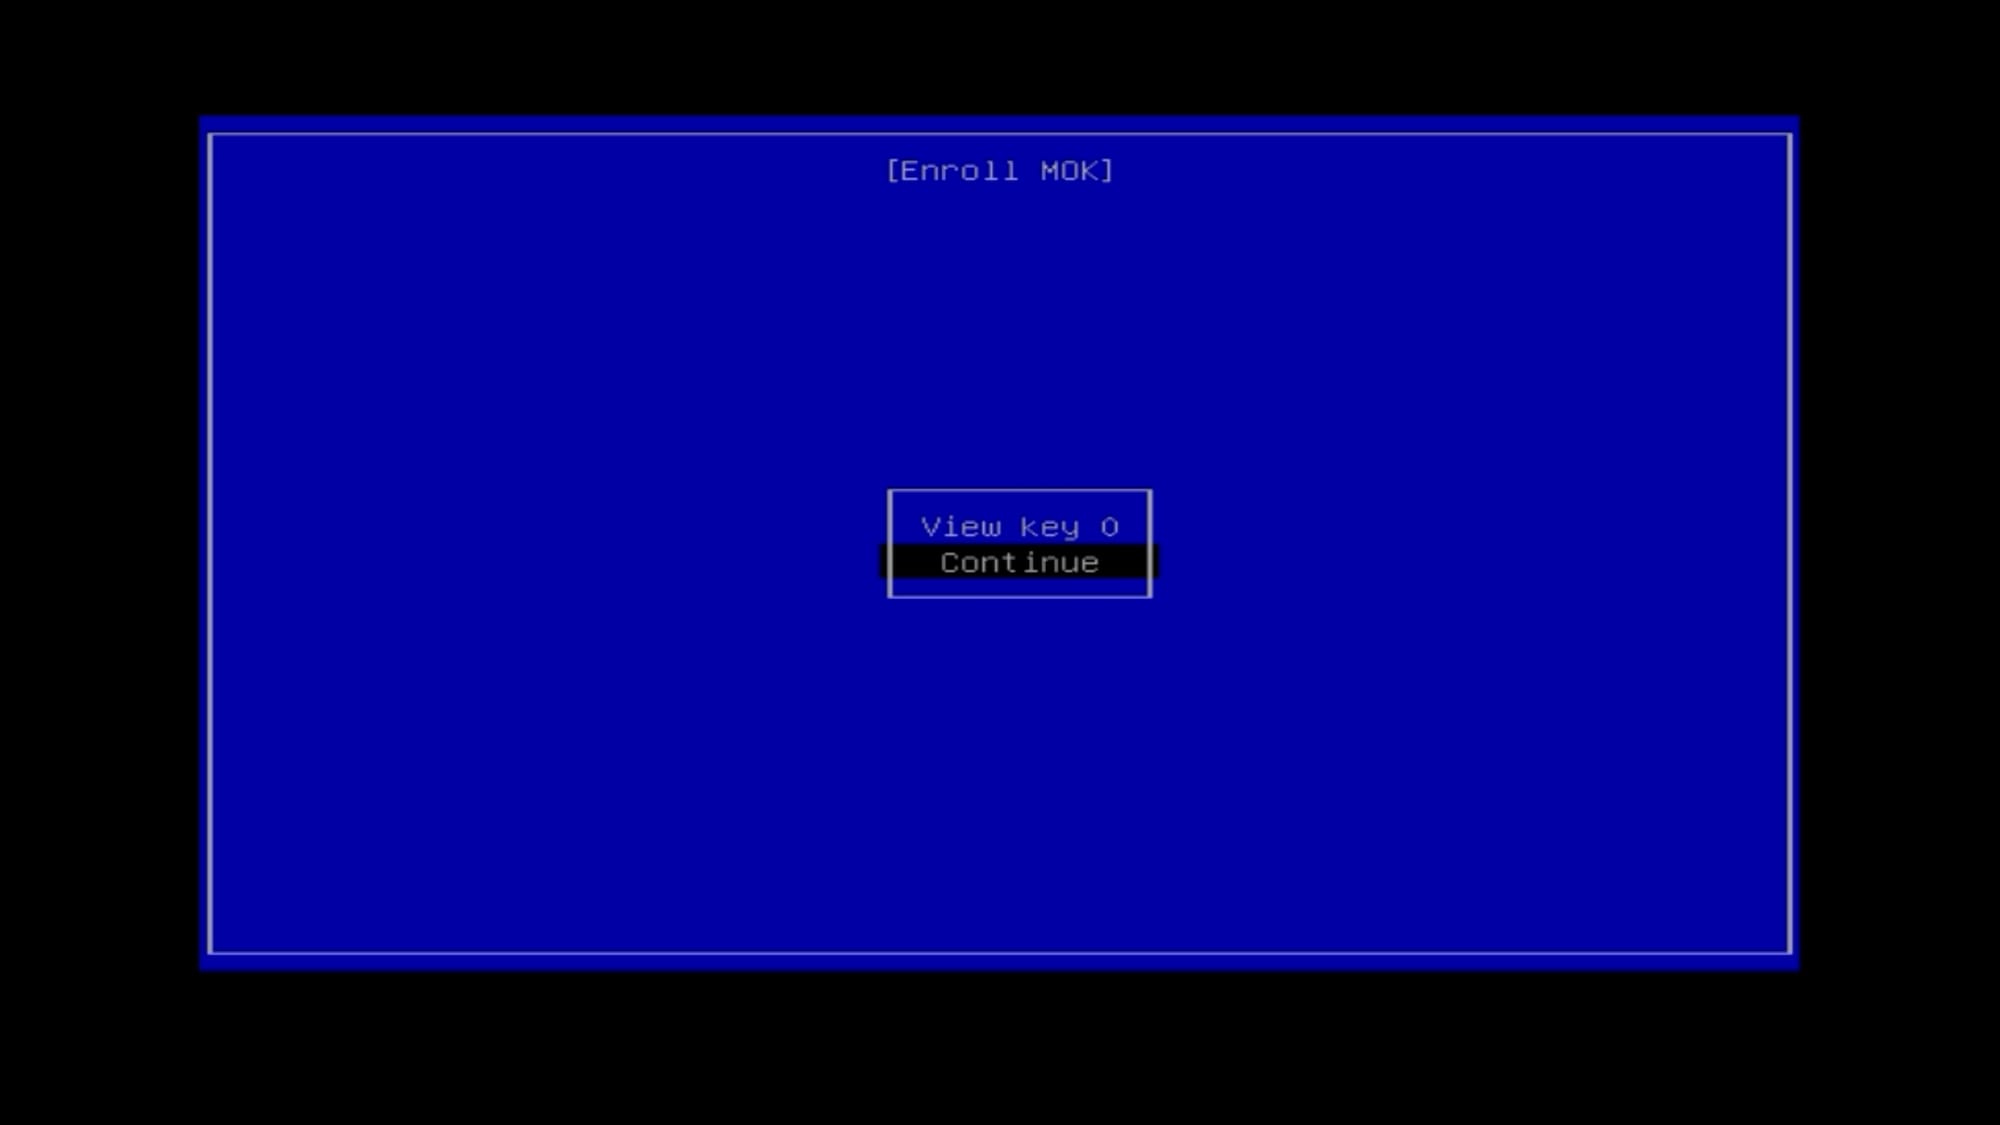
From here, select Continue and press enter.
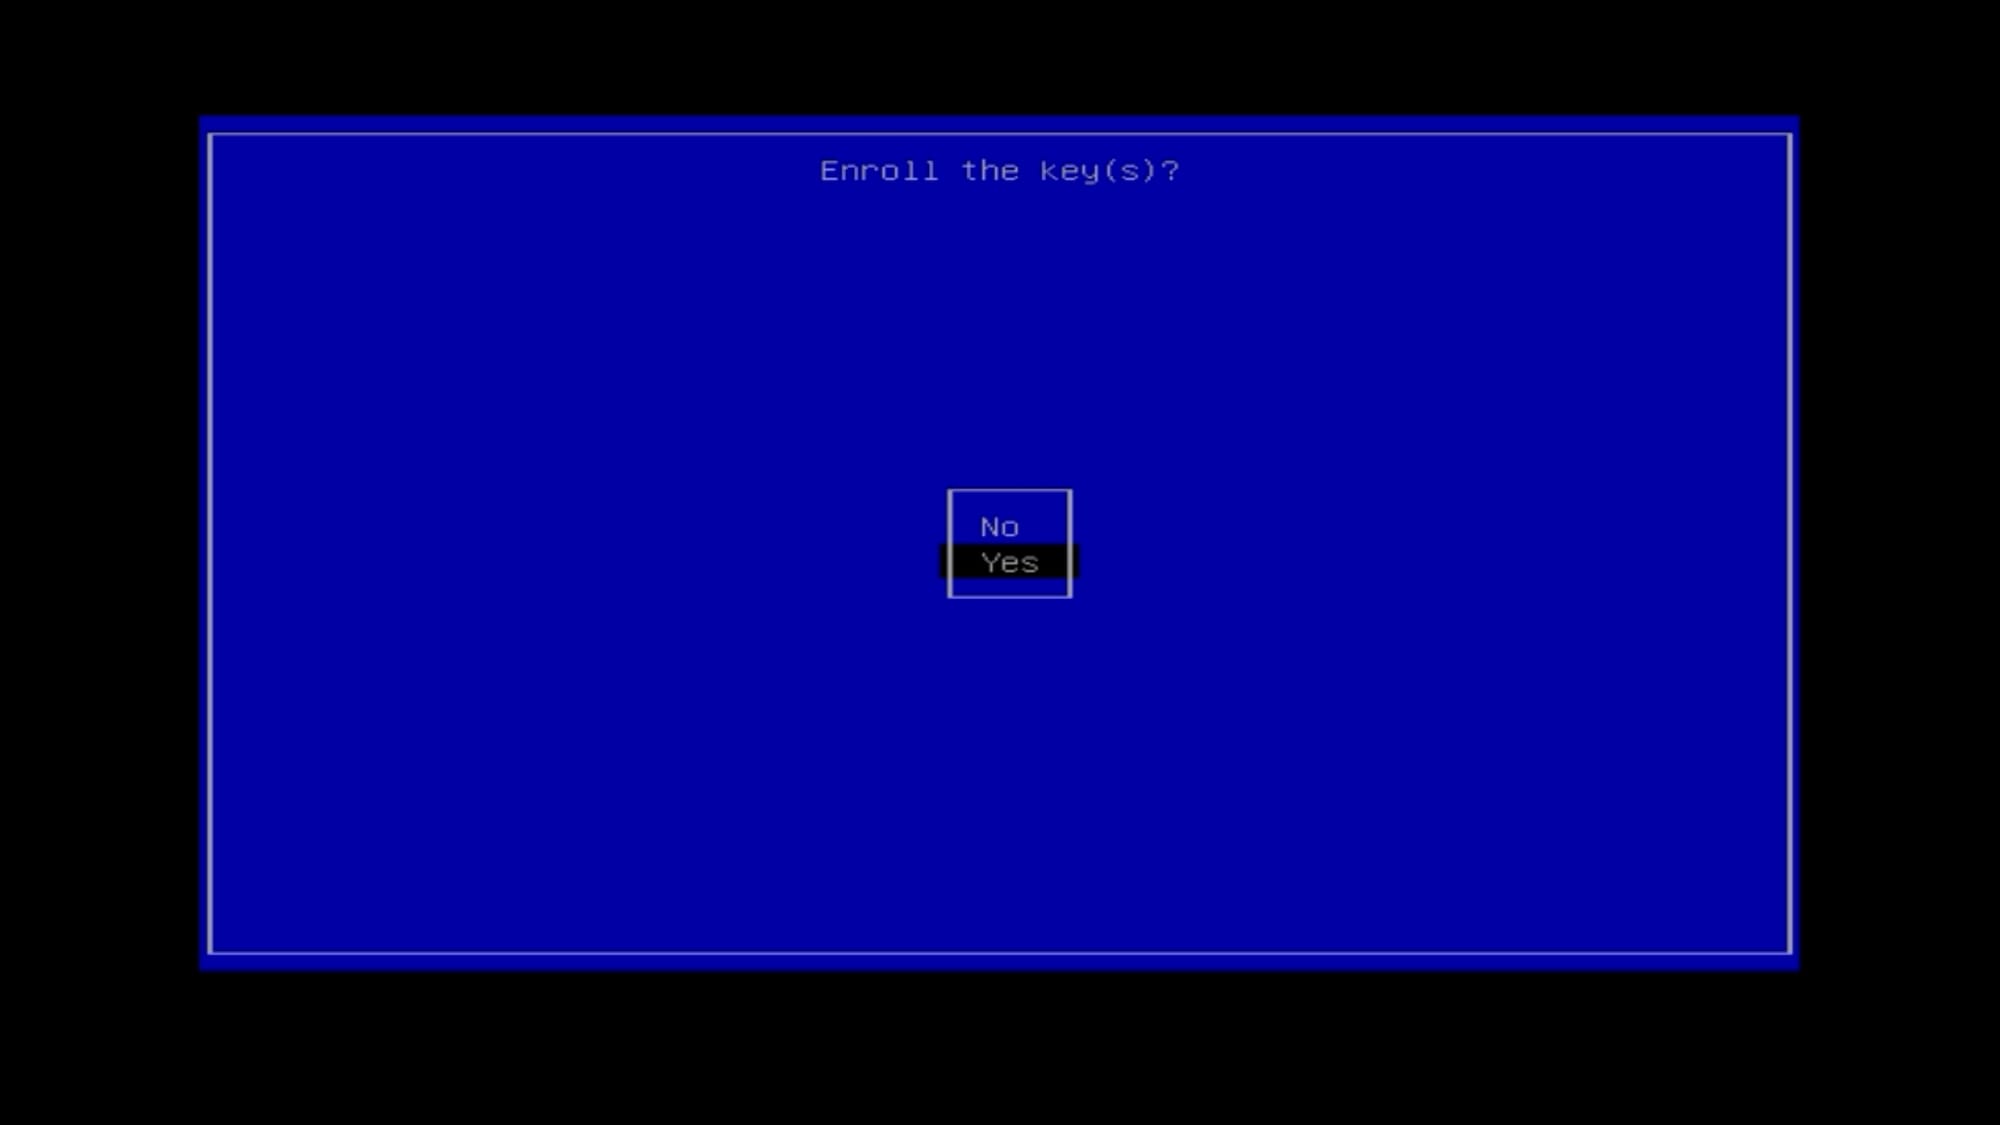
Then select Yes.
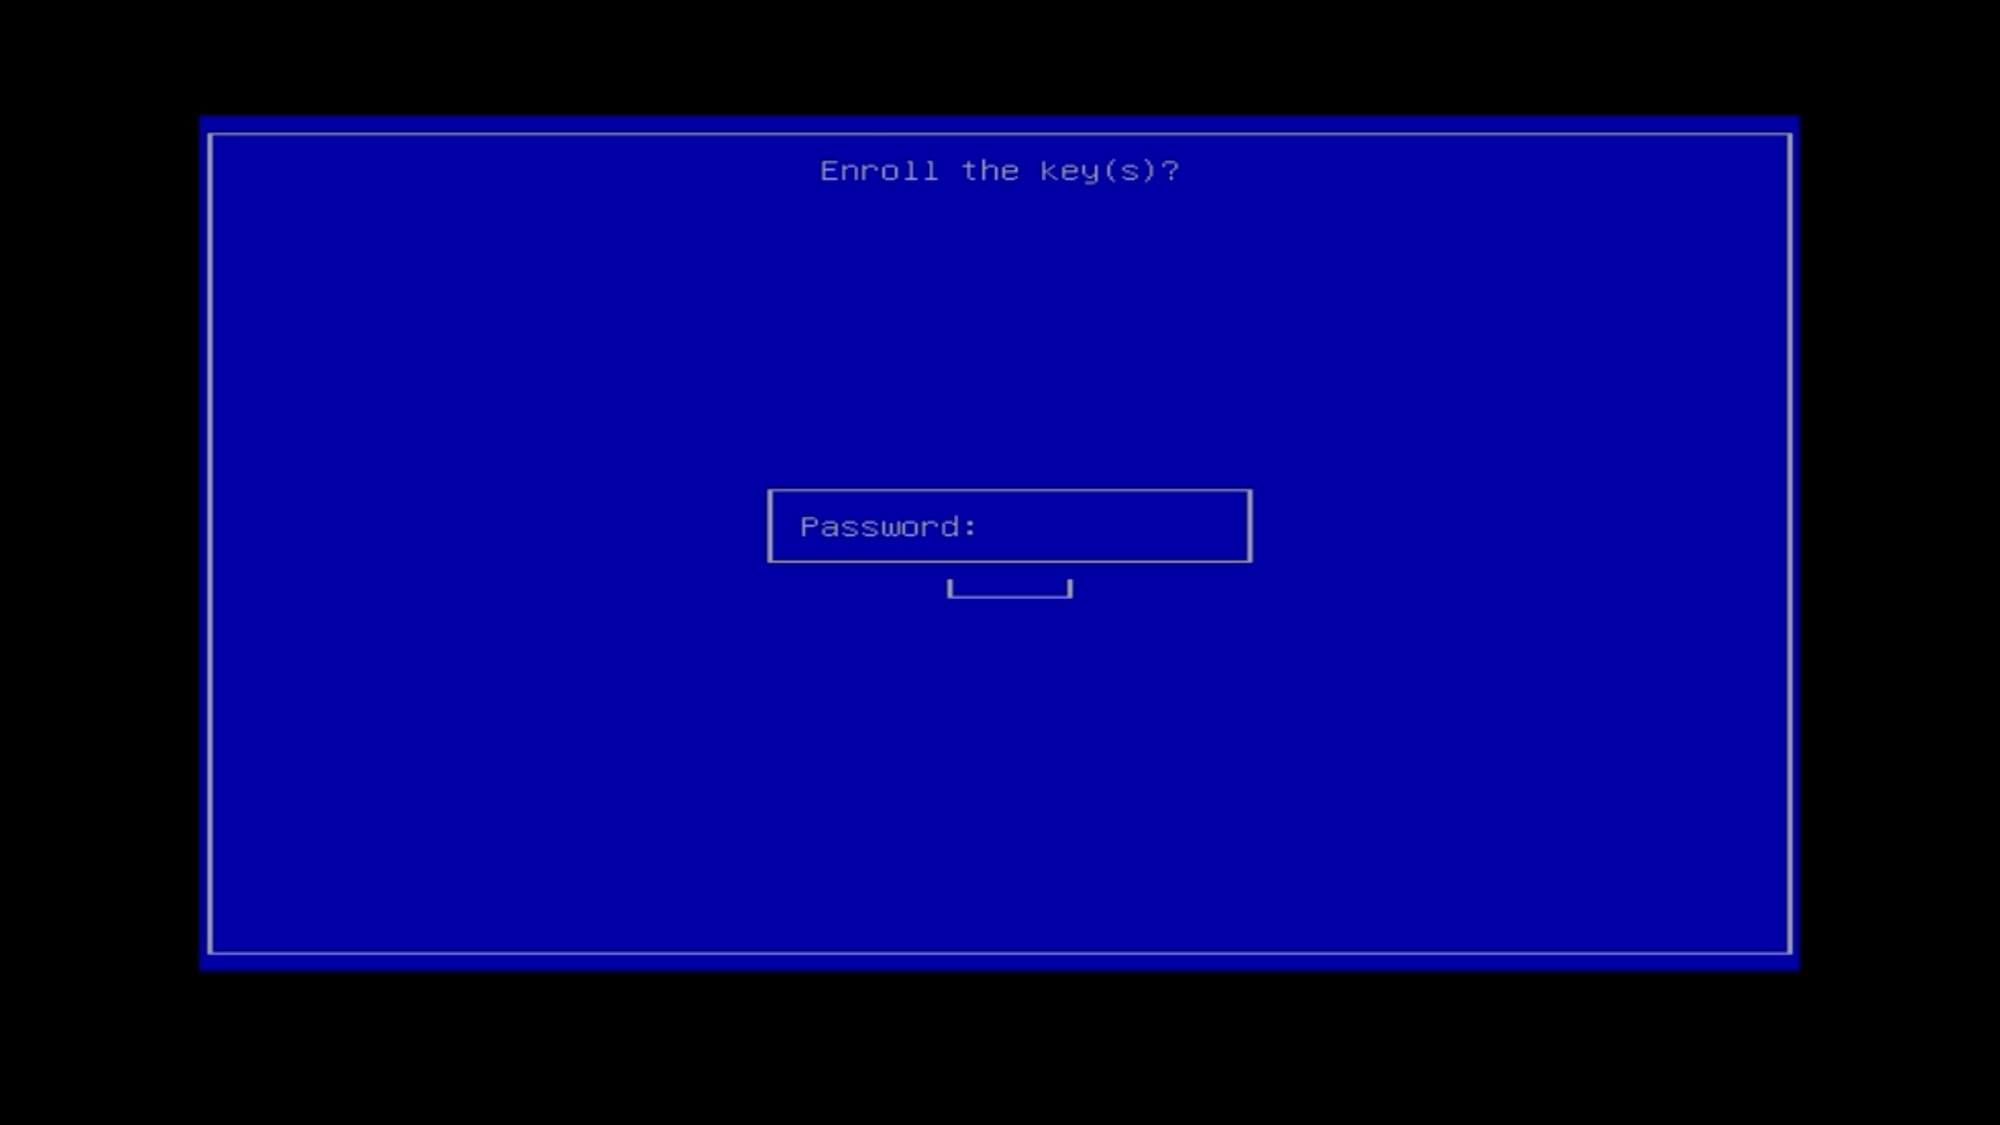
It will then prompt you for a password. The password is universalblue.
Now you can choose “Reboot” and you should see the Bazzite logo on the boot screen!

It will reboot a few times and then drop you into game mode or the desktop depending on your selection on the bazzite website.
Congrats! We’ve got a fresh Bazzite machine! So let’s get to the first things you should do with your device!
1 — Run a System Update
Even though we just installed Bazzite, there’s a good chance there’s are updates available.
Let's drop into desktop mode. Hit the Steam button in the bottom left corner, you can go to Start and then choose System Update.

This will not only install updates to Bazzite, but it’s capable of updating firmware for devices, applications, and other stuff too. It’s super neat and makes for a great experience.

2 — Media Applications
If you want to use Bazzite for a Home Theater PC scenario, then you’re in luck. Not only does Bazzite give you access to Game Mode, but you also have access to a bunch of media apps like YouTube, Spotify, Netflix, and more.
I’ve personally installed YouTube and Jellyfin. To see what apps are available and to install them, just go to desktop mode, open the Start menu and search for Bazzite Portal Setup.

Launch that and you’ll be taken to your browser...
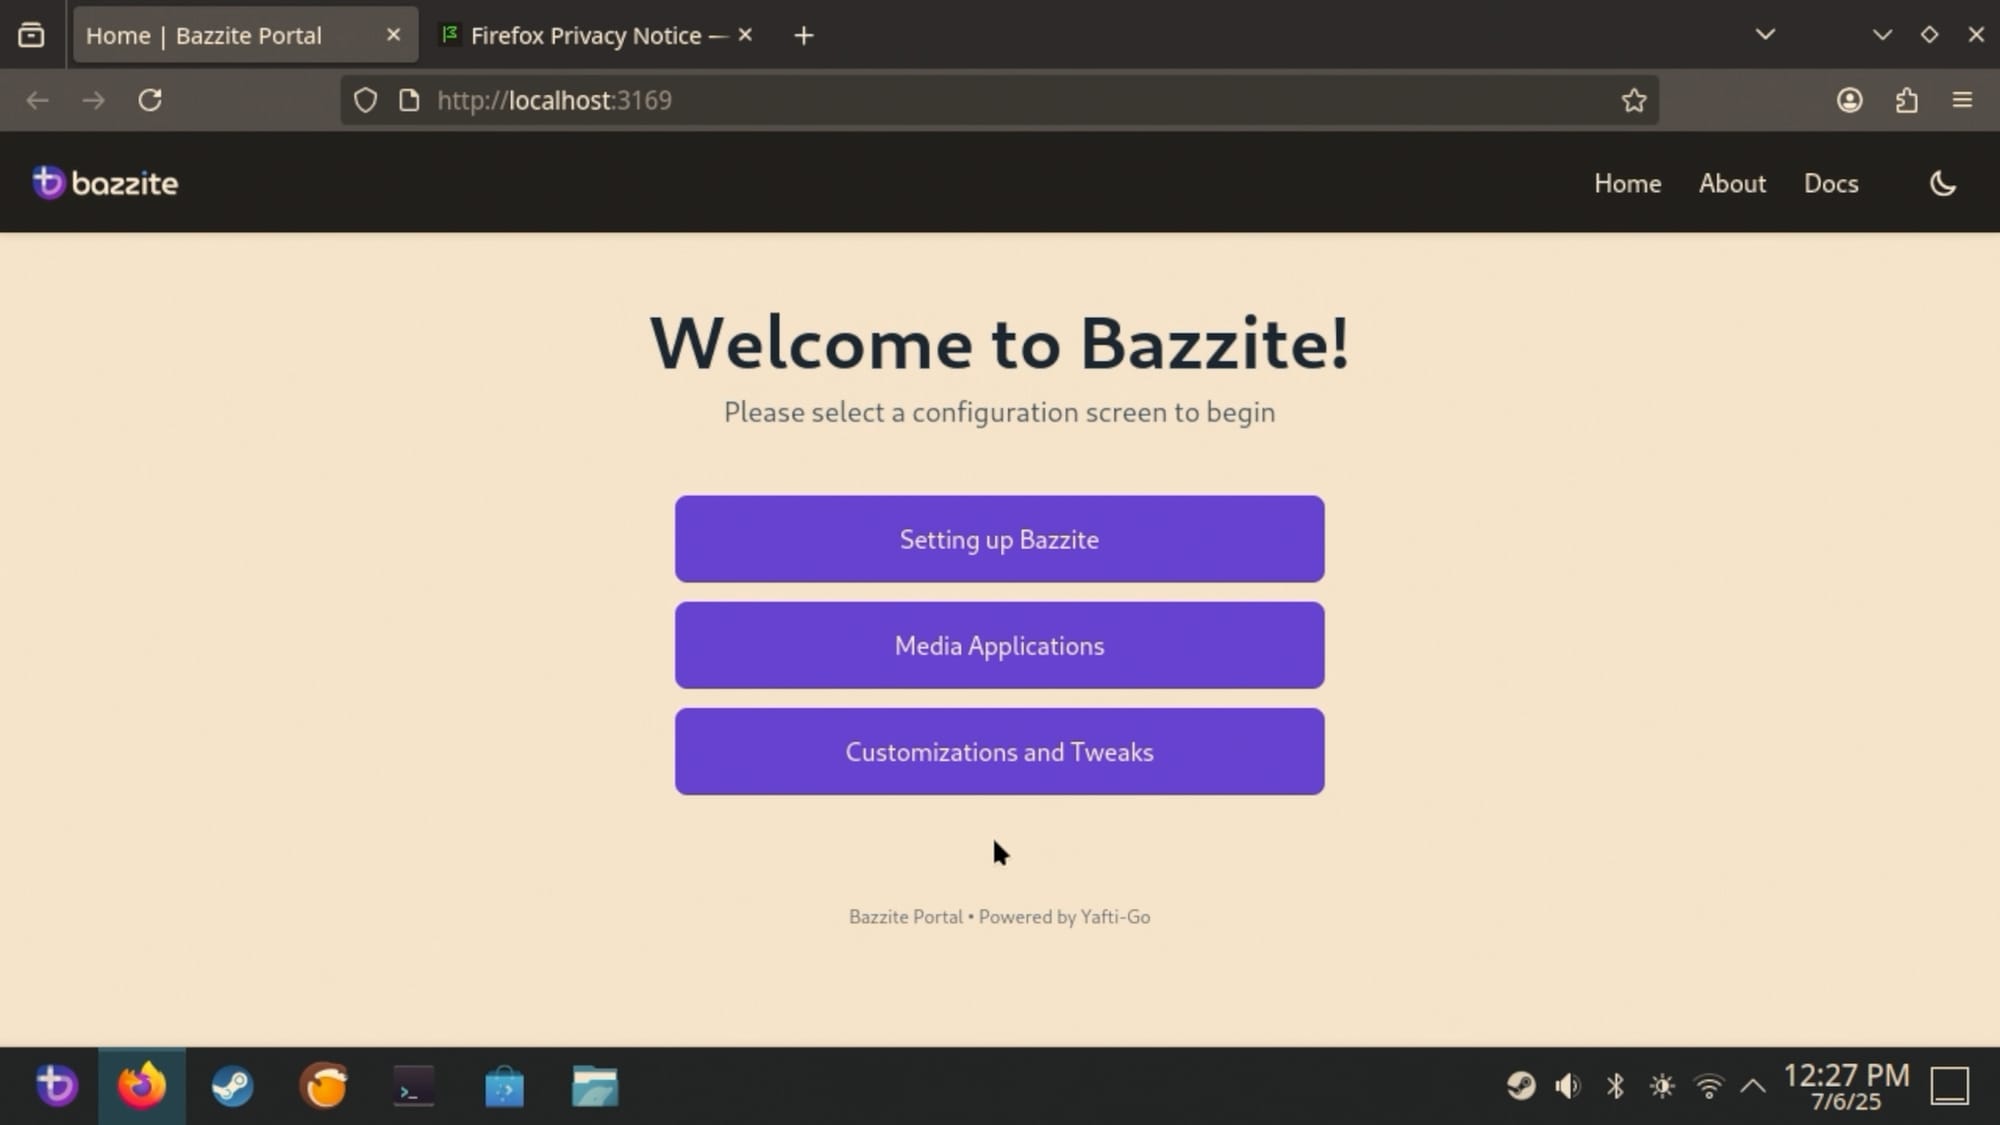
...select Media Apps, and then check the boxes you want.

You can then scroll down to the bottom and select Continue.
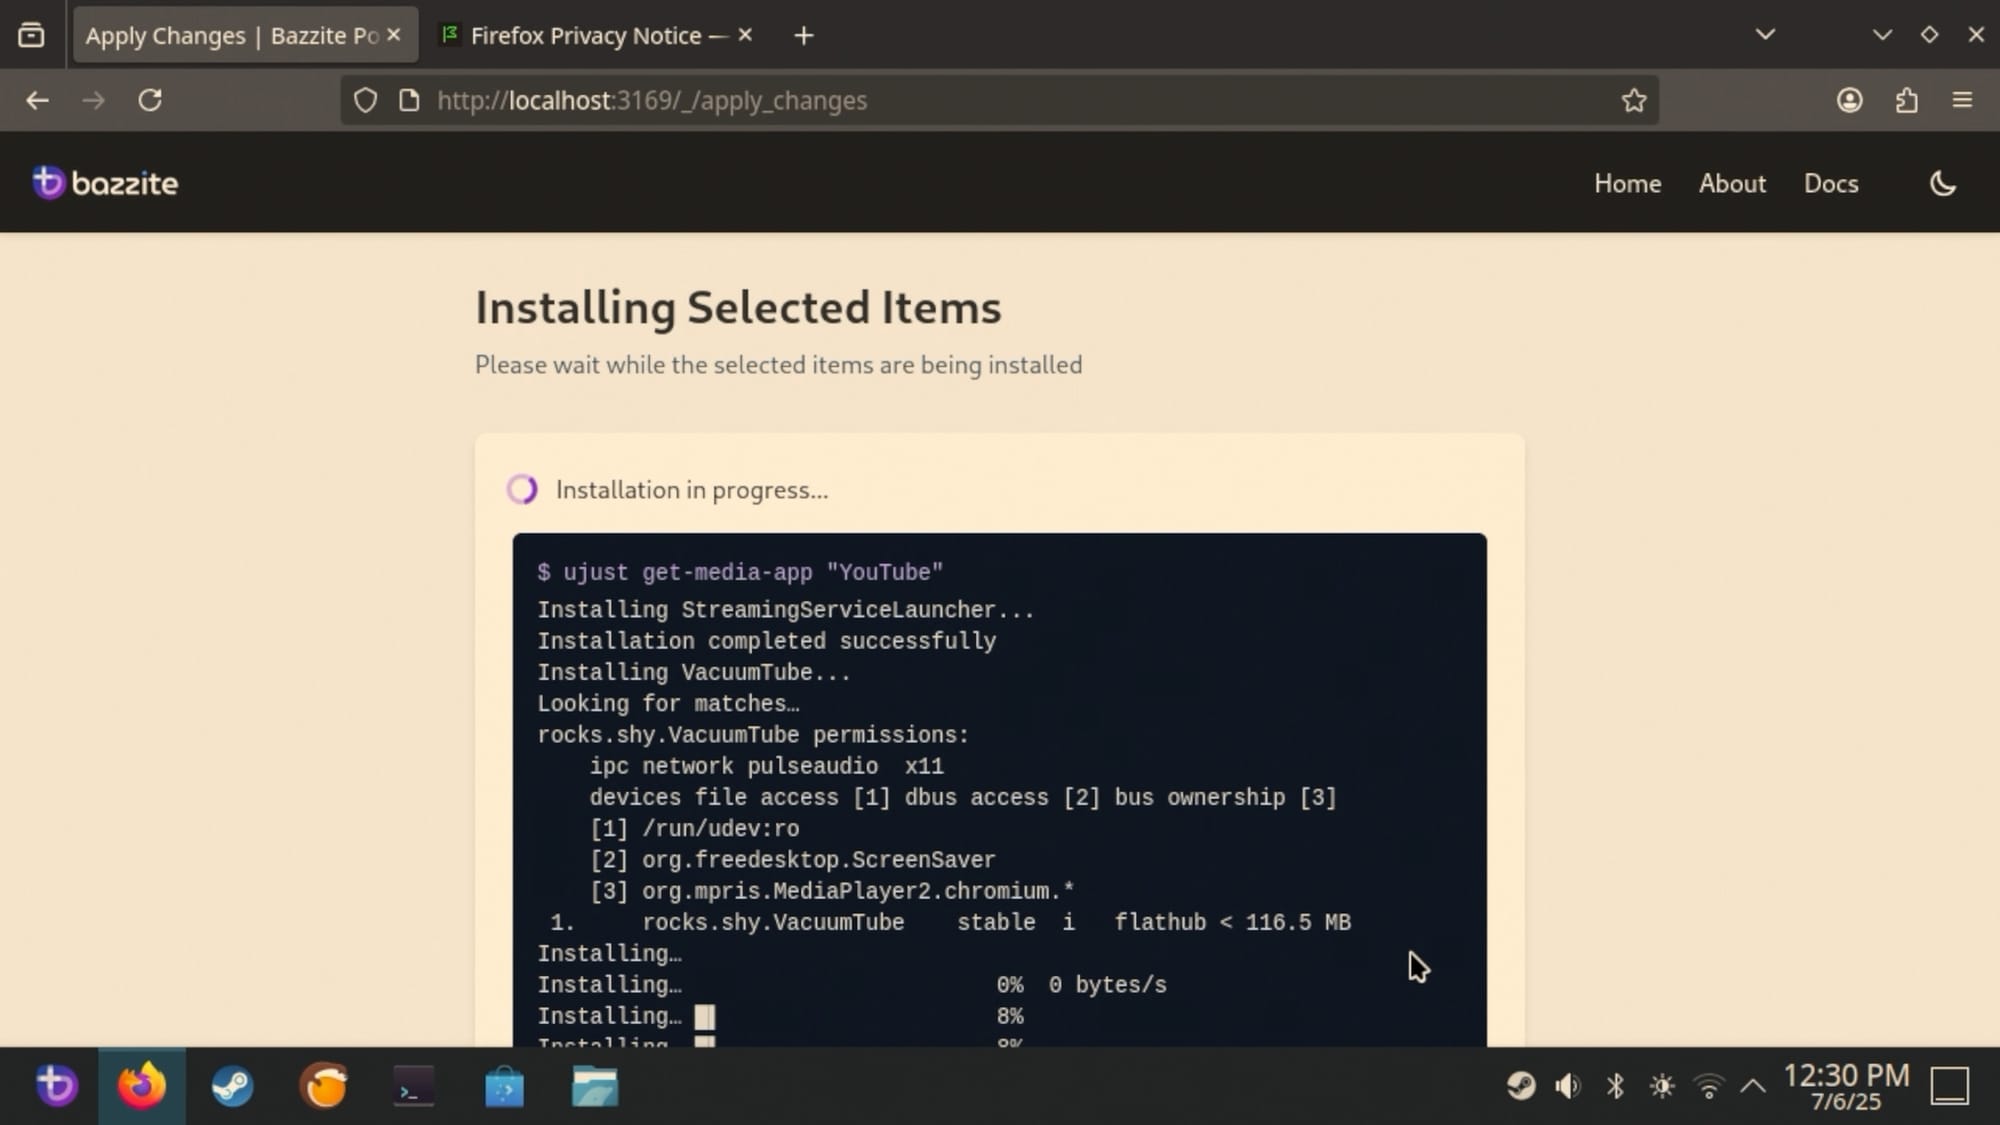
I did notice that some apps took longer to install and the page became unresponsive at one point. Just make sure the apps are added to your Steam library and you can log out to head back to Gaming Mode.
While Jellyfin doesn’t quite work with a standard game pad, the YouTube app does!

And speaking of gamepads…
3 — Connect a Controller
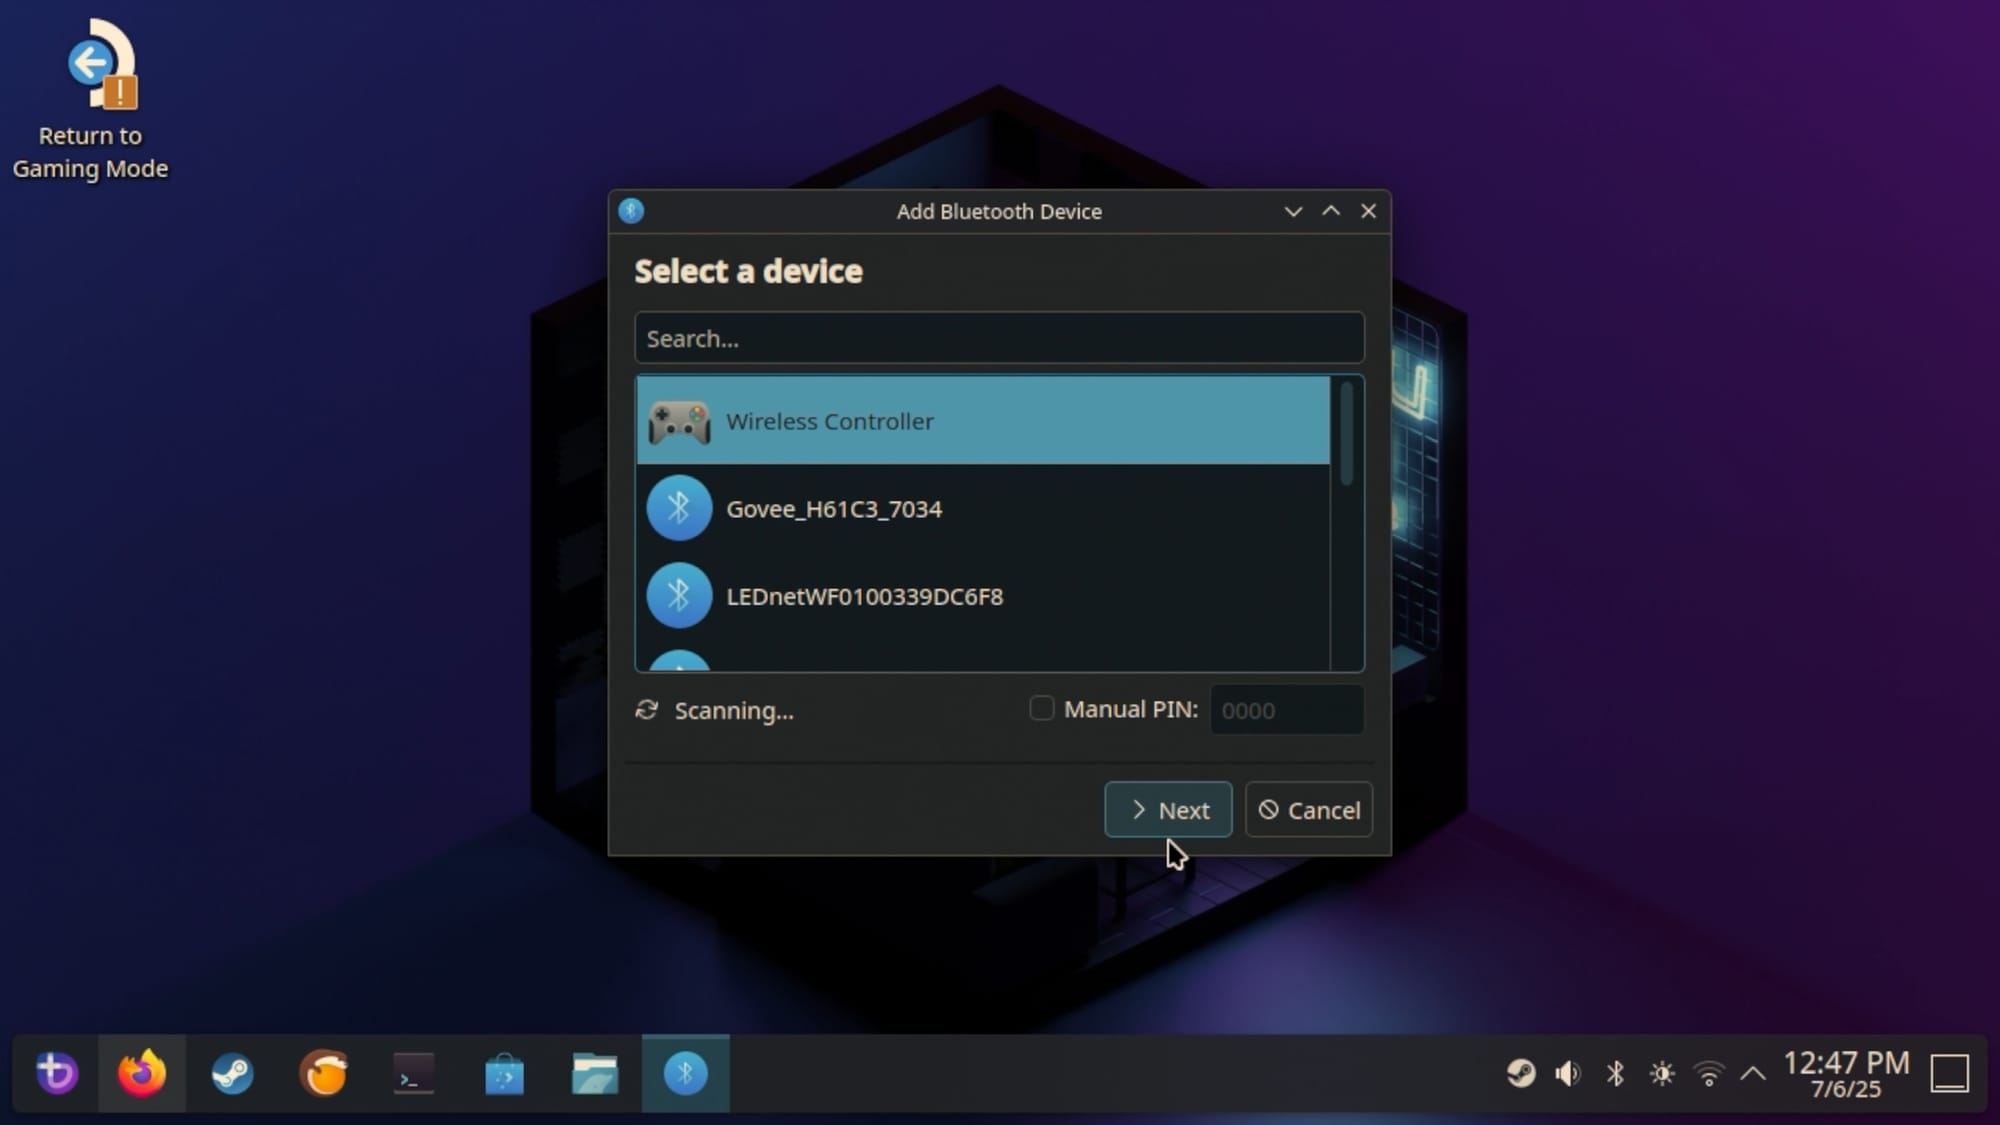
If you’re on a non-handheld, you’ll probably want a controller. Connecting a controller is easy. If you’ve got a Bluetooth controller, you can just go to Game Mode’s Settings, select Bluetooth and put your controller in pairing mode. Then, just select the controller in the menu.
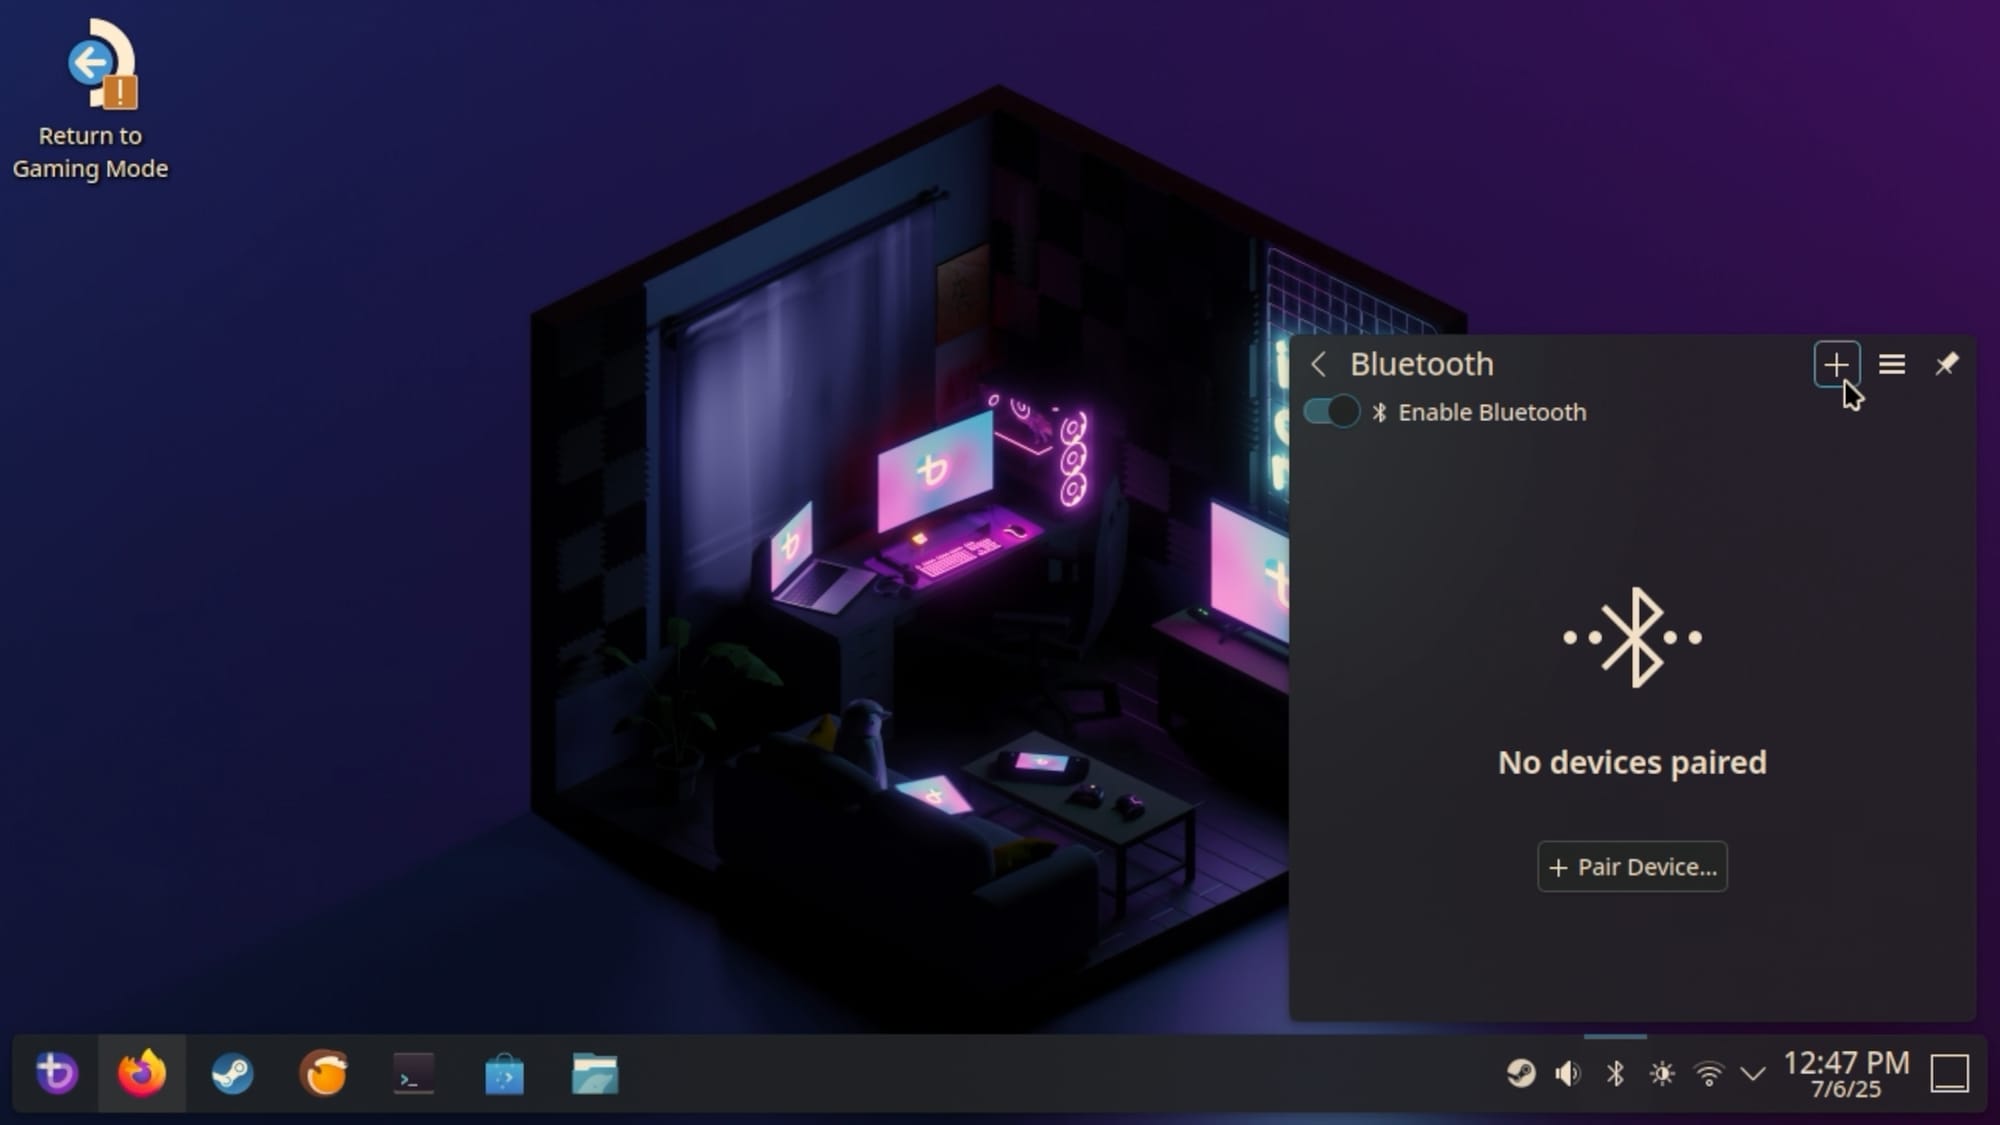
If you’re on the desktop, you can click the Bluetooth menu in the bottom right corner and click the + button.
Alternatively, if you’ve got a controller with a USB dongle, just go ahead and plug it in and it should be recognized.
If you want controller recommendations, I’ve written an article all about that!
4 — Game Streaming
You might have noticed there are cloud streaming apps. GeFORCE Now, Xbox Cloud Gaming and even Amazon Luna are available in the Media Apps section, too. You can install them the same way we installed the other media applications.
But we’ve also got Steam here. So we can stream games from another PC as well! Which is pretty neat.
But Bazzite has yet another trick up it’s sleeve. You can head back to the Bazzite Portal and select the Setting up Bazzite button. Here, you’ll find an option called Sunshine.
Sunshine gives you full streaming capabilities to any device—not just ones supported by Steam Link. You can even stream over the internet.
I won’t go too deep into Sunshine or how to get it set up, but it’s an option!
5 — Deckyloader
If you like to tweak things and customize, then Deckyloader is for you. It provides a plugin framework and a store that gives you deeper control over your game mode experience!
From desktop mode we’ll again use the Bazzite Portal Setup. This time we’ll go the Setting up Bazzite section and choose Decky Loader.
Then, when you get back in Game Mode, you’ll see this icon in the Quick Access Menu.
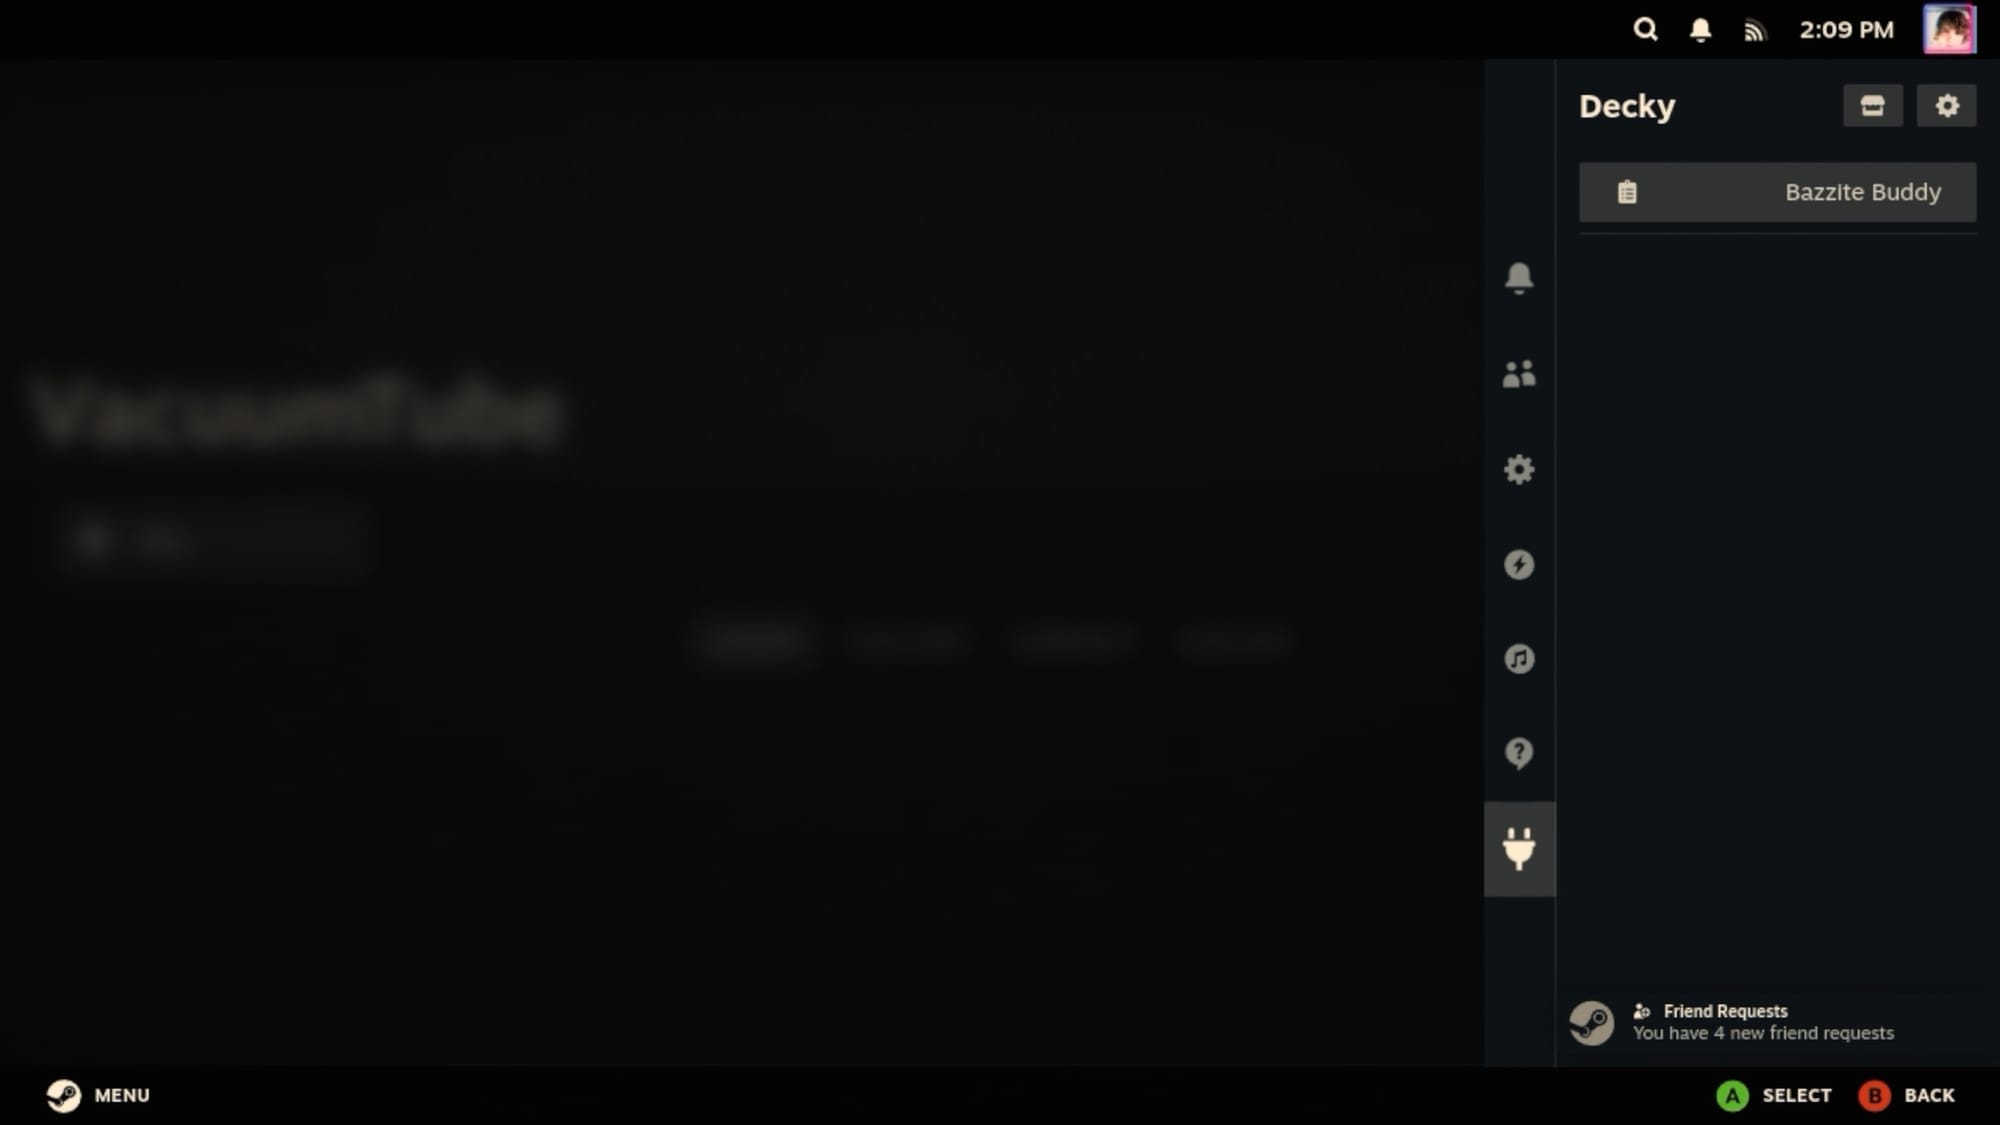
From here, you can select the Store icon in the top right and install plugins.
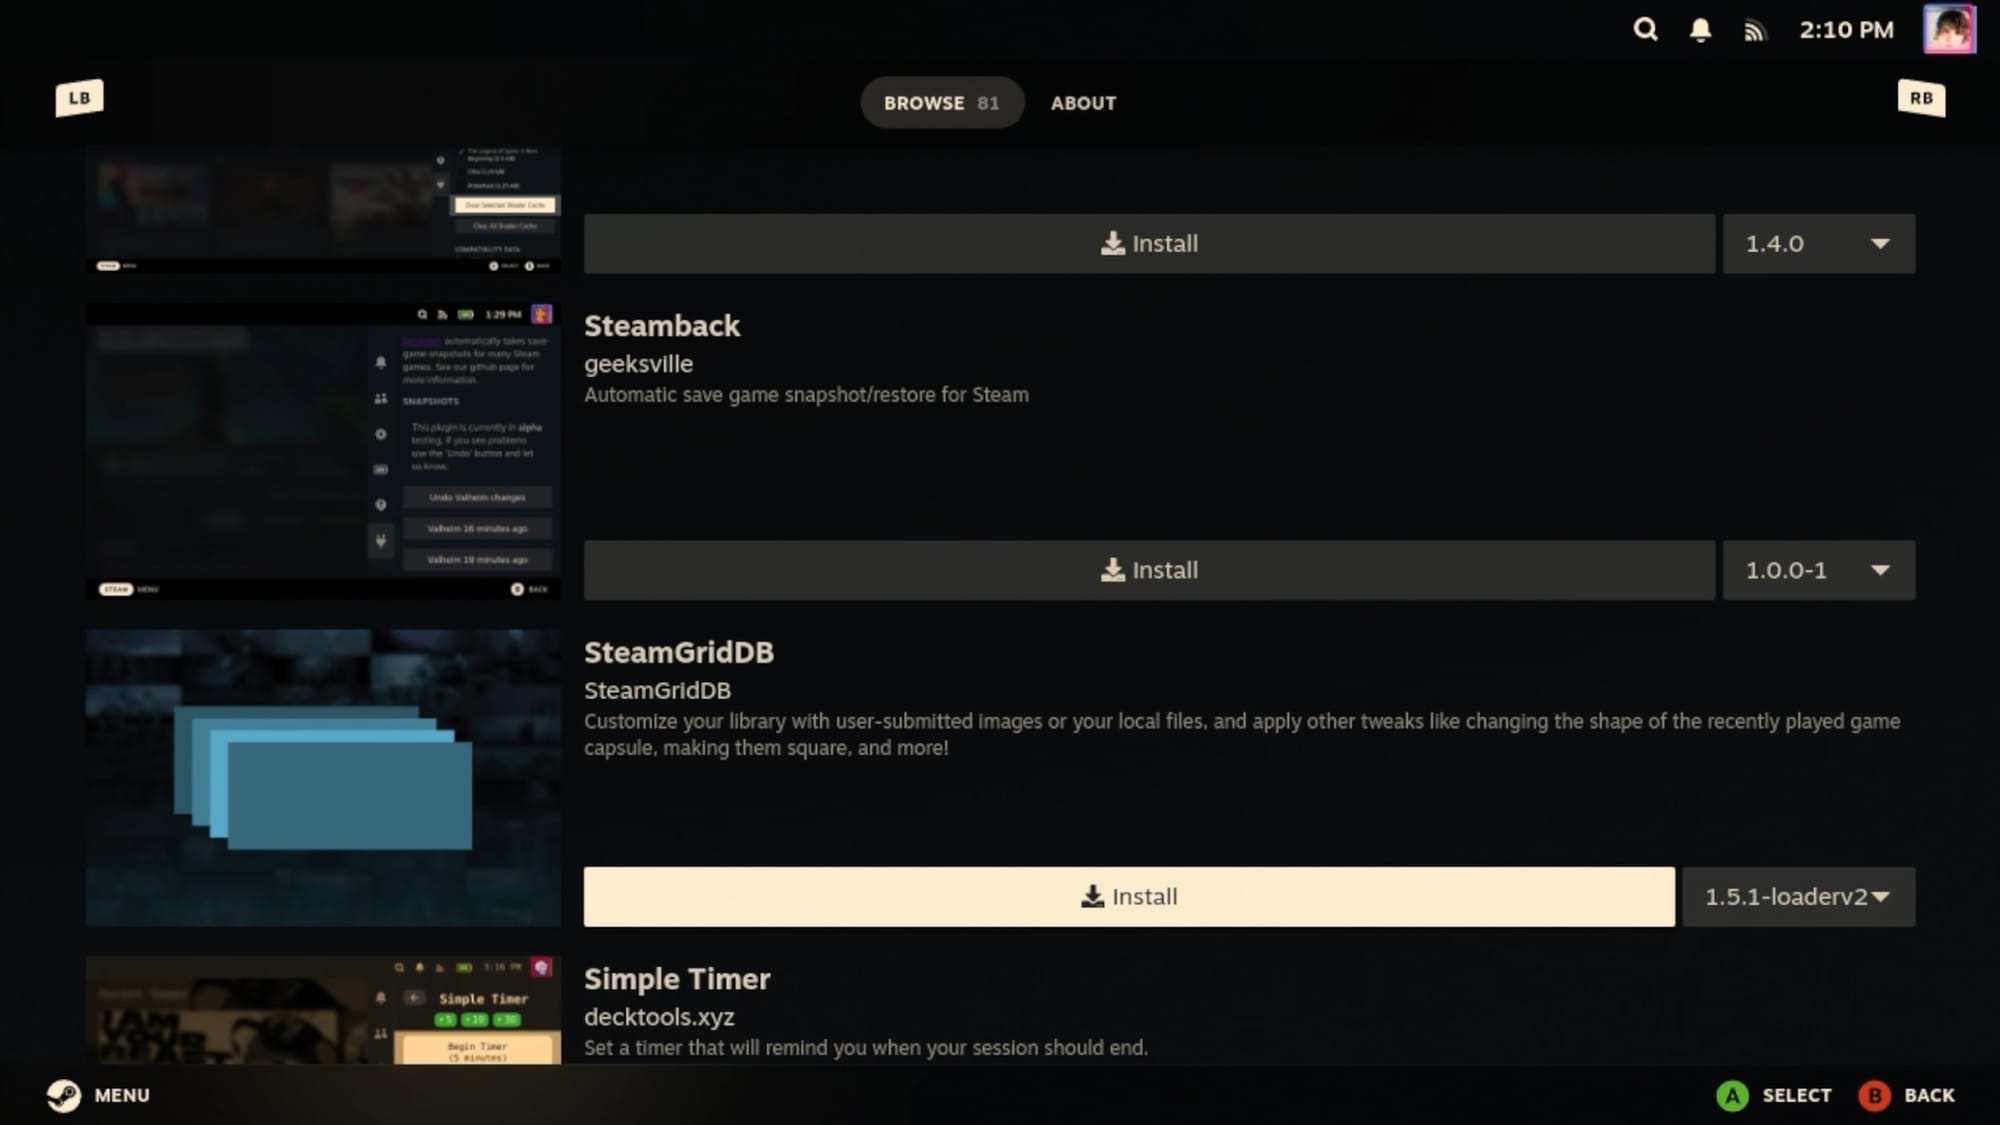
I really like the SteamGridDB plugin which lets you customize the cover art for your games. And not just the non-Steam games, but also your official library.
6 — Heroic Games Launcher
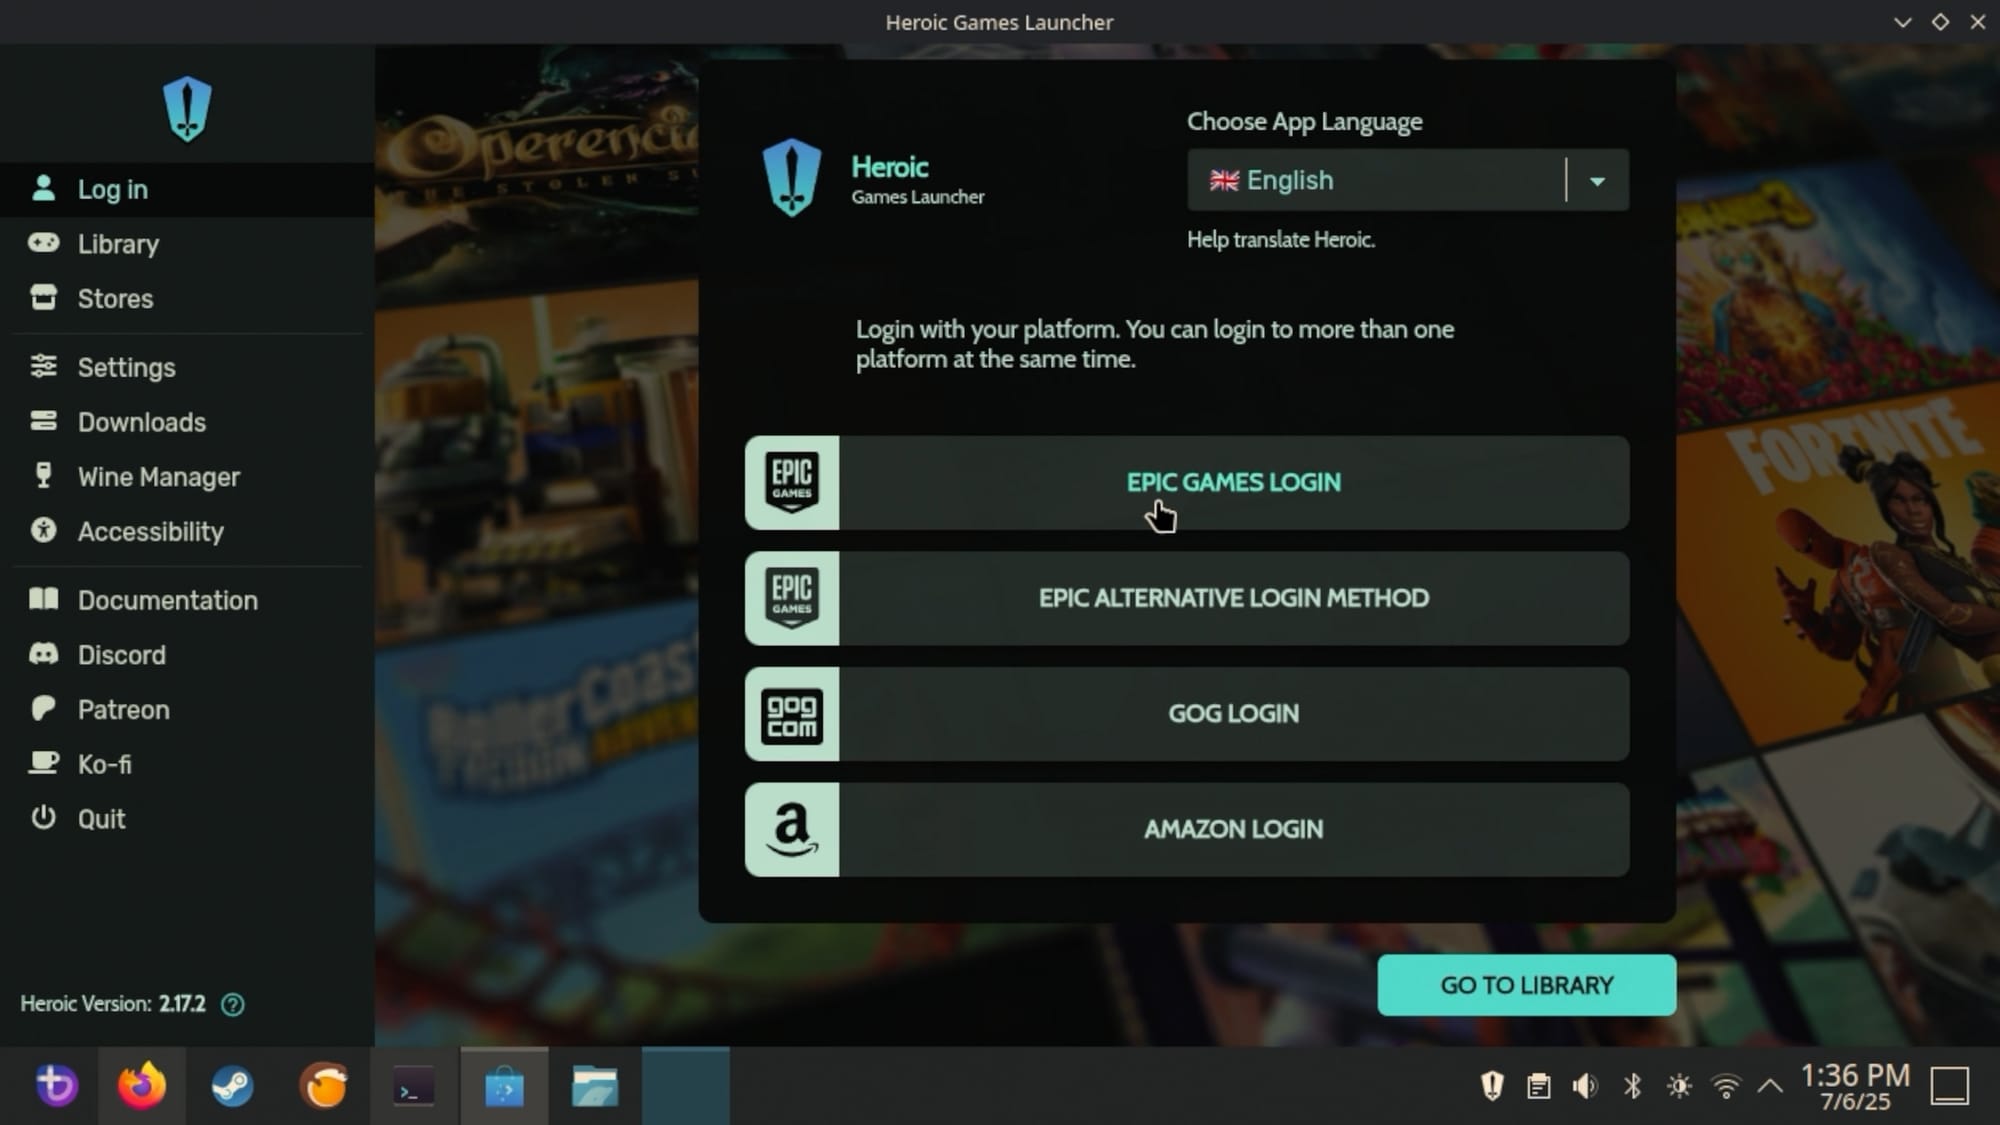
Heroic Games Launcher is sick. I’ve written a few articles about it before. But to give you a brief overview, Heroic Games Launcher is a terrific all-in-one launcher utility for your GOG, Epic Games, and Amazon libraries.
To install it, in desktop mode you can open the Bazaar store and then just search for Heroic Games Launcher.
Install it and then launch it. You can then log in to your supported accounts and start installing games!
Here we can see I’ve logged in to my GOG account and I have over 100 games I can install.
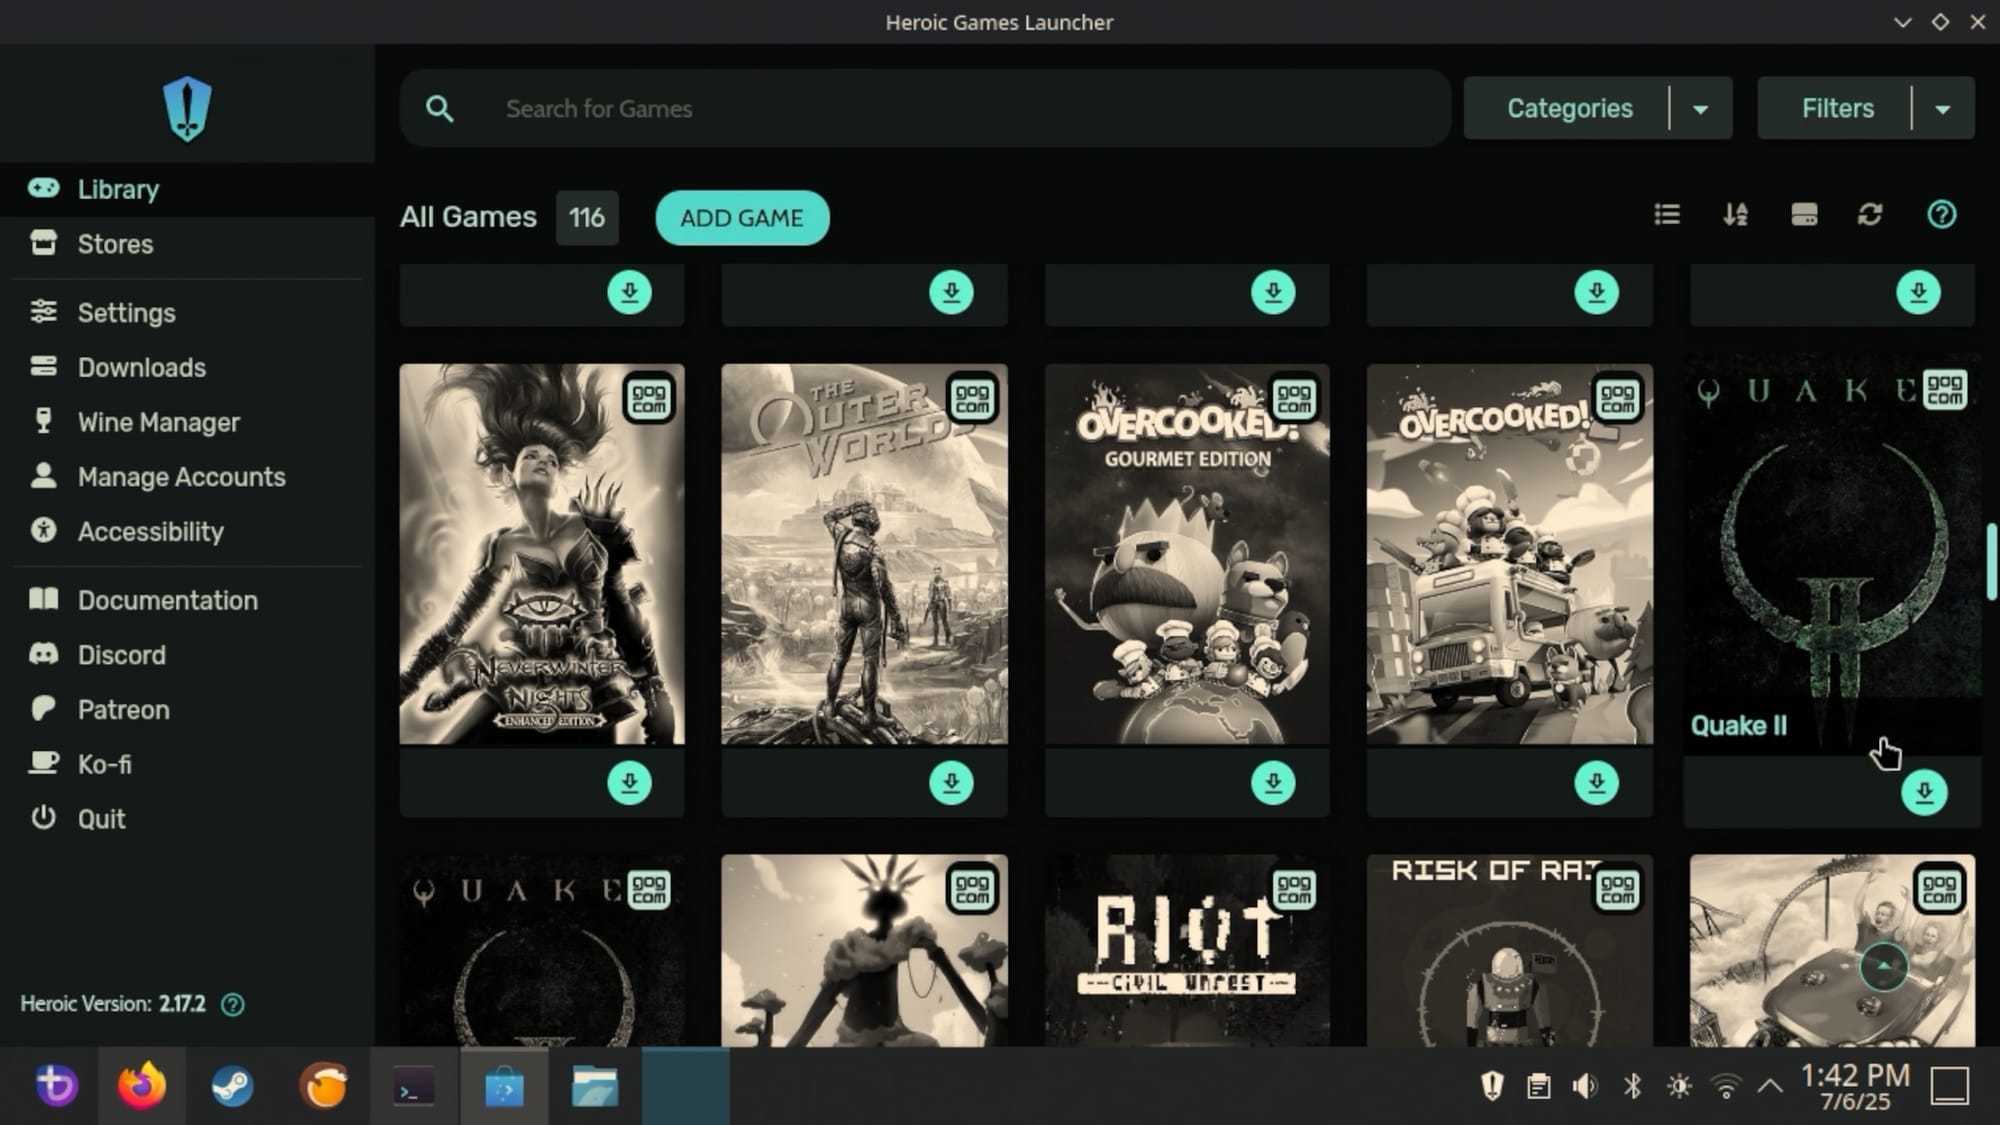
If we go to Settings we can scroll down and check the “Add games to Steam automatically” option and then when games are installed, they get added to you Non-Steam Games.
Now, I’m installing Quake II here and once it’s done, I can launch and play it just fine!

I've written articles about Heroic, btw. Check them out for more information.
7 — ProtonUp-QT
If you’re trying to launch a game but it’s not working—or if you’re interested in playing a game you own with a fan-made rebuild of a game—you’ll want to use ProtonUp-QT.
In desktop mode, let’s open up the Start Menu and then search for “ProtonUp-QT.” Then launch it.
Click the “Add version” button and then choose the Compatibility tool you want to use. There are several options here.

If you want to use community game clients, you can’t go wrong with Luxtorpeda. I’ve made videos and an article about Luxtorpeda here.
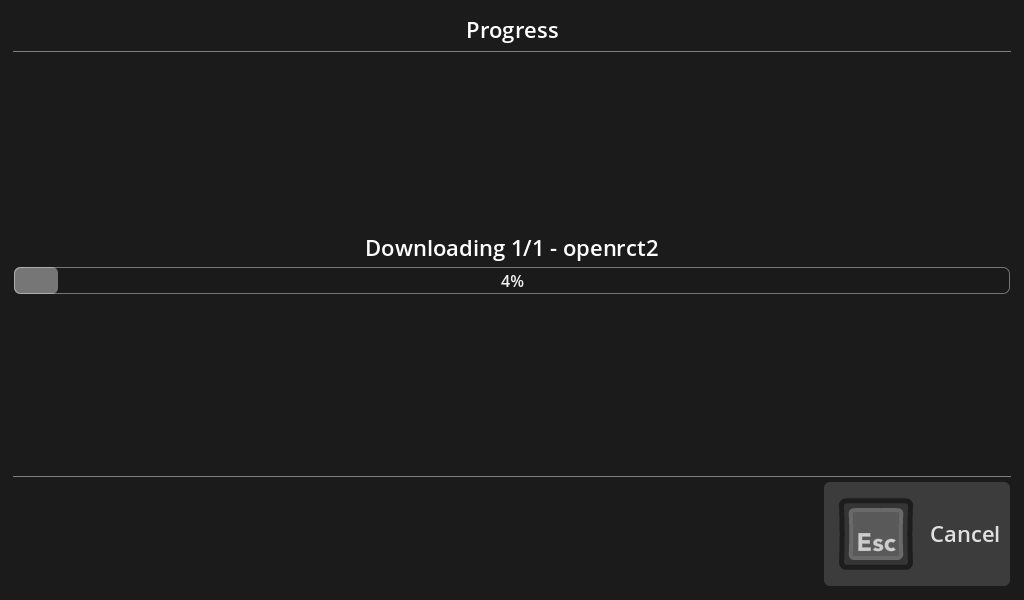
Select the version here and then click Install. ProtonUp-QT handles downloading and installing this compat tool.
In game mod you can go to a game’s library entry, hit the gear button, go to Properties, and then select Compatibility. Check this box:

...and then choose Luxtorpeda from the box that appears.

When you launch the game, you’ll be able to start it using a free and open source client.
Conclusion
Well, that’s Bazzite. Did I miss something? Let me know in the comments. I’ll update this post with other details if you guys let me know about something cool!