
The definitive guide to 3DS emulation on the Steam Deck (2025 update)
Lime3DS was merged with another emulator to form Azahar.The 3DS, one of my favorite handheld gaming systems. From the standard fare of Mario and Zelda titles to third party games and beyond.
But let’s be honest, this 3DS is aging. The hinge is weak and won’t stay open at a comfortable angle. The screen leaves much to be desired. And there’s always the chance of a capacitor going bad or a battery that won’t charge depriving us of access to our favorite games. So what’s the solution?
Emulation. Currently, emulation is the only way we can guarantee that we’ll be able to play our favorite games going forward. Besides, I’m already carrying my Steam Deck with me everywhere I go. So why would I lug my aging 3DS everywhere, too?
And look, there are few devices out there that are more qualified to emulate the 3DS than the Deck. It’s got an amazing screen that can be configured to accommodate the two screens of the 3DS. Plus, it’s got ample input to get you playing your favorite games.
But the journey getting here? It wasn’t easy.

The first step was acquiring ROMs of my games. The obstacles are numerous if you want to do so ethically. It’s not as simple as going online and finding website that hosts copies of the games I already own.
No. Why would I do that when I’ve got a perfectly good 3DS cart reader in my 3DS?
The first step on my journey to ethically acquiring ROMs was to hack my 3DS. This is done in the name of game preservation so it is, in my opinion (and, mind you, I’m not a lawyer) totally ethically in bounds.
Hacking the 3DS
Hacking my 3DS was non-trivial and I’m not going to cover the whole process here. But it required a flash cart and some perseverance.
Once it was hacked, I just needed to install cartridge dumping software, and run my cartridges through it. Then, I copied them to my Deck. I won’t be covering how to do that in this article since, despite it being morally okay and the 3DS being antiquated by a whole console generation, it’s not something the big red N likes people talking about on the Internet. Suffice it to say that it’s not a difficult process at all, and this is the best way to get ROMs to emulate on the Deck.
So yeah! We’ve got ROMs!
But ROMs are only one component of emulation. Now, we need an emulator.
0 – Rename your ROMs
We're going to be using Azahar Emulator in order to play your backups. But Azahar does not support playing ROMs with the .cia or .3ds file extension. So we need to decrypt each of our ROMs to .cci files, instead. I won't help you do this, but googling for 3ds rom decrypt might be somewhere to start.
If your ROMs are already decrypted, you should be able to just rename the files to have the .cci extension.
Acquiring the Emulator Through EmuDECK
There’s an easy way to set up 3DS emulation on the Steam Deck: EmuDECK. This is a simple and straightforward way to get all your emulators running on Deck. It handles everything you might need from loading your ROMs into the Steam Deck, configuring your button mapping, and more…
You can just head to emudeck.com, download the file and then run it. Select Azahar from the options and you should be good to go.
But in this article, we’ll set things up from scratch without EmuDECK. It’s not that much work and after ~15 minutes you’ll be ready to play!
1 – Install Azahar Emulator
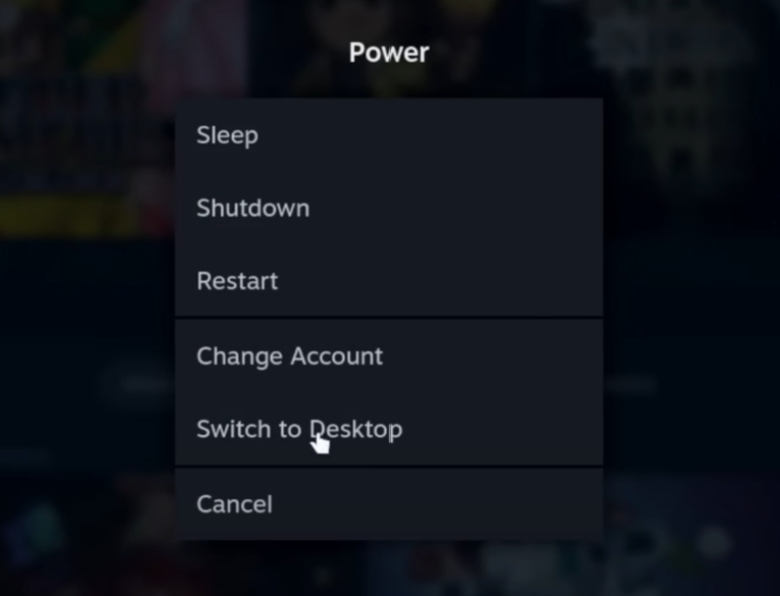
The first step is to drop into Desktop mode by hitting the Steam button, selecting Power and then select “Switch to Desktop.”
Once you’re in desktop mode, open up the Discovery app center. Search for Azahar Emulator and install it.
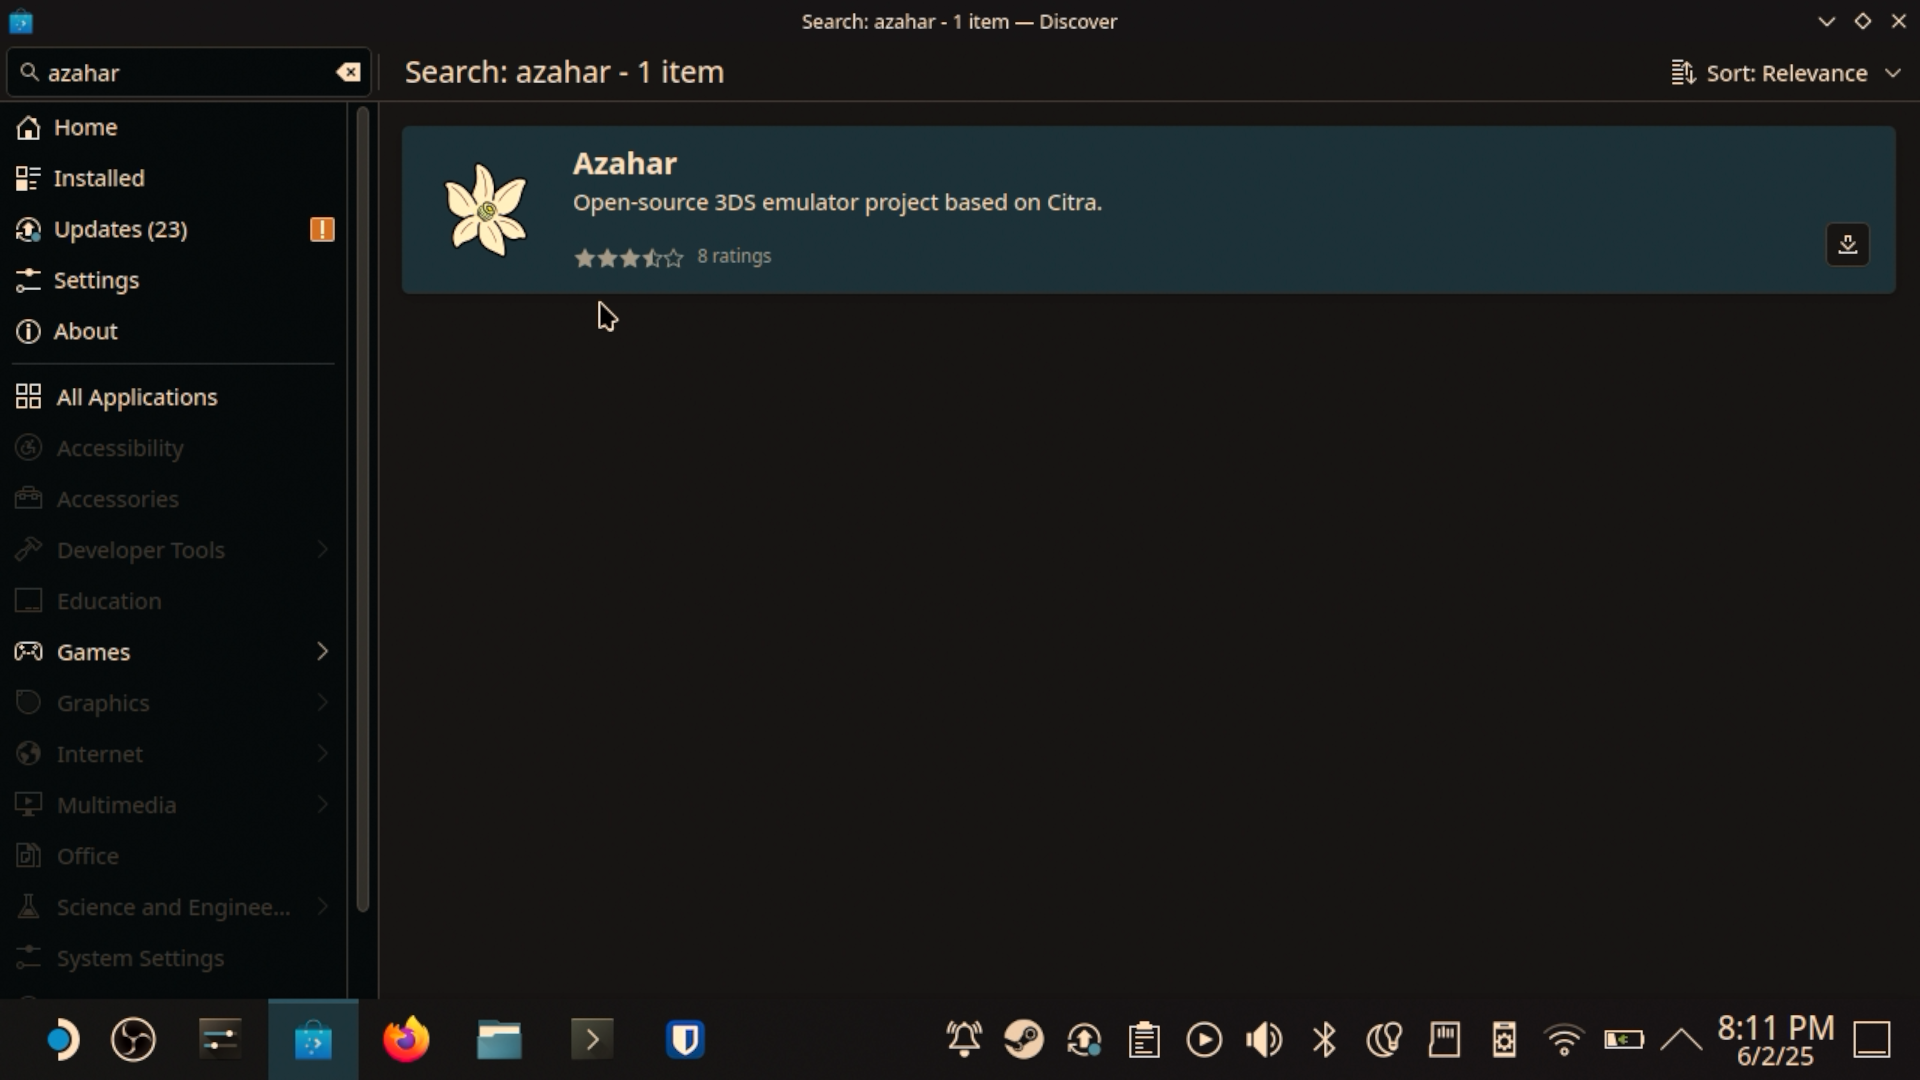
First step completed!
2 – Copy Your ROMs
How you do this will be contingent on your setup. For me, I have a RetroNAS instance on my homelab. So I copied the ROMs off of the SD card and into RetroNAS.
Then, I logged into that from my Deck and copied the ROMs to my SD card’s Emulation/roms/3ds directory. From there it was a simple Copy → Paste job.
3 – Add to Steam
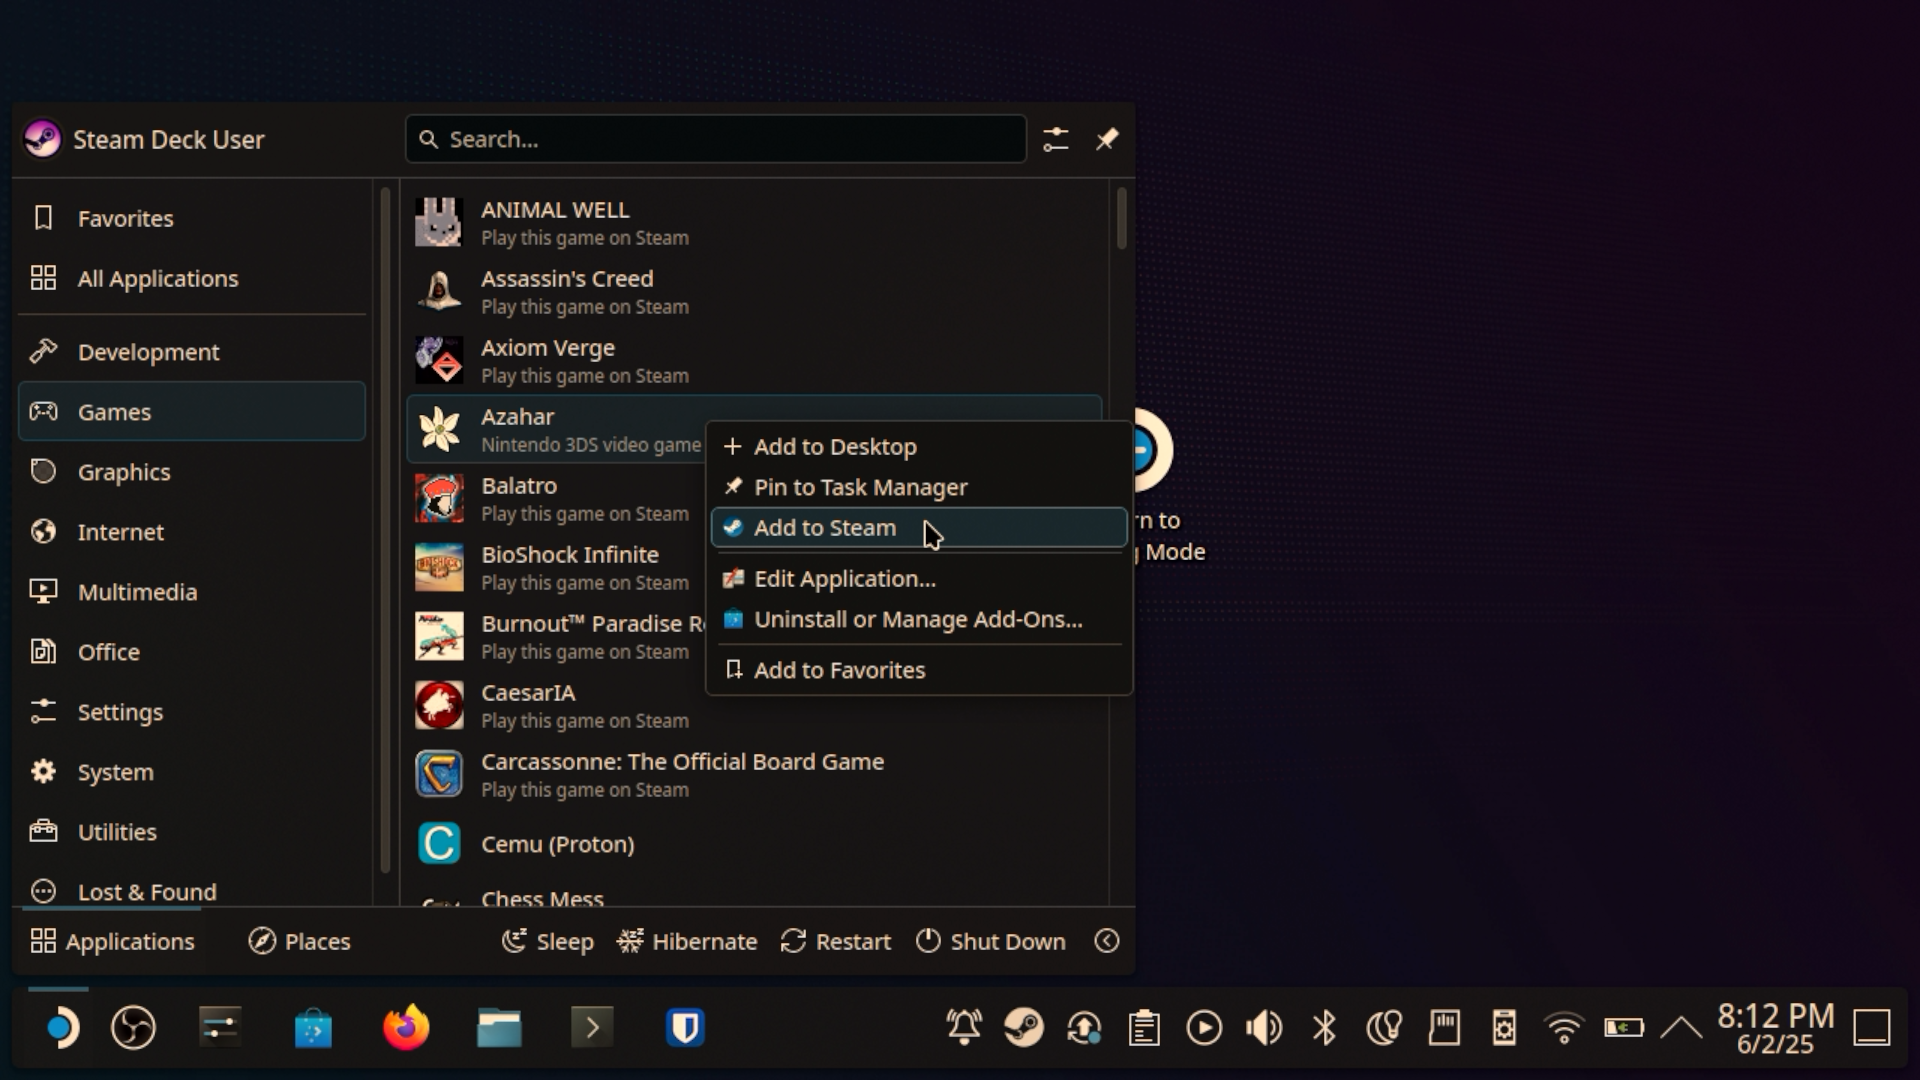
Now, let’s add Azahar Emulator to our Steam Library so you can access it from Game Mode. Let's open up the "Start menu" for lack of a better term, search Azahar Emulator, right click on it (left trigger on the Deck) and select "Add to Steam."
Before we head back to Game Mode, though, let’s open Steam while in desktop mode, find Azahar Emulator in your library, and launch it. To use the mouse, you can hold the Steam button and use the trackpad. You can click by pressing in on the trackpad, too.

4 – Configure Azahar Emulator
Next, we need to configure Azahar. If EmuDECK worked for you, you probably won’t need to do much of this stuff. But I’m including it here for educational purposes. Keep reading, though, since there are some options that you might find handy!
4.a - Set your ROM directory
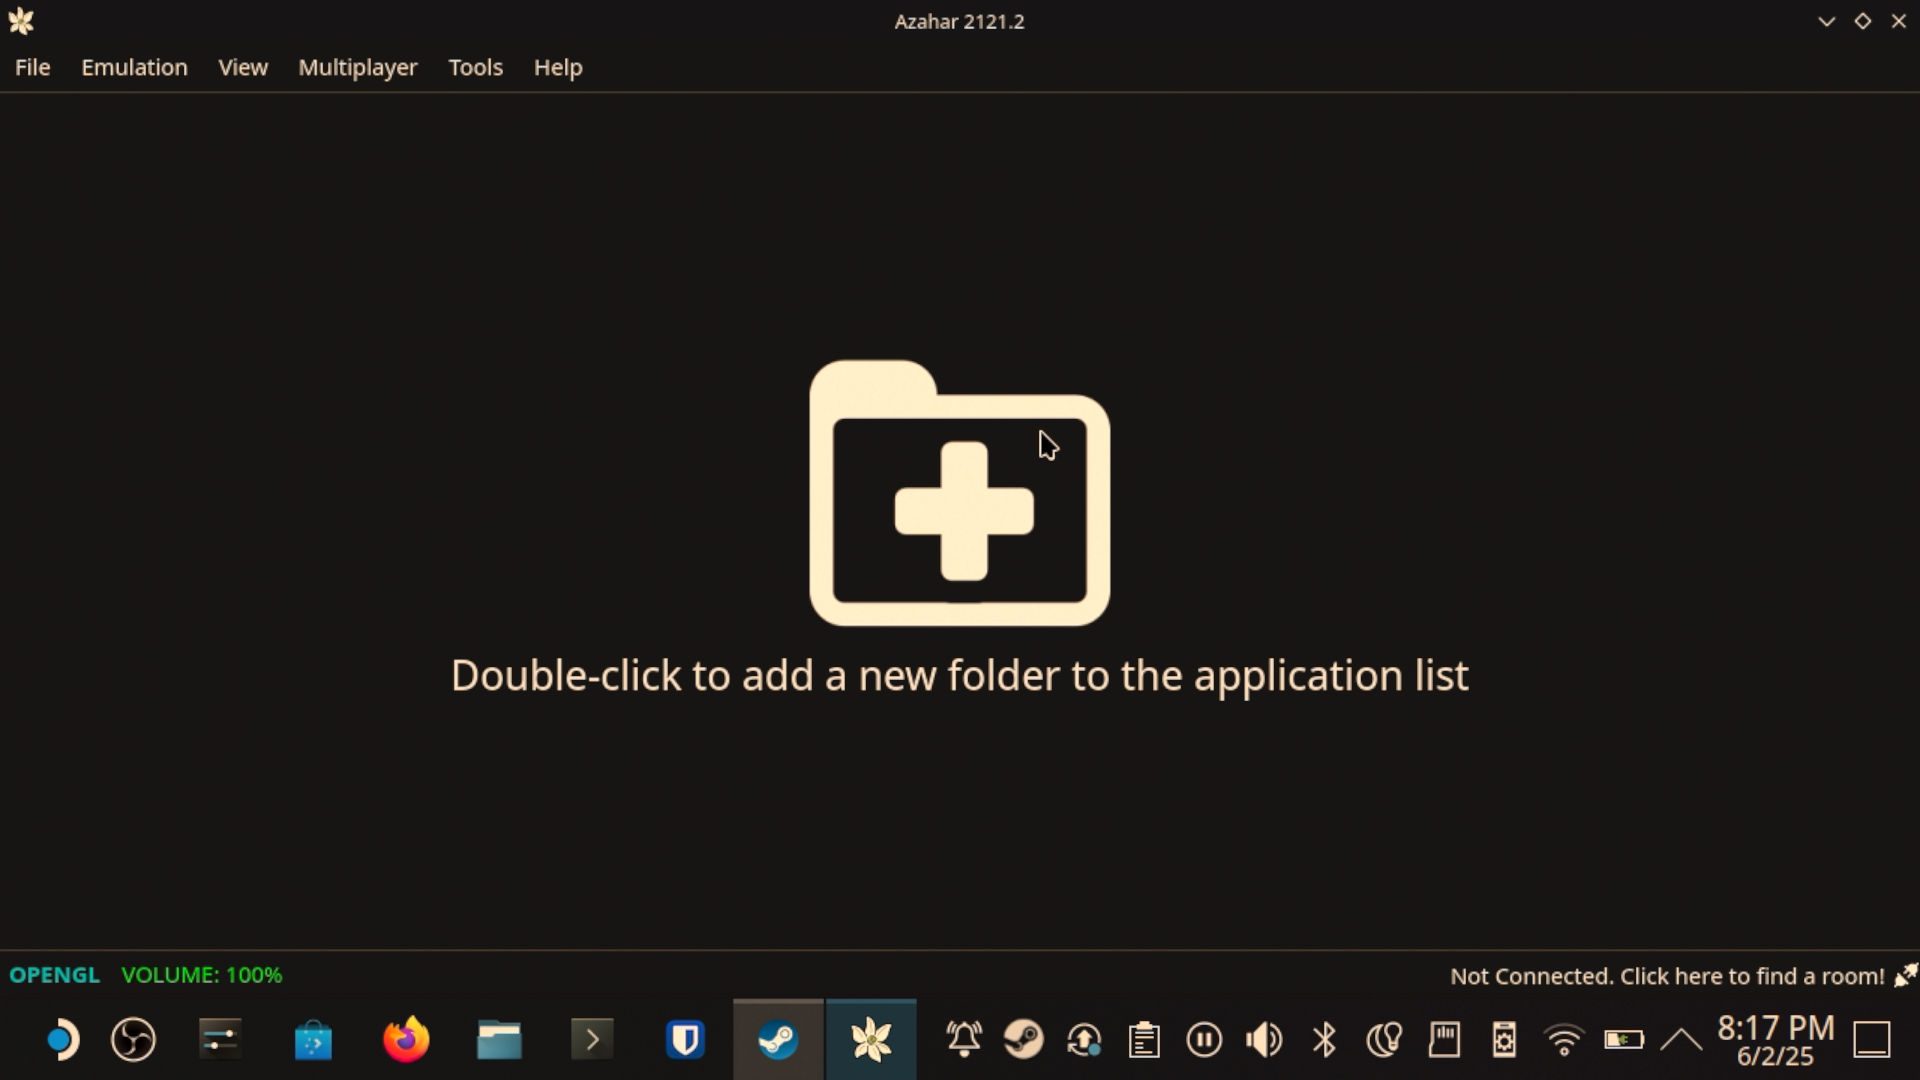
First, let’s open up Azahar. Go ahead and click the “Double-click to add a new folder to the application list” message here.
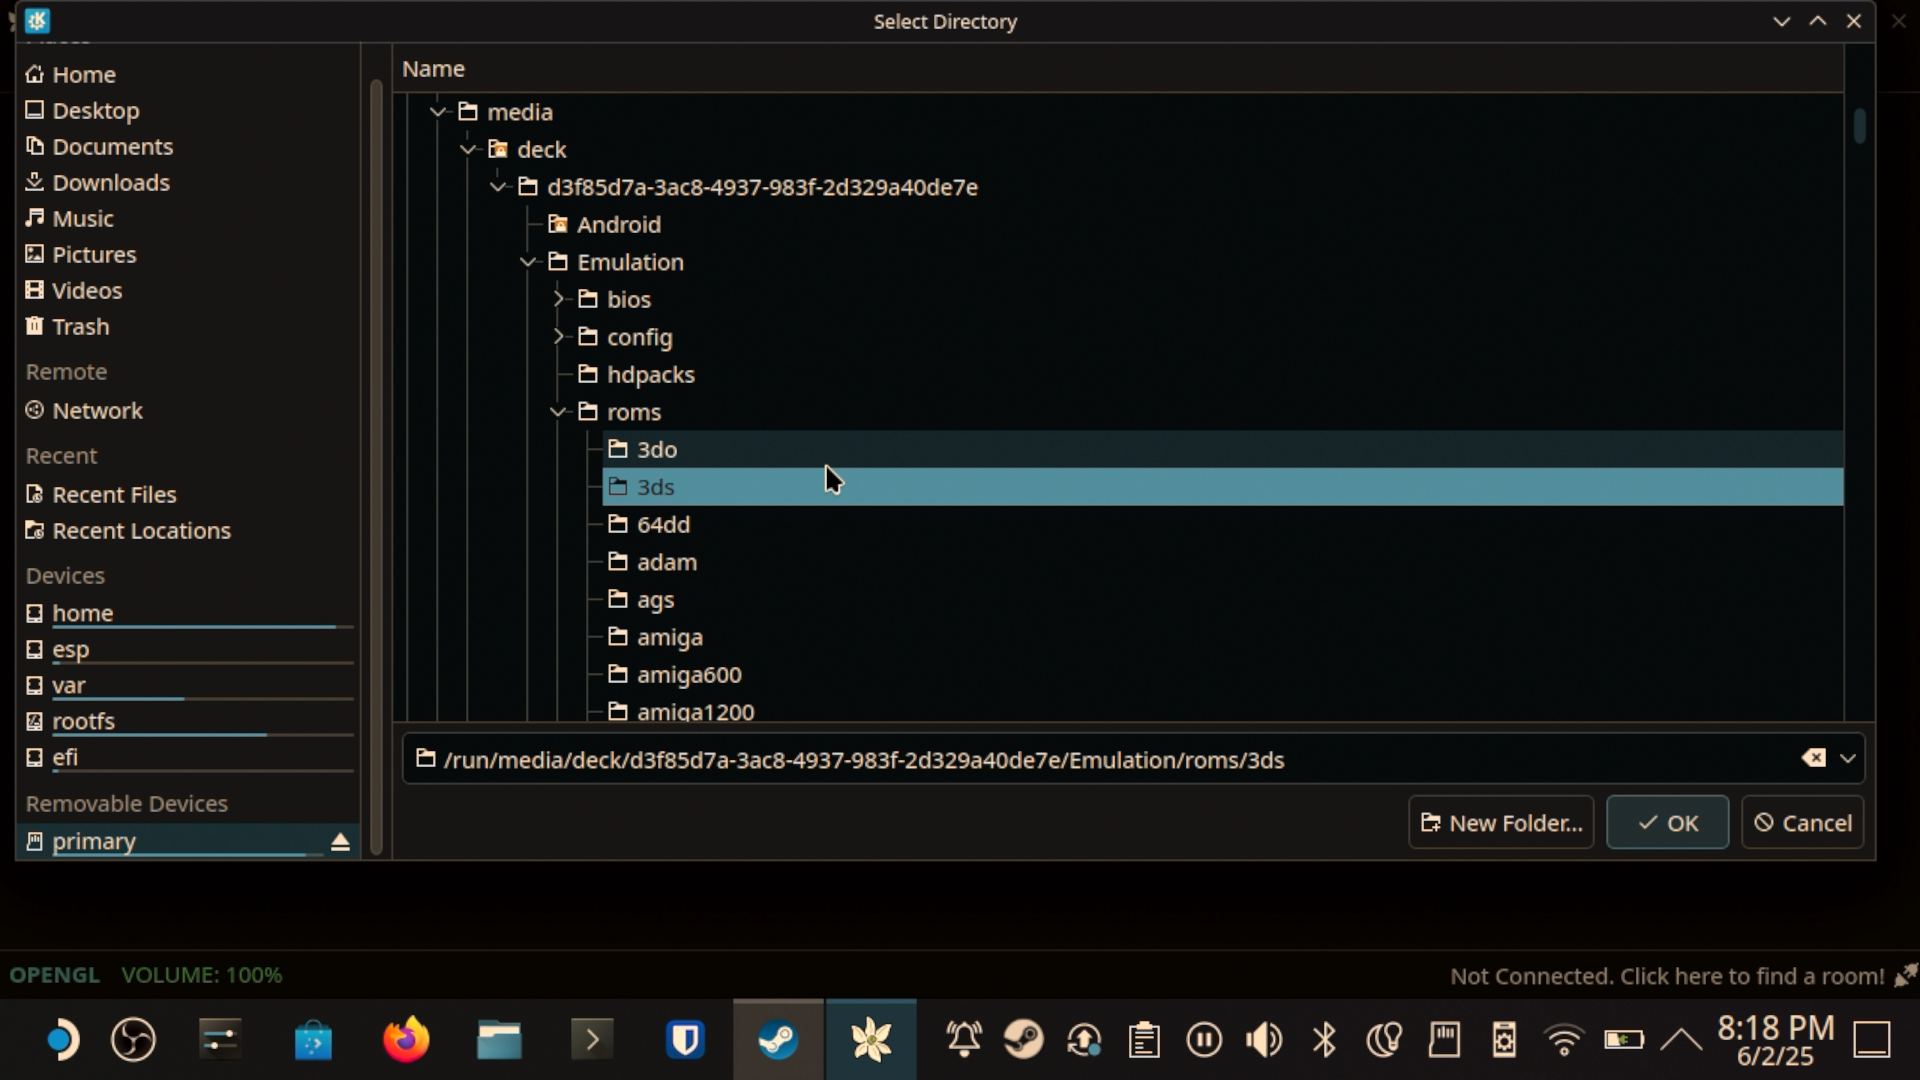
Then use this modal window to select the path to your ROMs.
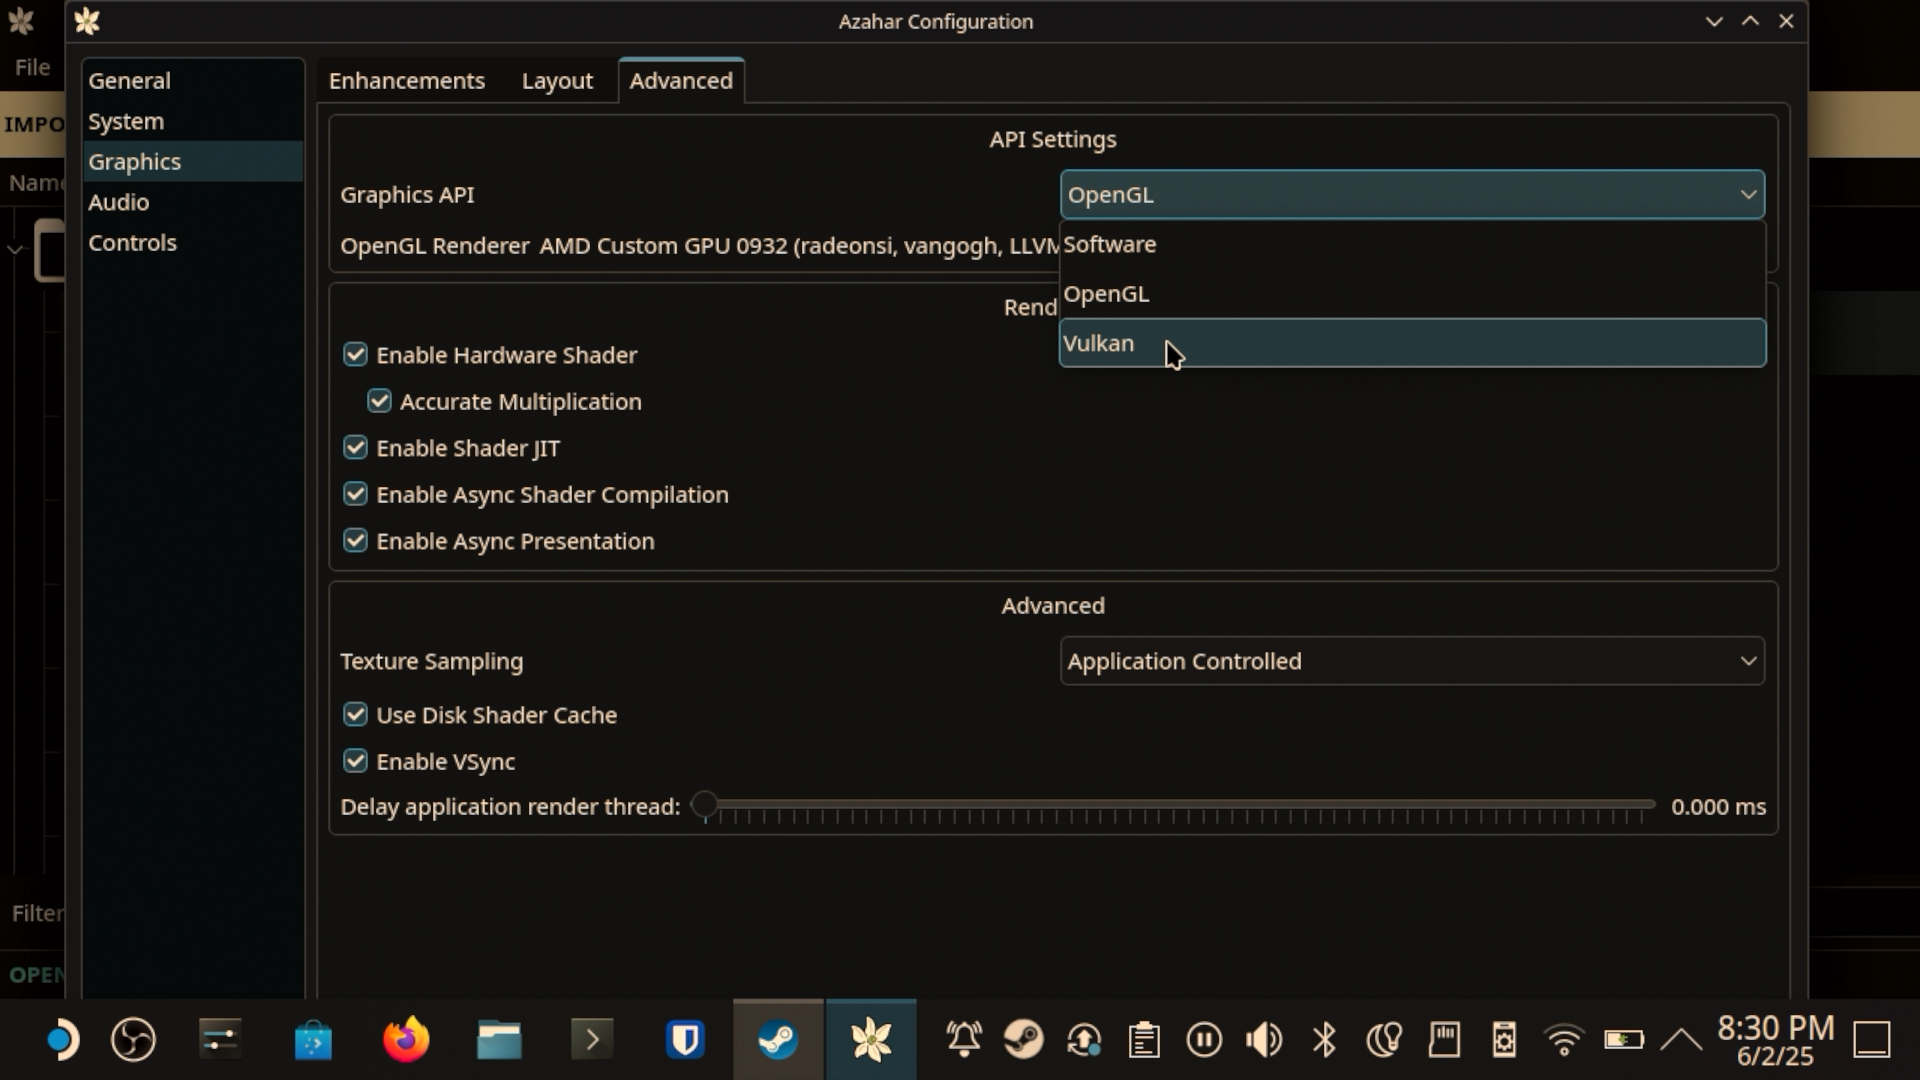
4.b - Configure the Graphics
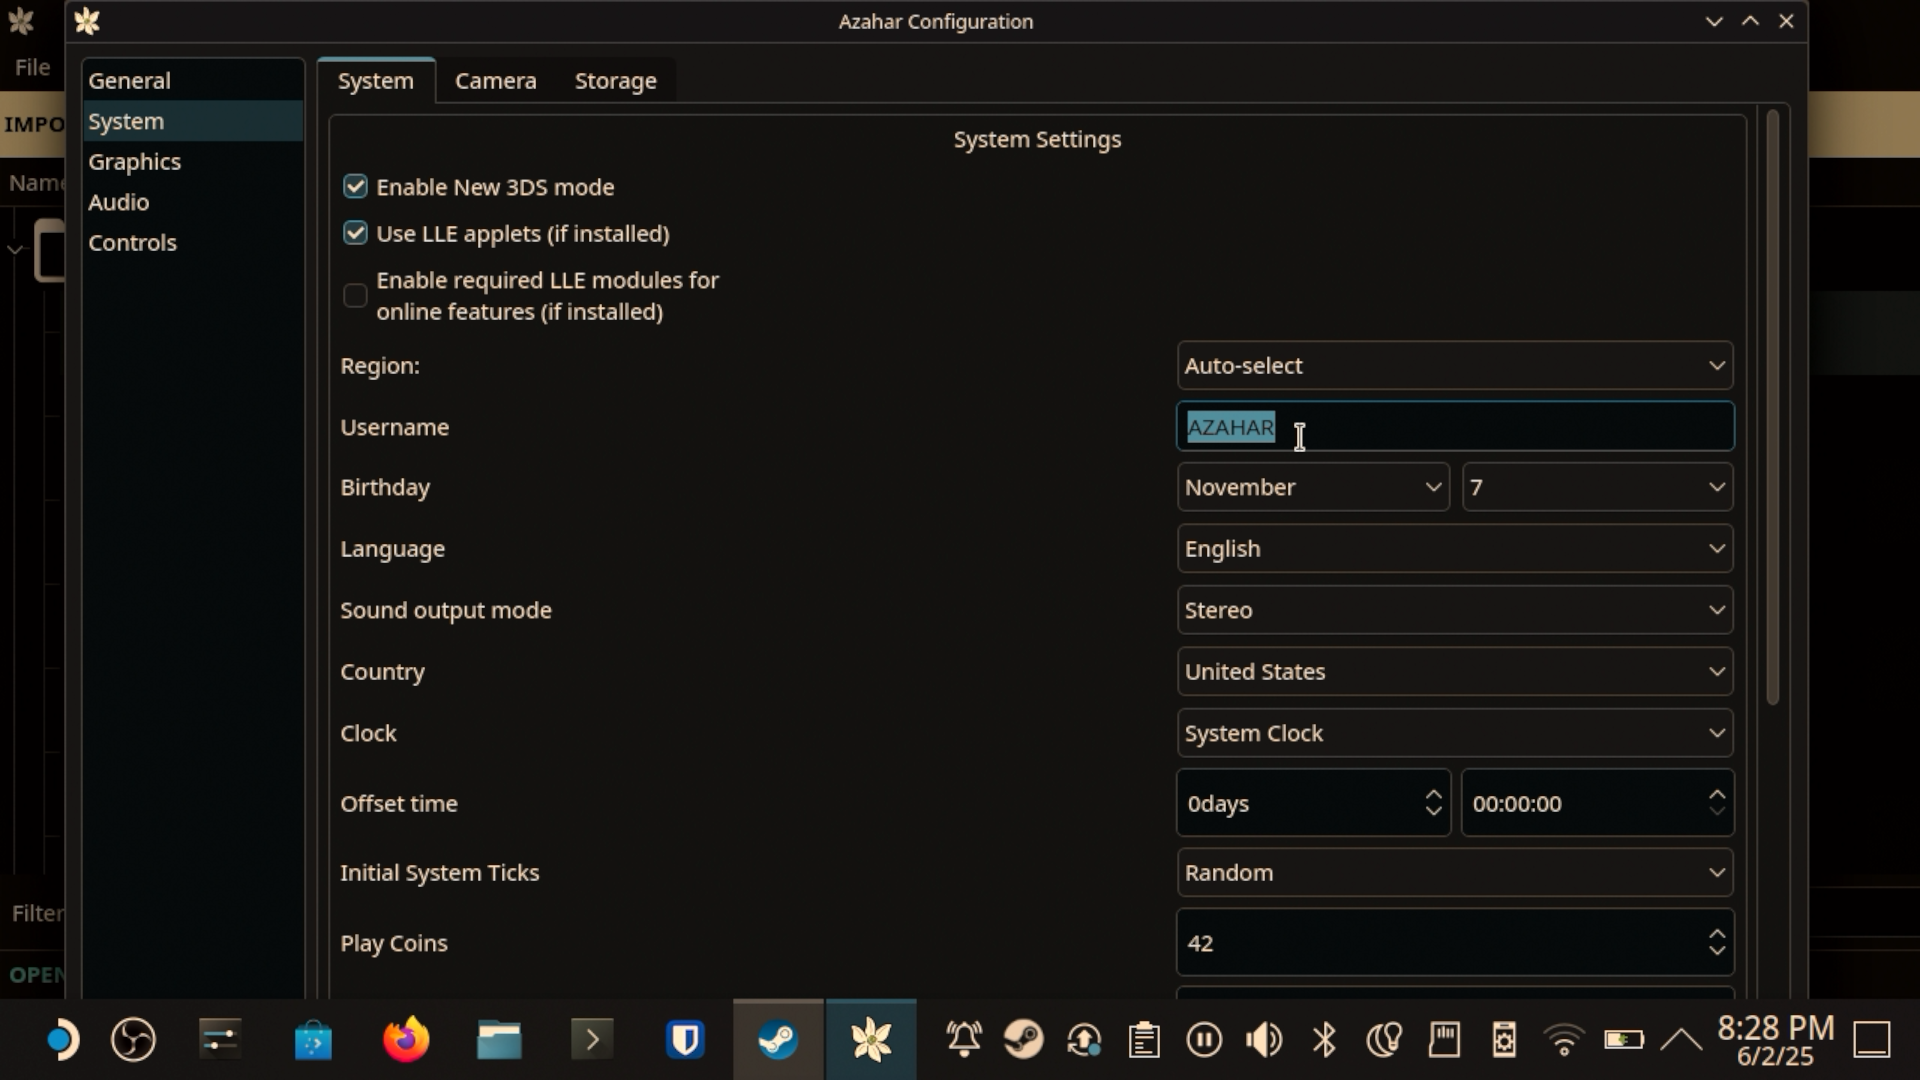
Click on Emulation → Configure and select System. You can optionally set your 3DS Username, Birthday, and Play Coin count. But the real meat and potatoes of the configuration will be under the Graphics tab.
Here, you can confidently set the Internal Resolution to x3 Native (1200x720).

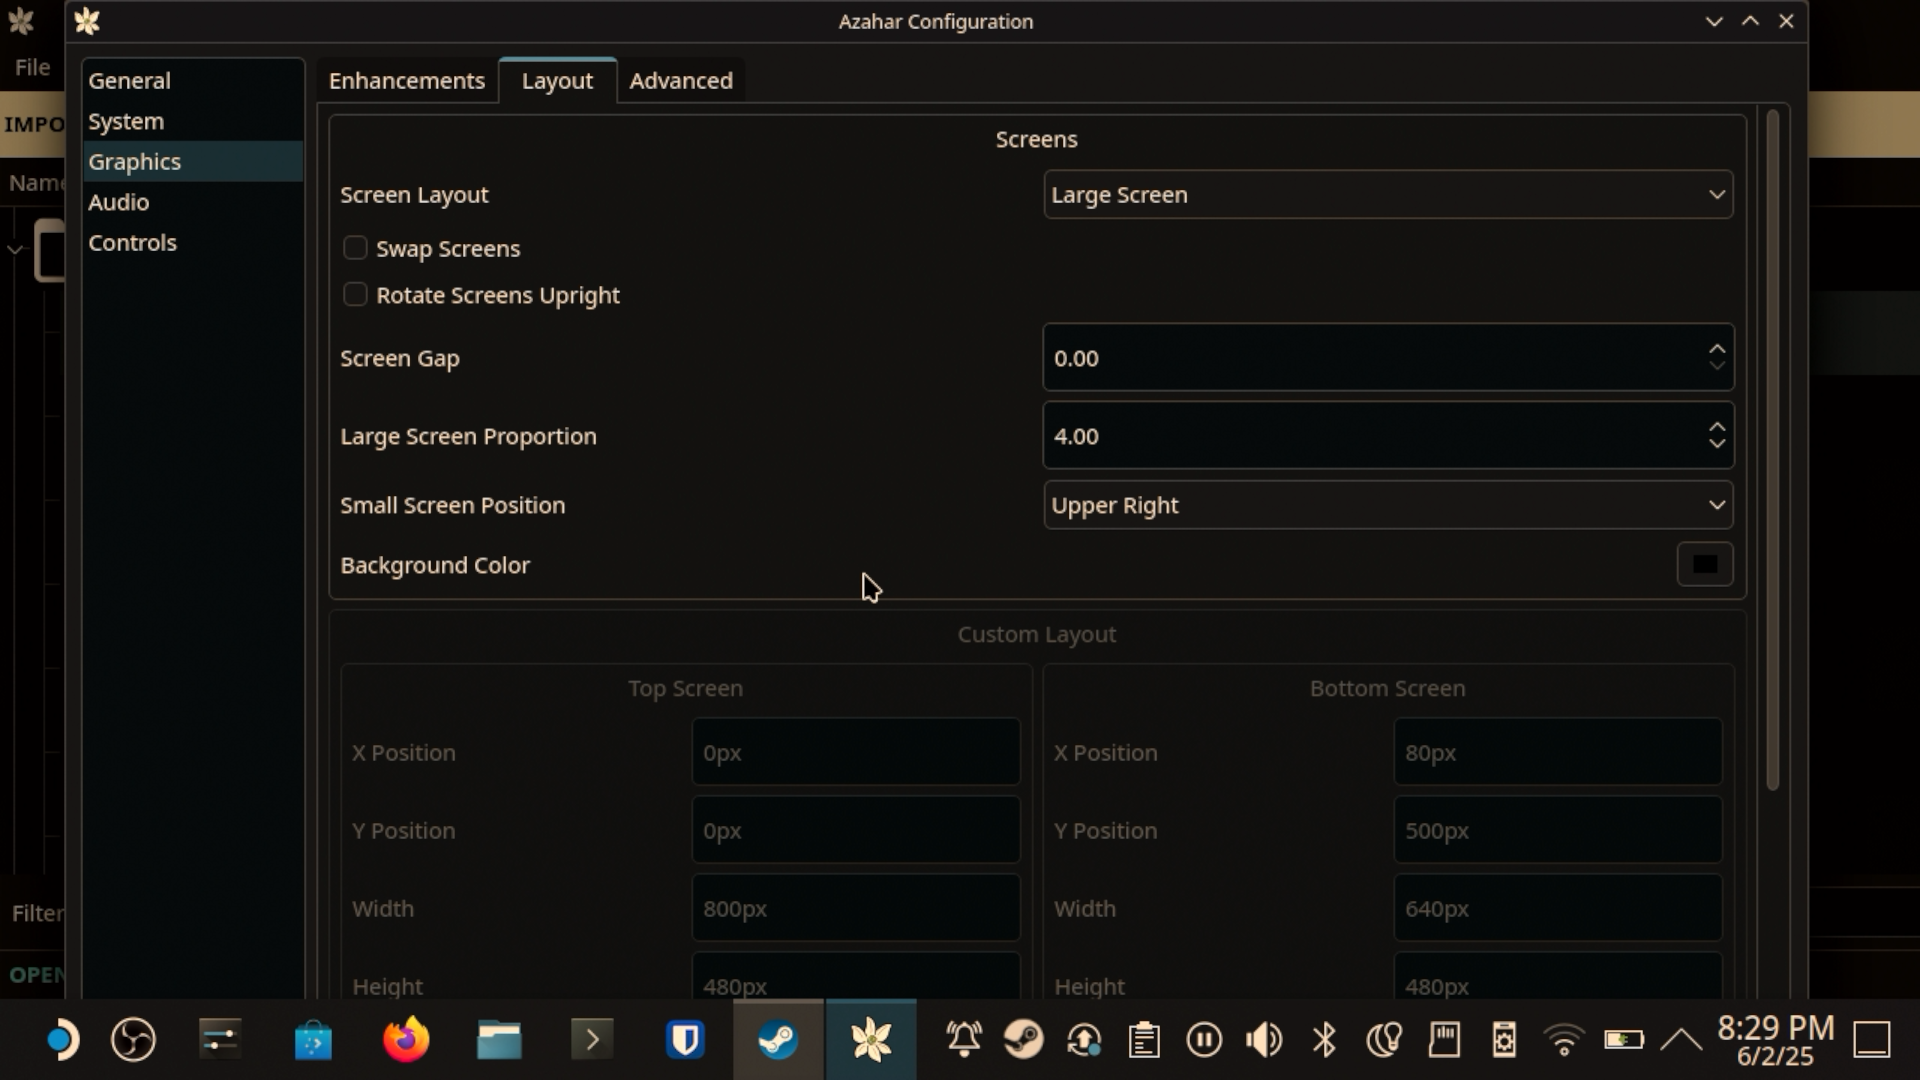
On the Layout tab, I personally prefer the “Large Screen” layout, with the Small Screen position set to Upper Right.
Finally, under “Advanced,” I’ve selected “Vulkan” as the Graphics API and I’ve checked the “Enable Async Shader Compilation” which helps to resolve the compiler stutter at the cost of a few graphical glitches that resolve themselves the longer you’ve played the game.
For audio, I haven’t changed anything.
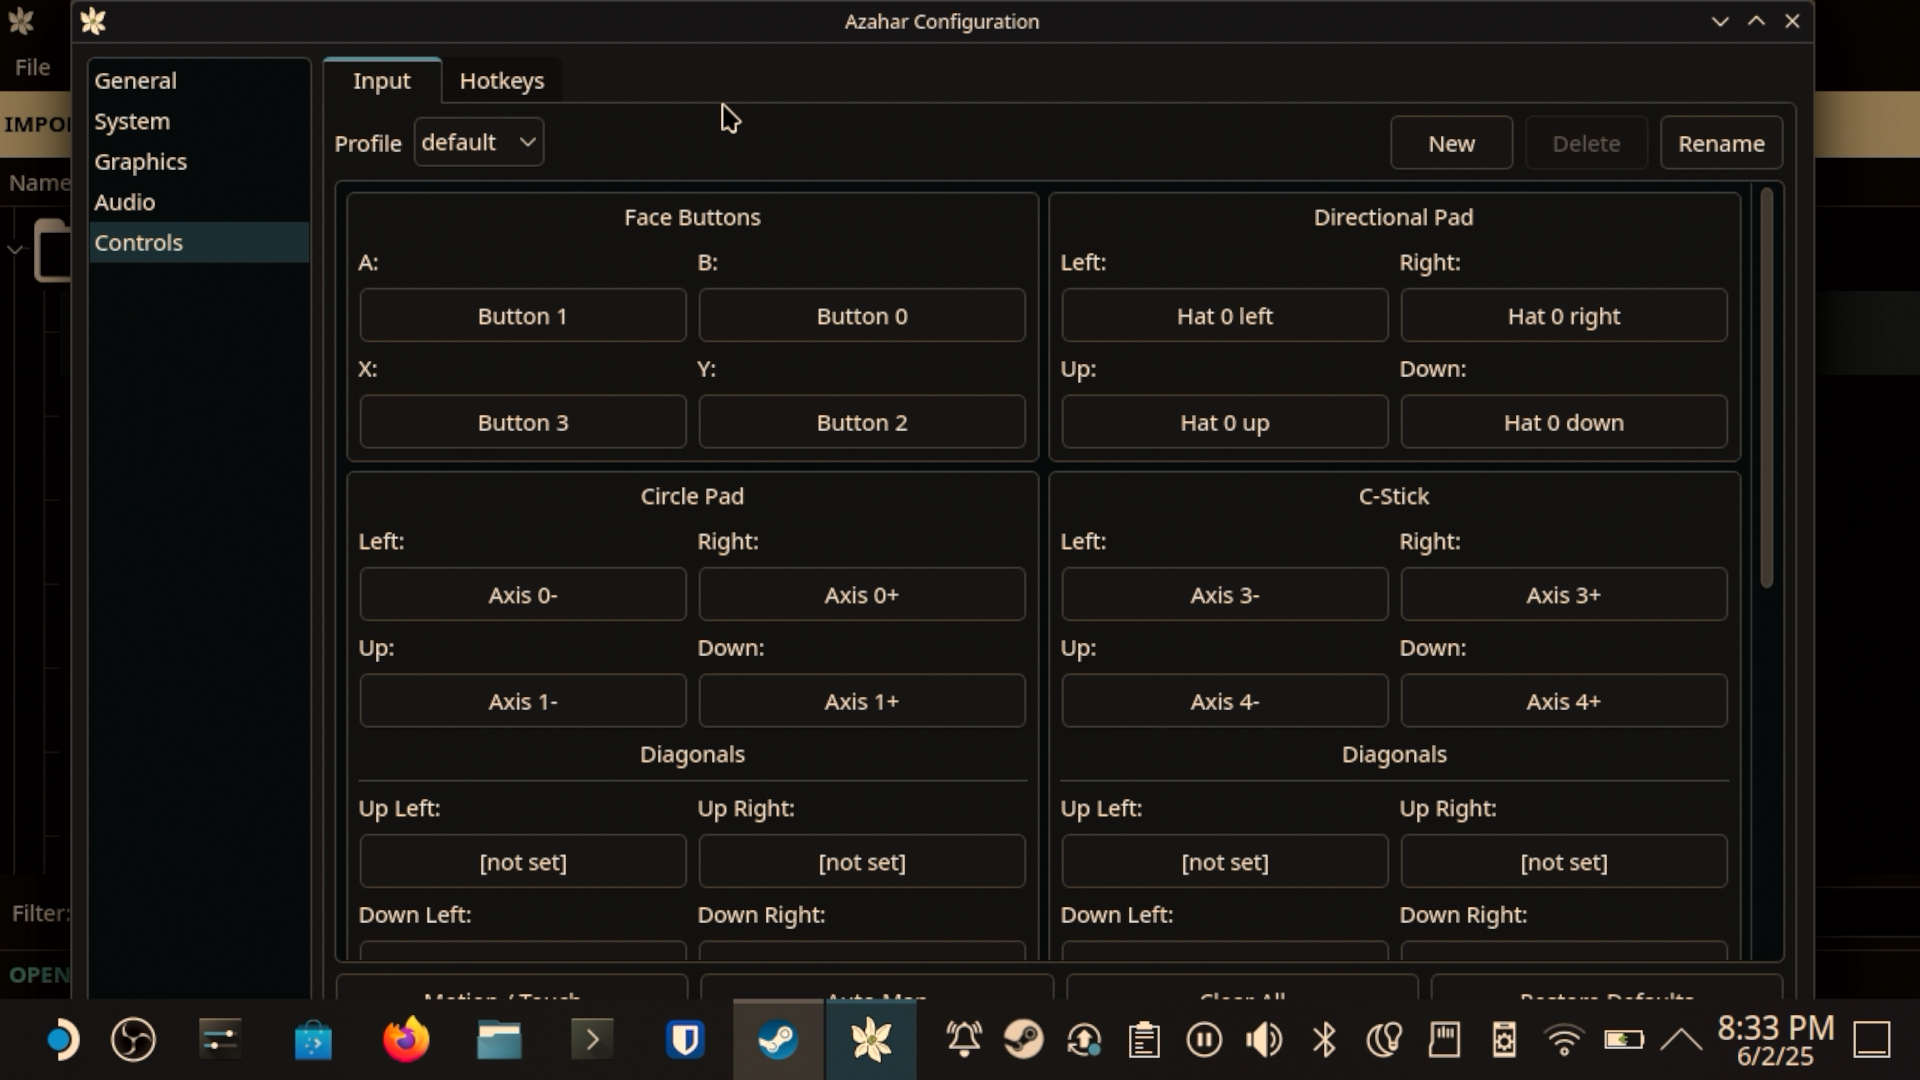
4.c - Set up the controls
Finally, under the Controls tab, I’ve gone through and mapped each control to the appropriate button on my Steam Deck. To do this, make sure you’ve launched Azahar from your Steam Library.
If you want to use the Deck’s gyro/accelerometer with Azahar, you’ll need to install SteamDeckGyroDSU. EmuDECK can install this for you, but if you want to do it yourself, just head over to the GitHub repo below, navigate to the release page, then select download the update-sdgyrodsu.desktop file.
Now, just open up your downloads folder, mark the file as executable and run it.
Now that that’s working, let’s go back into our controller config menu and select the Motion / Touch button. Under Motion Provder, select CemuhookUDP.
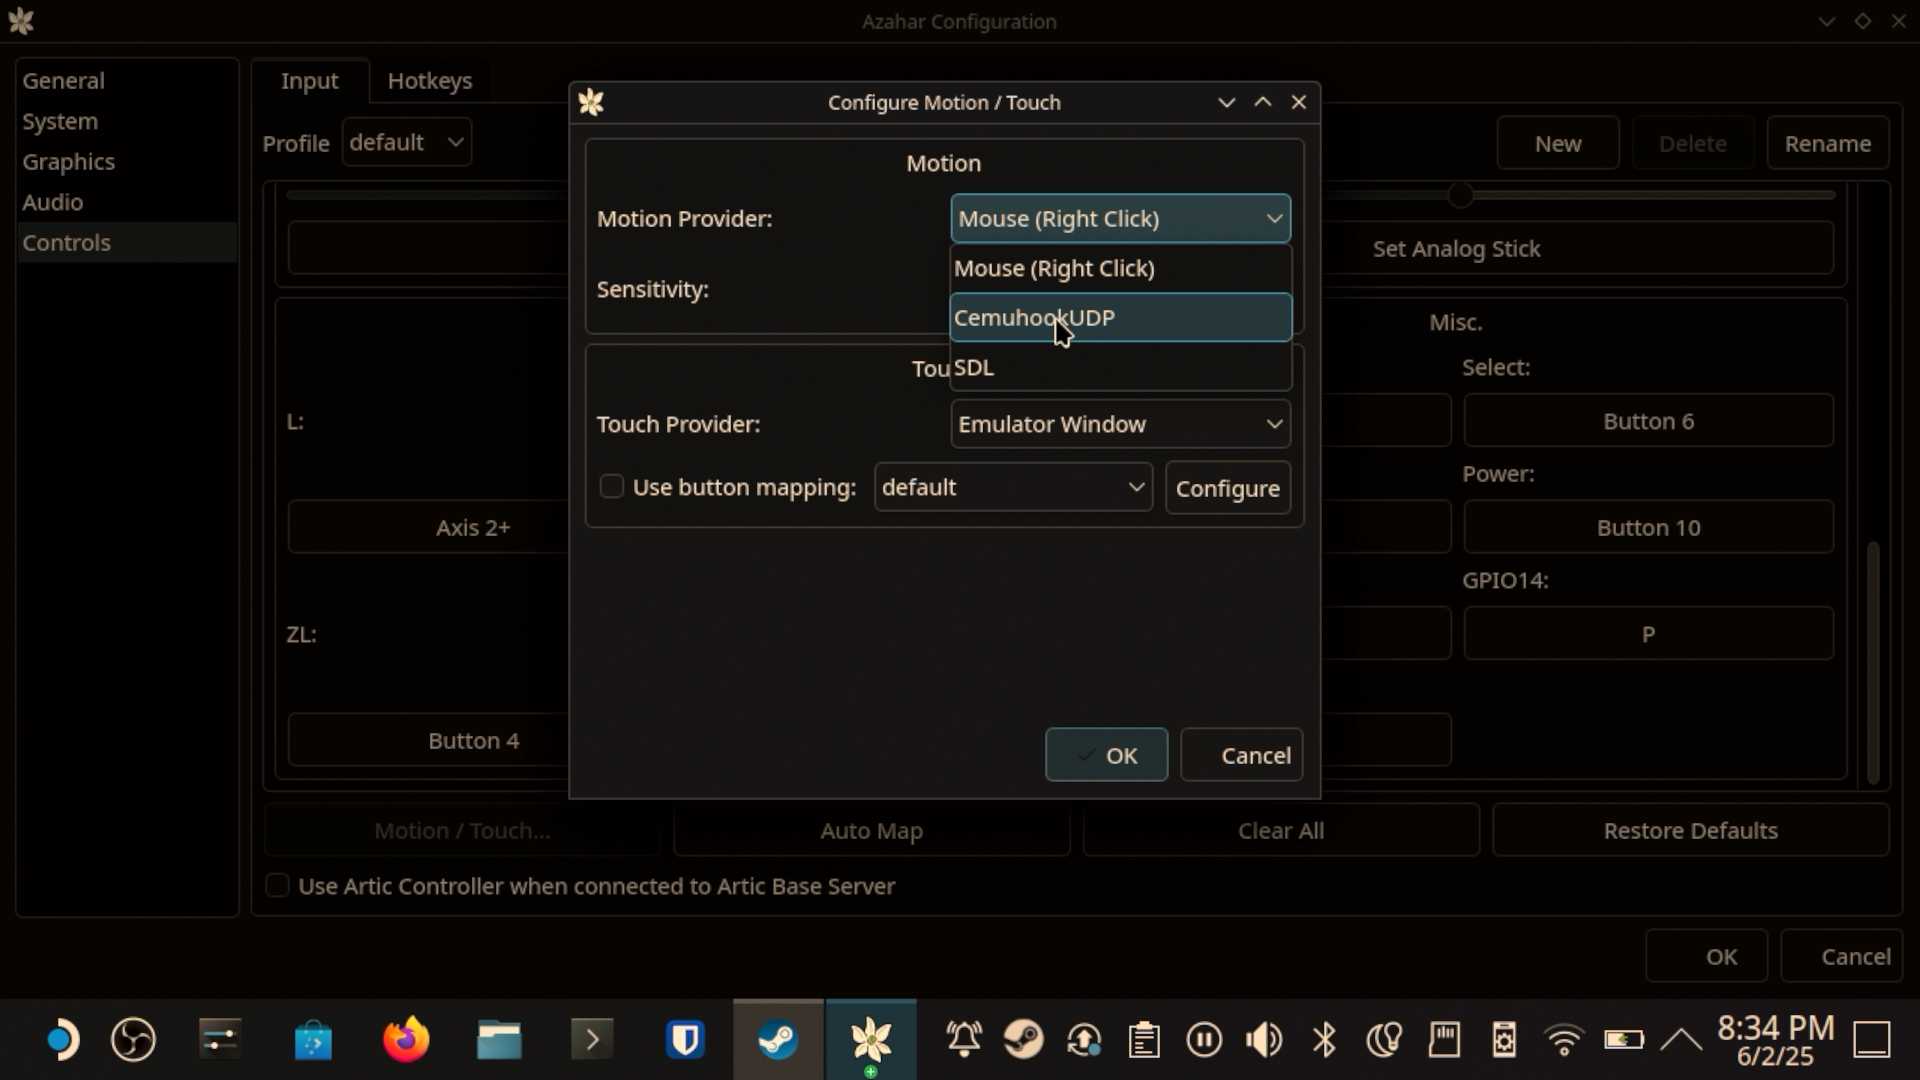
Under the CemuhookUDP Config, make sure your settings match mine. Then click the Test button. You should see “Successfully received data from the server.”

5 - Game Mode Setup
We’re pretty much set up, but there’s just a few more things I recommend doing. Let’s drop back into game mode. You can do this by going to the “Start Menu” for lack of a better term and logging out.
Once you’re back in game mode, navigate to your library, and then the Non-Steam games section. Find Azahar and start it up. Now, hit the Steam button and go to controller. We want to configure some extra functionality here.
I’ve set my right trackpad to control the mouse cursor and a press on the pad to be a left click. This lets me interact with the 3DS’s emulated “touchscreen” with a mouse cursor.
Then I’ve also set R4 to be the F9 key which will swap the screens so that the touchscreen becomes the larger screen and the upper screen becomes smaller. This is handy if you ever need to do something like focus on the smaller screen for a while or interact with a small button.
Finally, I have L4 mapped to F11 which toggles the emulator into fullscreen and window mode. This is useful if you want to show or hide the menus at the top of the screen.
So here we are. We’ve got our own games running on our Steam Deck, we learned a lot along the way. And now we can have fun playing some classics!