The first things you MUST do with your Steam Deck OLED
I've been a Steam Deck user since day 1 and in that time I've learned a lot. In this video we review 7 things you can do to get the most out of your brand new Steam Deck OLED or LCD!

Well, whether you bought it for yourself or someone else got it for you, the holidays have come and gone—and you may have scored yourself a brand-new Steam Deck.
I've been a Steam Deck user since day one, and in that time, I've learned a lot about this handheld PC. Here are seven things I think you should do when you first get your Steam Deck OLED.
1. Get Familiar with the Performance Menu
The Steam Deck OLED's battery is a major improvement, but there’s some performance menu magic you can do to stretch that battery even further.
Start with 40 FPS mode:
Setting the frame limit slider to 40 FPS helps most games run better on the Deck. Thanks to the 90Hz refresh rate of the OLED screen, gameplay feels more responsive. If any issues arise, enable per-game profiles and tweak settings individually.
Display scaling filters are next—especially important if you're using a TV or external display:
- Linear: Quick scaling, but may distort pixels.
- Nearest: Uses nearest-neighbor scaling, but can look blurry.
- FSR: AMD's FidelityFX Super Resolution—great image quality depending on the source.
- NIS: Nvidia Image Scaling—not to be confused with DLSS.
Knowing these options will help when outputting to 1080p or 4K—resolutions the Deck can't always render natively.
You’ll also need a USB-C hub or dock (like the official Steam Deck dock) to connect to an external display. I have product recommendations pinned below.
2. Explore Desktop Mode
Sure, you bought your Deck to play games—but Desktop Mode is your friend.
Pro Tip: Use a Bluetooth or USB mouse and keyboard when switching to Desktop Mode. It's possible without them, but much easier with them.
To switch:
Press the Steam button, go to the Power icon, and select Switch to Desktop.
Once there, you can install multiple apps to enhance your Steam Deck experience.
Install ProtonUp-Qt
If a game doesn’t work out of the box, check ProtonDB.com for community fixes. Many recommend Proton GE or other variants—easily installed using ProtonUp-Qt.
Use the Discover Store (icon on the taskbar) to find and install ProtonUp-Qt. Then, install a specific Proton version and switch back to Game Mode.
To apply the new Proton version:
- Find the game in your library
- Click the gear icon → Properties → Compatibility
- Check Force a specific Steam Play compatibility tool
- Choose the Proton version you just installed
Problem solved!
Emulation Fans: Try EmuDECK
EmuDeck is an all-in-one emulation tool that saves tons of time and hassle.
- Visit EmuDECK.com, download the app, and run through the installer.
- Copy over your ROMs (I have a video on how to do this).
- Launch Steam ROM Manager → click Preview → scan your ROMs.
- Customize and add them as non-Steam games.
Now, they’ll show up in your Steam Library.
3. Mod Your Deck with Decky Loader
Did you know you can mod the Steam Deck—right in Game Mode?
Head to decky.xyz, download Decky Loader, and follow the installation steps.
Back in Game Mode:
- Hit the Quick Access button
- Find the Plugin icon
- Tap the Shop icon to access the Decky Loader Plugin Store
These are free plugins that let you do cool stuff like:
- Display ProtonDB rankings in your library
- Customize game artwork
- And much more
4. Protect Your Investment
The Steam Deck is a great deal for what it is—a handheld PC that can play pretty much any game in your library (aside from games made by studios that actively fight against it). It's a sweet deal, but it's also not cheap. Starting at $399, it makes sense to protect your investment.
Get a Screen Protector:
My go-to is a tempered glass protector from JSAUX, but if you have the 1TB model with the anti-glare screen, be careful. Some screen protectors will undo that anti-glare effect which is something many users want to preserve. Thankfully, anti-glare options do exist.
Protect your Deck on the go:
The included travel case isn’t ideal—especially if you have a small backpack or limited space. I highly recommend the KillSwitch case and travel cover, which works with both the OLED and LCD models. Another solid option is the ModCase for Steam Deck, which includes various accessories. Either way, get a travel cover—it snaps on to protect buttons, triggers, sticks, and the screen in a compact form.
5. Upgrade Your Storage
You’re probably going to need more space—especially if you’re a digital hoarder or loading up with ROMs.
The Easy Way: Use a MicroSD Card:
The Steam Deck has a built-in SD slot. I use two 1TB SD cards—one for Steam games, one for ROMs. If you’re swapping often, grab a DeckMate, which has slots to hold spare SD cards securely.
SD cards are hot-swappable, too. Just pop one out, drop another in, and Steam automatically reloads your library.
The Hard Way: Upgrade the Internal Storage:
This involves opening the Deck and replacing the M.2 drive. A few things to keep in mind:
- Remove your SD card first—removing the back cover without doing this can destroy the card.
- Watch my video (linked above) for the process.
- Only attempt this if you're confident with PC internals—Valve warns of risk (including death, apparently).

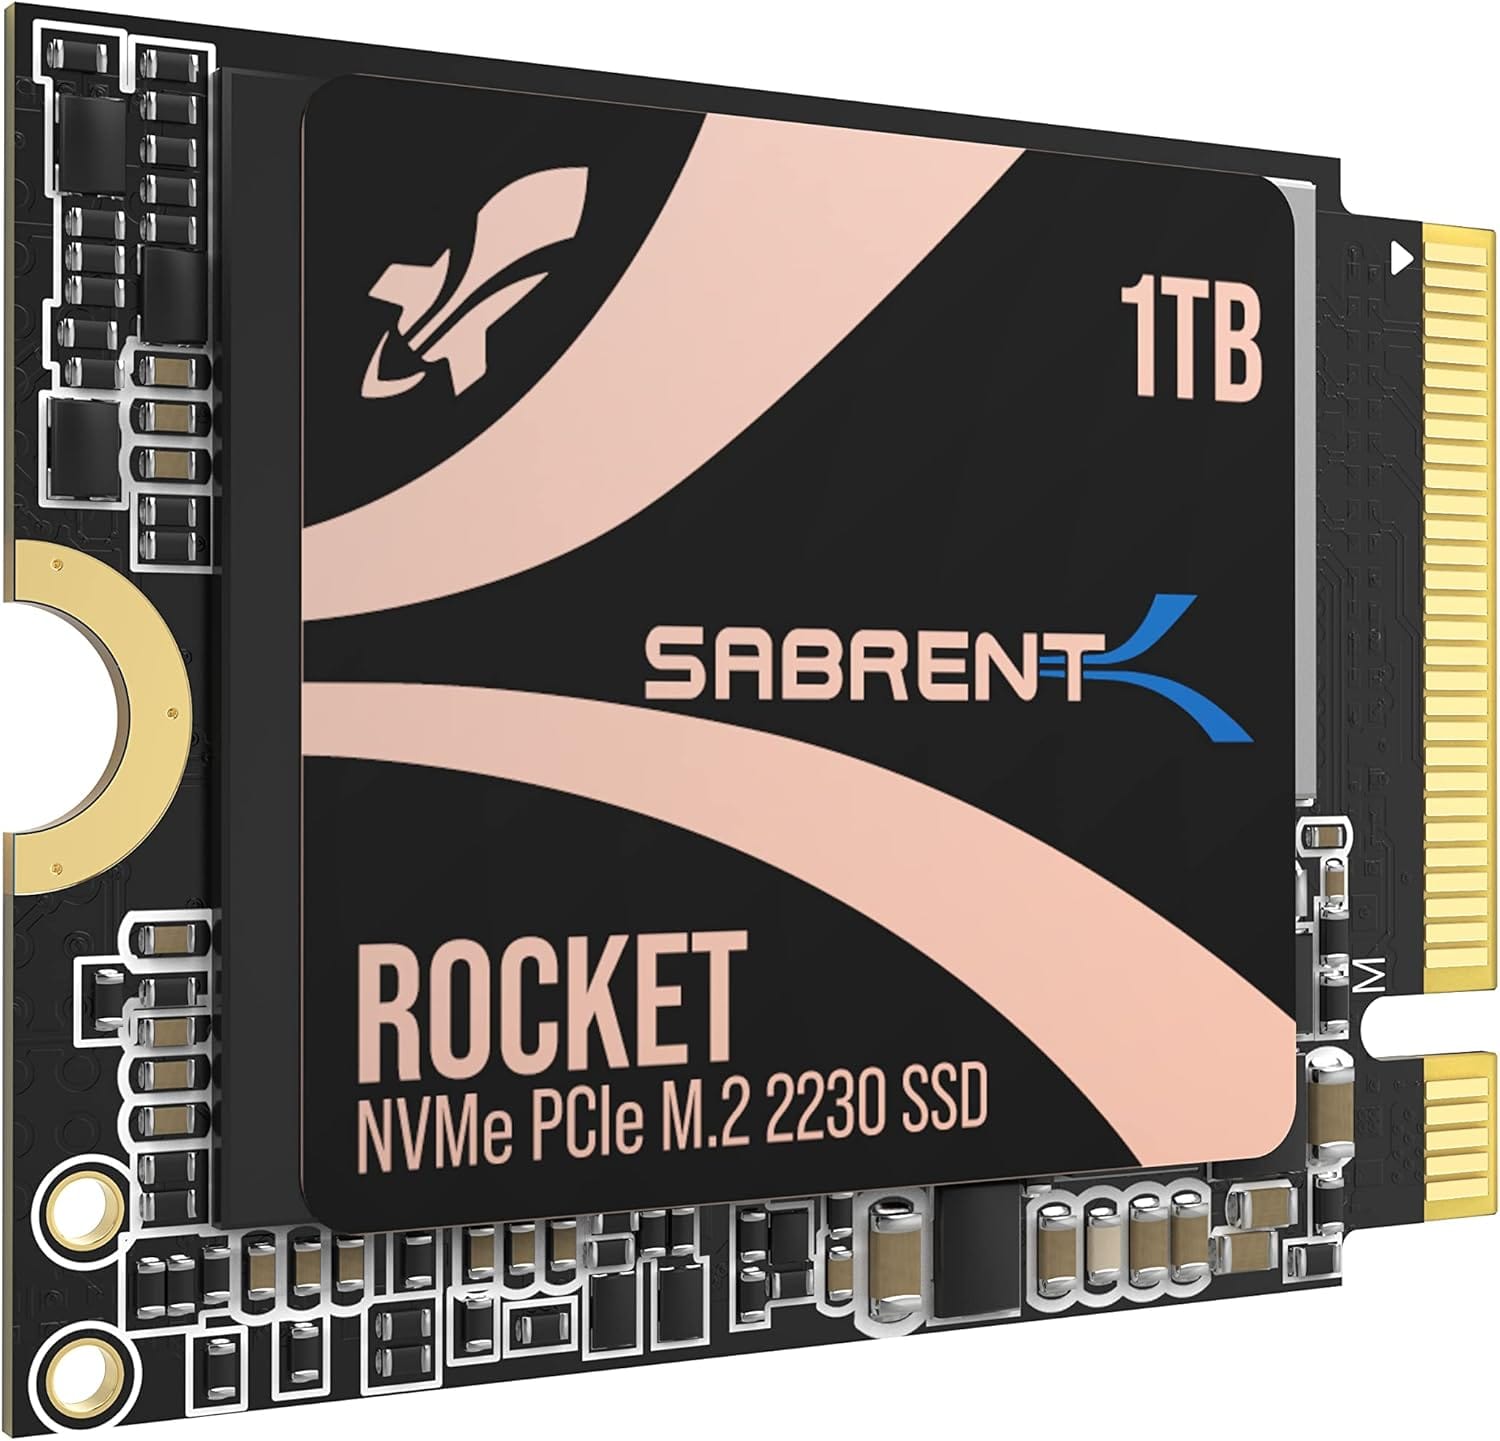
SABRENT Rocket 2230 NVMe 1TB High Performance PCIe 4.0 M.2 2230 SSD
Good Things Come in Small Packages: The Rocket 2230 fits just about anywhere. Need to upgrade your Steam Deck, Microsoft Surface, or other device where space is limited? We have you covered...
6. Level Up Your Charging
The Steam Deck OLED comes with a charger—which is great—but the cable is built-in and not replaceable. That’s not ideal.
That’s why I bought an Anker charger and a 100W USB-C cable. This combo charges the Deck effectively and reaches across our entire sofa, so my partner and I can charge our Decks from anywhere.
Pro tip: You need a 45W charger to charge while playing. Not all chargers will cut it.
7. Discover Your Backlog
The Steam Deck has transformed how I game. It’s untethered my Steam Library from my desk, letting me game in the living room with Emily while watching a show or YouTube in the background.
I now have more time—and more comfort—for games I’ve never gotten around to.
To rediscover your backlog:
- Go to your Steam Library
- Press the Y button → sort by Hours Played
- Scroll to the end to find Unplayed games
Use the triggers to flip between categories. Take your pick—and have fun!
And there you have it—seven things you can do with your new Steam Deck.
Thanks for reading. Perhaps check out my latest posts?
