The ULTIMATE Steam Deck emulation setup is easier than ever!
Simply download & run EmuDeck, copy your ROMs & ISOs to your Deck, and start playing. It couldn't be easier.

So the Steam Deck is a wildly popular gaming handheld if the numbers on my videos are any indication! But you don't just need to play games from Steam on the Deck. There are a myriad of other sources that you can use: GOG, Itch, Humble, Epic, and yes—even Origin.
But did you know that you can actually back up your own game cartridges and disks and then emulate them on the Deck? It’s true. Emulation is one of the many things that the Steam Deck excels at.
This article is all about emulation—how to integrate your ROMs and ISOs right into Game Mode, and how to play some of your favorite retro games on the Steam Deck. Let’s get into it!
Step 1: Download EmuDeck
Now, just like any other PC, there are many ways to do this—but I’m going to walk you through what I think is the easiest way.
The first step is to download EmuDeck. This takes the hassle out of getting all the emulation software set up. It will even create a directory structure that simplifies organizing your ROMs for you.
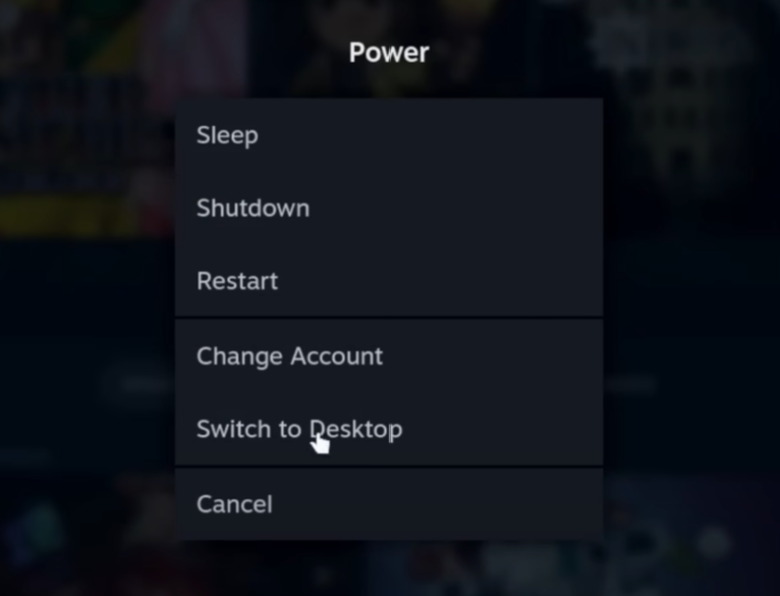
Now let’s go into Desktop Mode by holding the power button until this menu comes up, and then select Switch to Desktop.
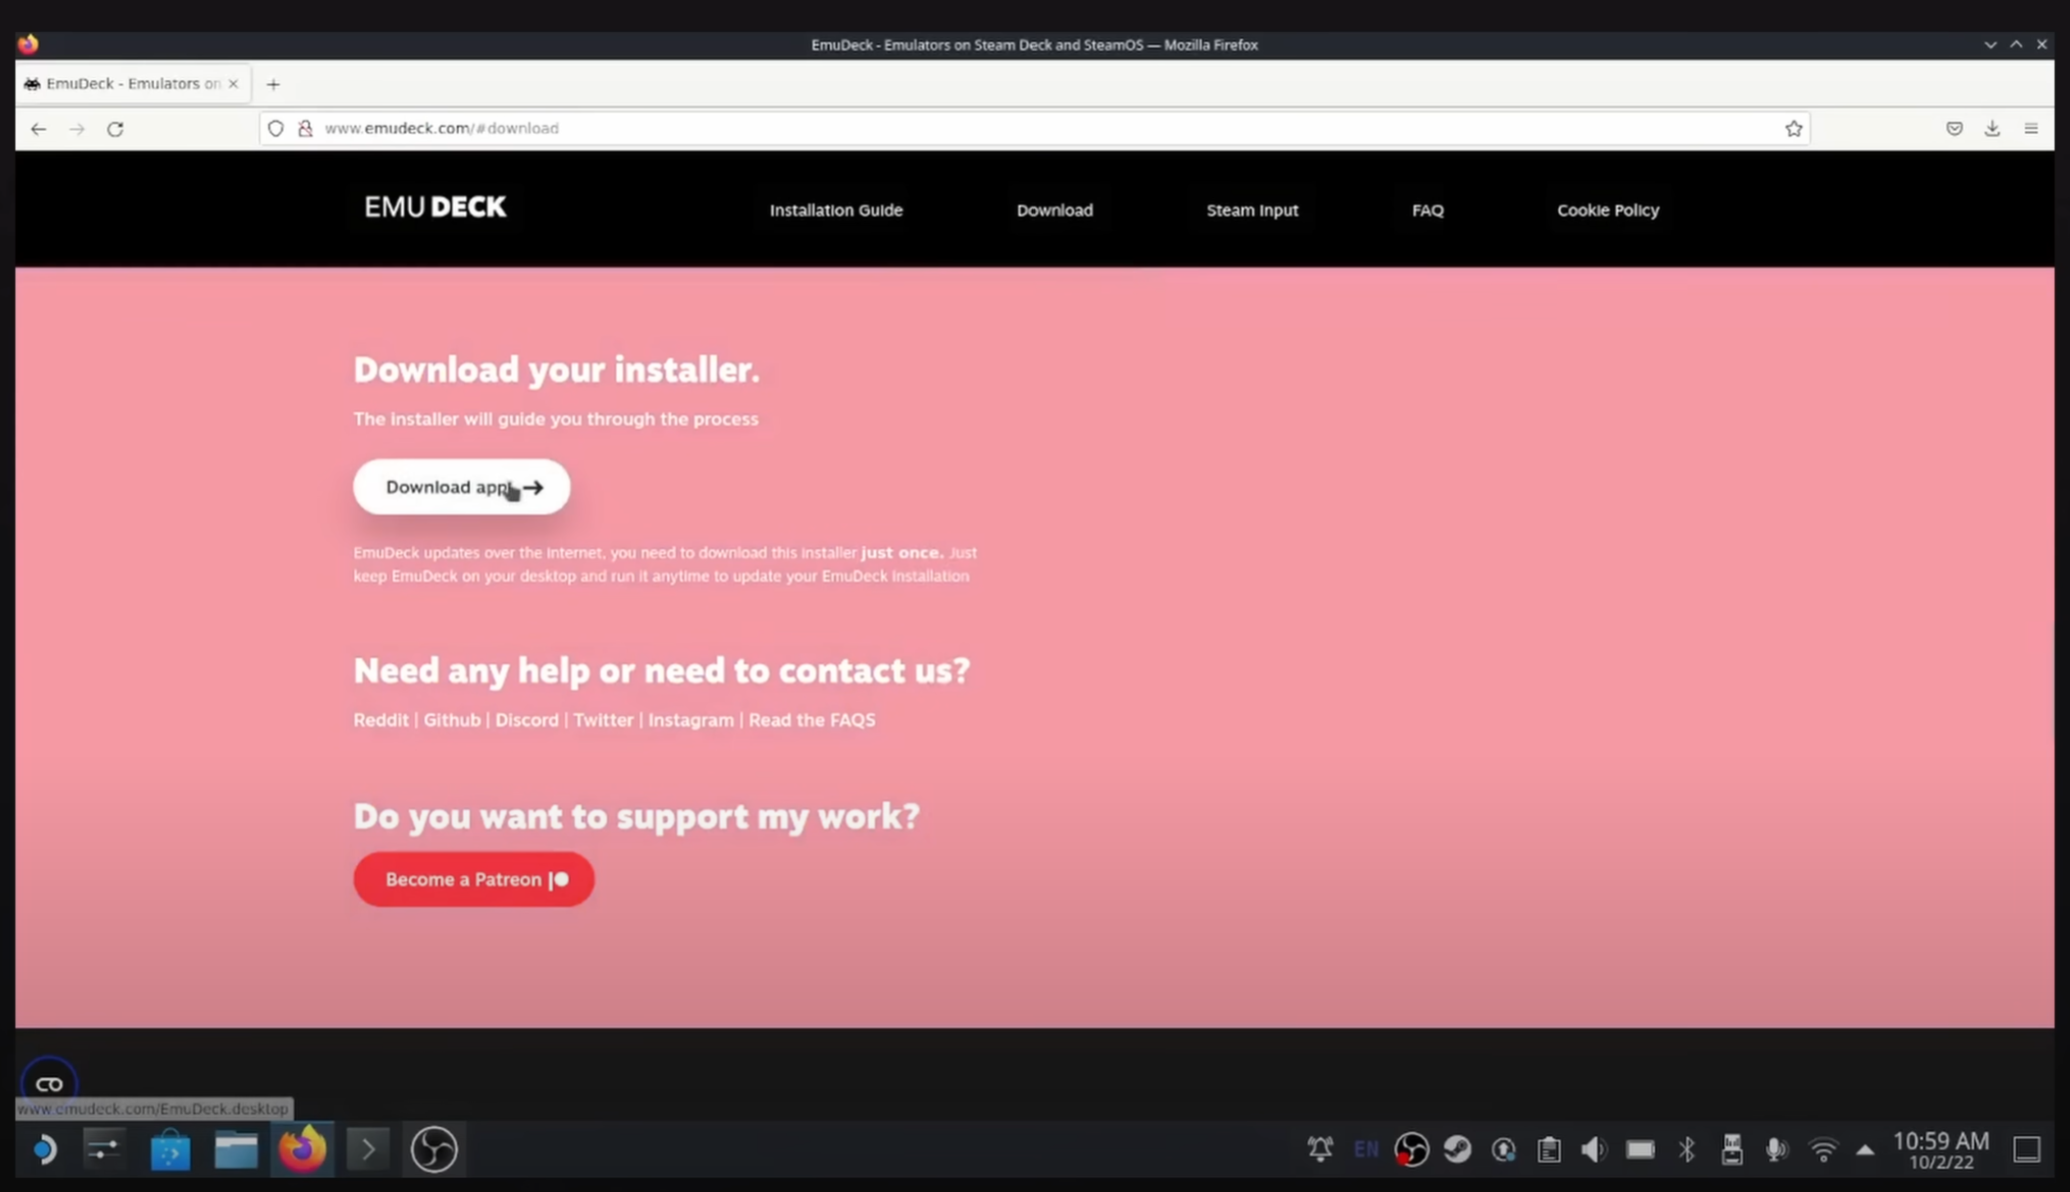
Now, go to emudeck.com using Firefox or Chrome, and then select Download.
Then we’ll open our File Manager and go to our Downloads folder.
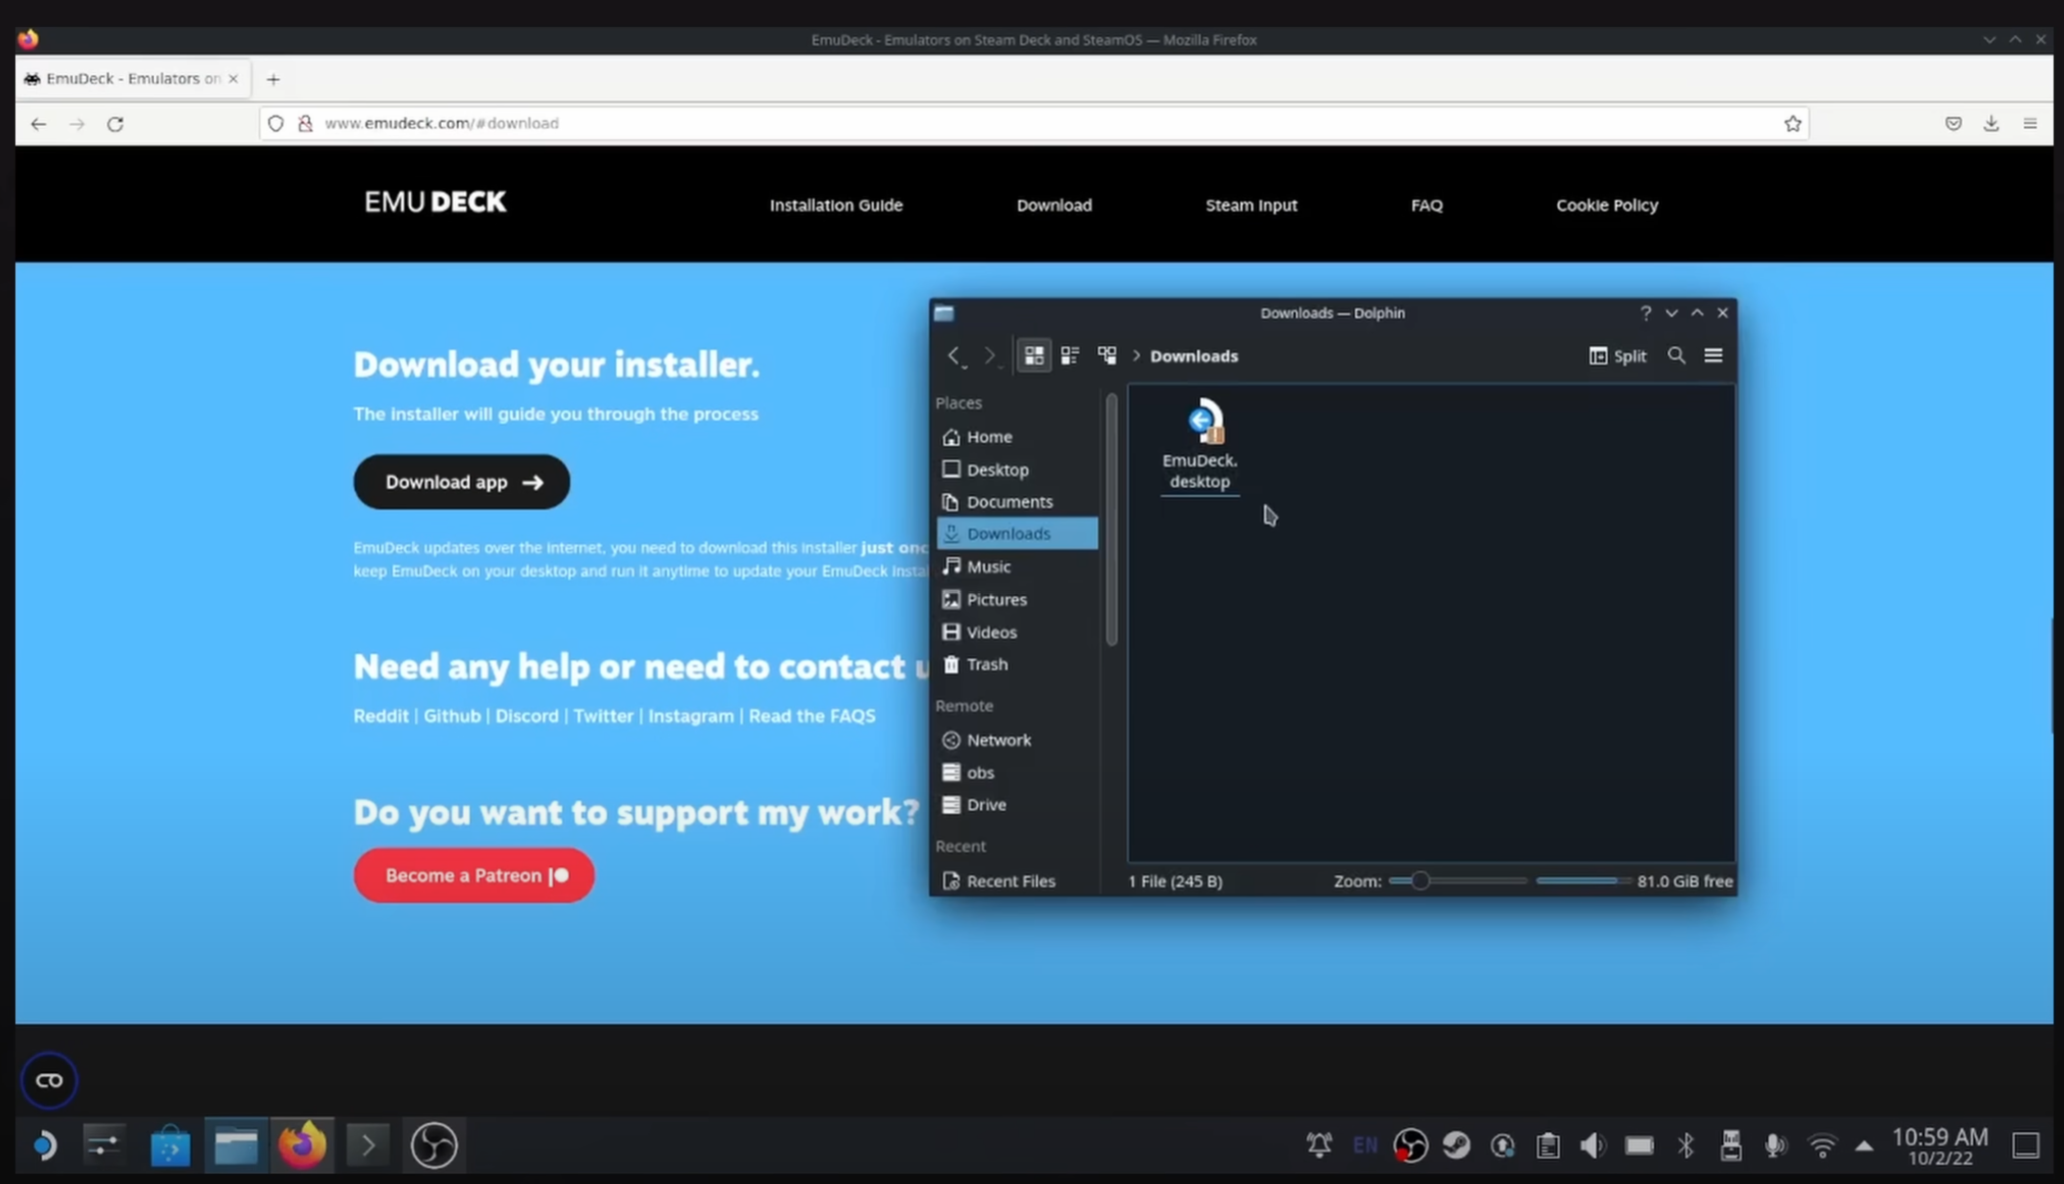
Find emudeck.desktop and then double-click it. You’ll be asked if you trust the application—go ahead and hit Execute.
This file will start the installation with a nice graphical interface. You should be asked if you want to use Easy Mode or Advanced Mode. Select Easy Mode unless you know what you’re doing.
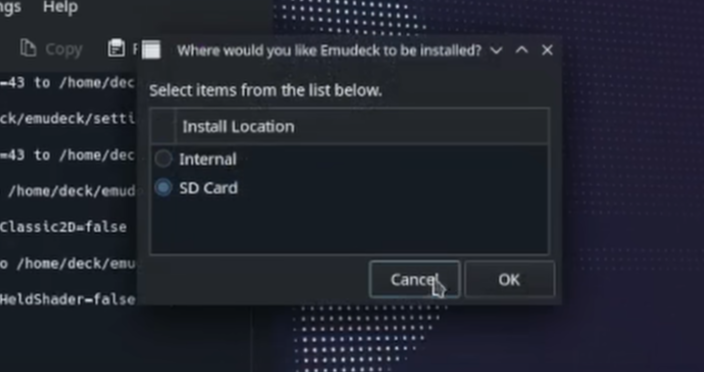
Now decide where you want to have your ROMs installed. I want my ROMs on my external drive, so I selected SD Card here.
Continue through this process and it should download all the emulators that you could ever want for the Steam Deck. Once it’s done, you should see several icons on your desktop.
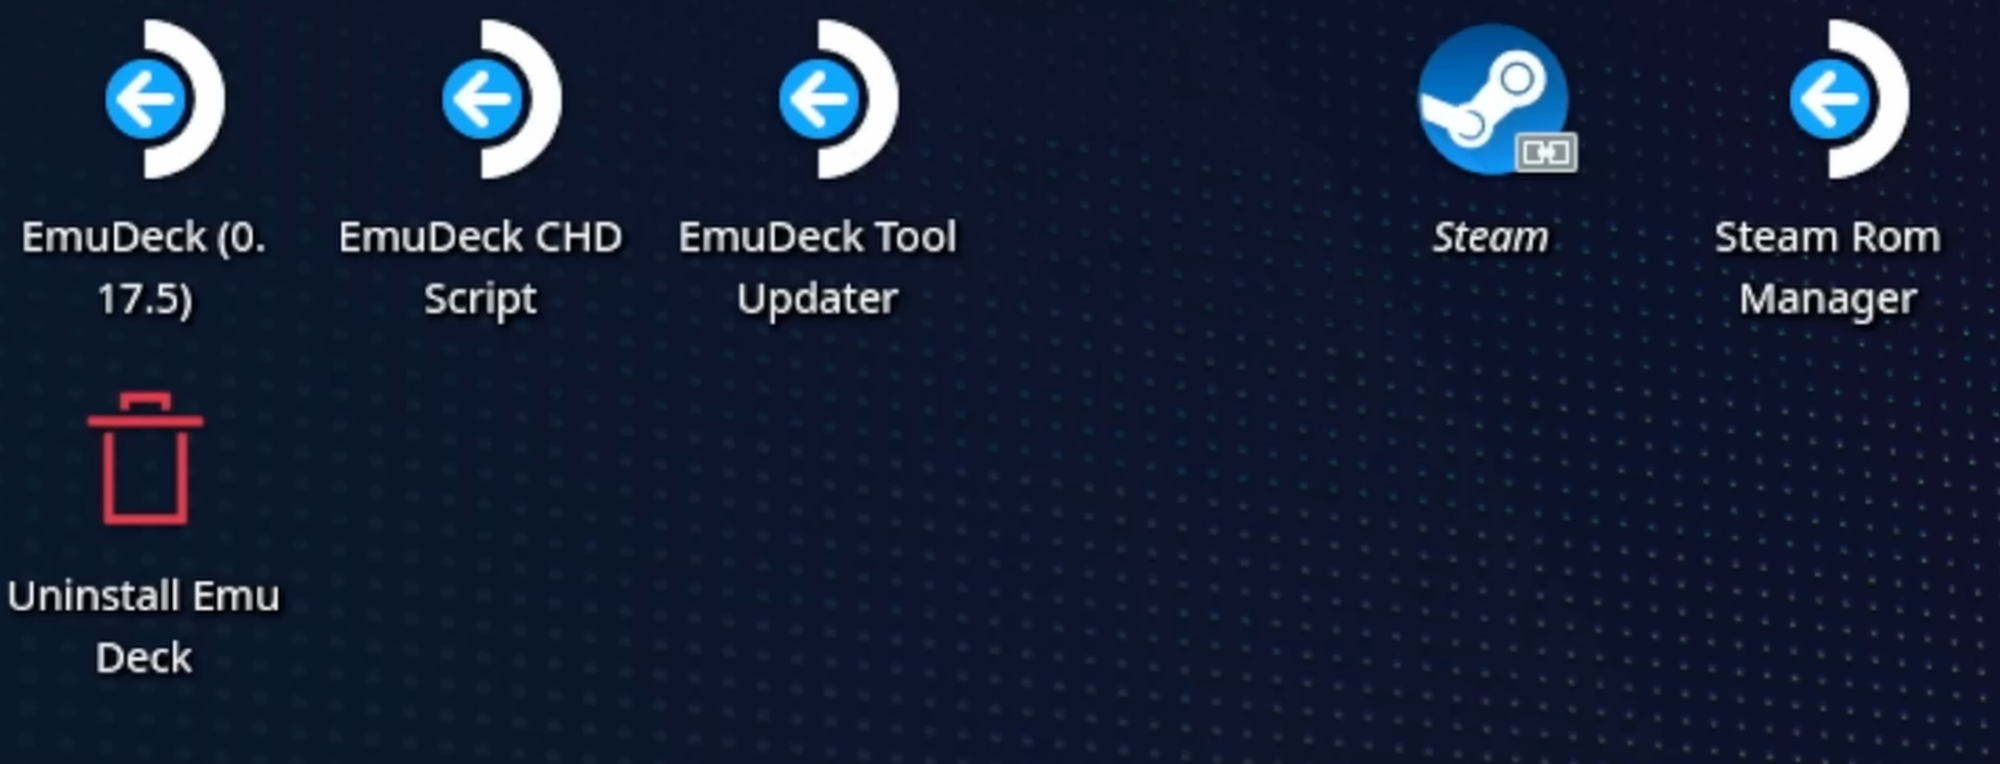
If you ever want to update EmuDeck, use the EmuuDeck Updater option.
Step 2: Getting Your ROMs Installed
This process is going to vary based on your setup. I’ve already gone through the hard part of dumping my games that I physically own onto my home server, and now I can access my server from my Deck.
So let’s navigate to the directory where EmuDeck created our directory structure. This is where we want to install our games.
- Internal Storage: Launch your File Manager and navigate to your Home folder → Emulation → ROMs.
- SD Card: Scroll down in the left bar in your File Manager, choose Primary under the Removable Devices heading → Emulation → ROMs.
Now that we’ve found our ROMs directory, let’s go ahead and choose the corresponding emulation directory.
For example, I want to copy my Shadow of the Colossus ISO to my Deck, so I go to the Emulation/ROMs/PS2 directory.
If I wanted to copy my Smash Bros Melee ISO, I would actually go into the Emulation/ROMs/GameCube folder.
Super Nintendo ROMs would go in the SNES directory, and so on.
I actually would recommend putting your games on the SD card. You can get a 1TB SD card for a reasonable price and play your emulated games without any issue.
Step 3: Add ROMs to Steam
Once you’ve gone through this process with all your games, there’s only one step left.
Close your file manager and then go to the Steam ROM Manager icon on the desktop. Double-click it, and you should now see this window.
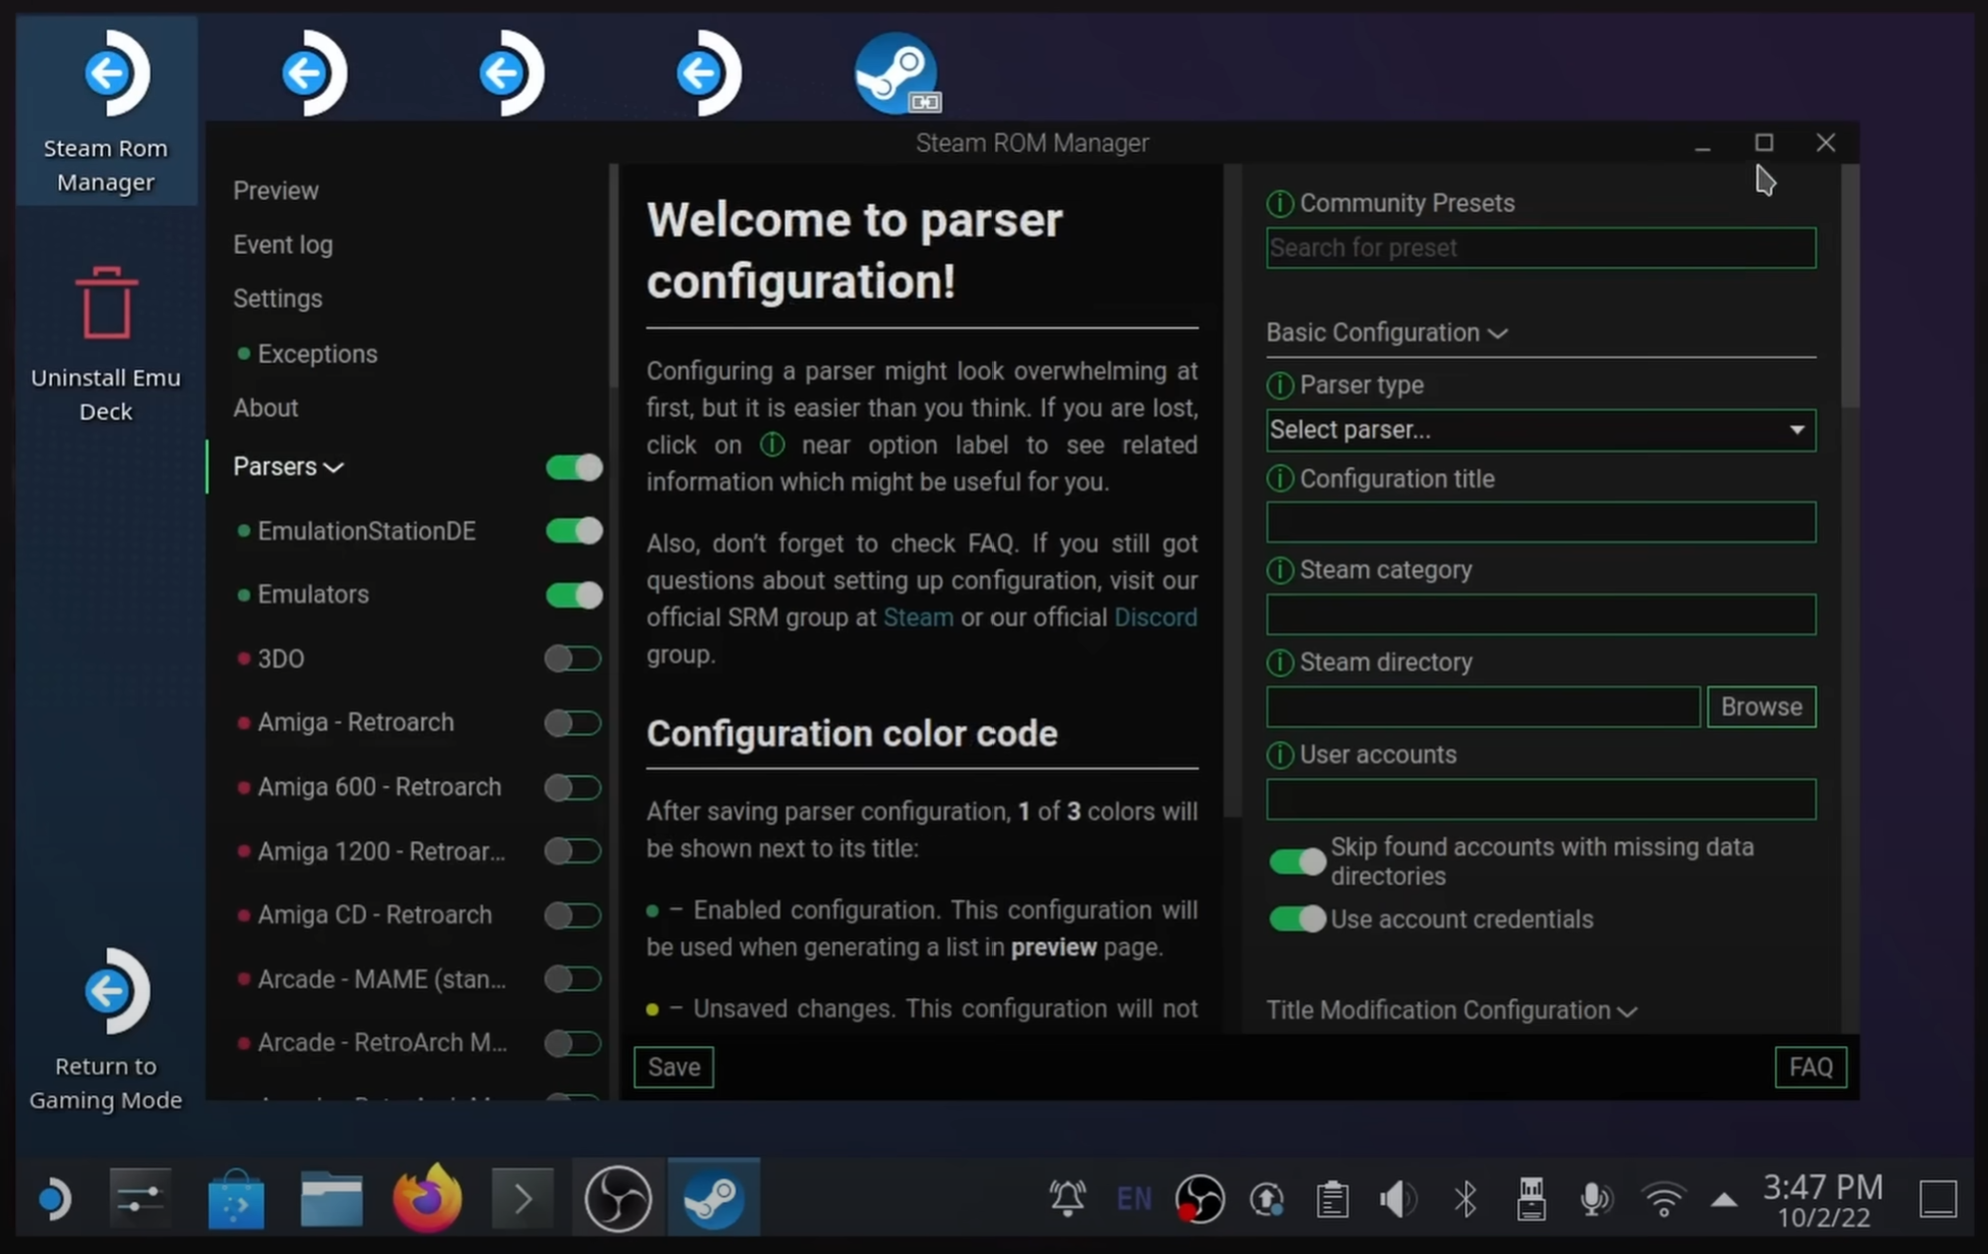
On the left, click Preview, and then at the bottom click the Generate App List button.
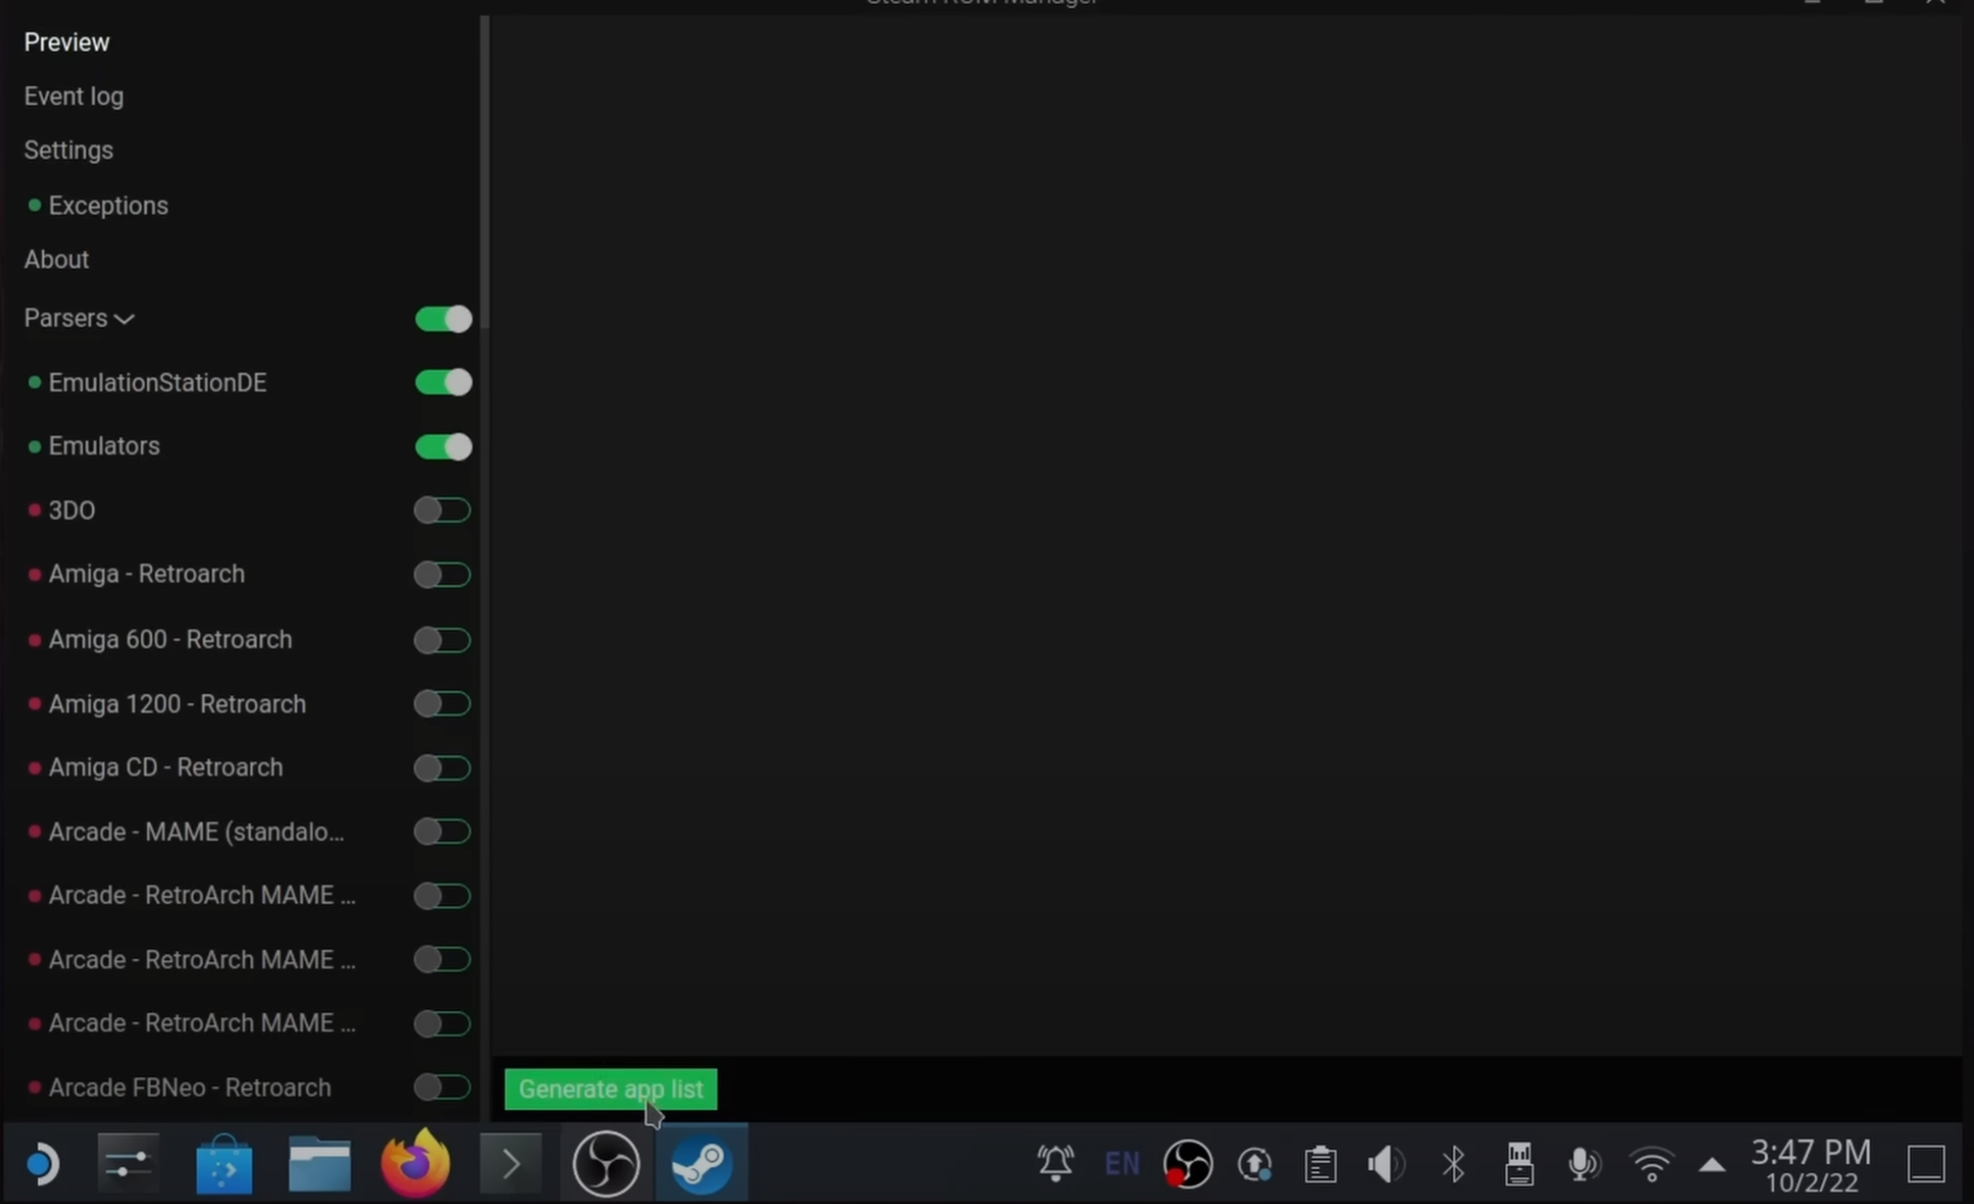
You should now see the emulators that you’ve installed as well as all the games you’ve copied over in the previous step.
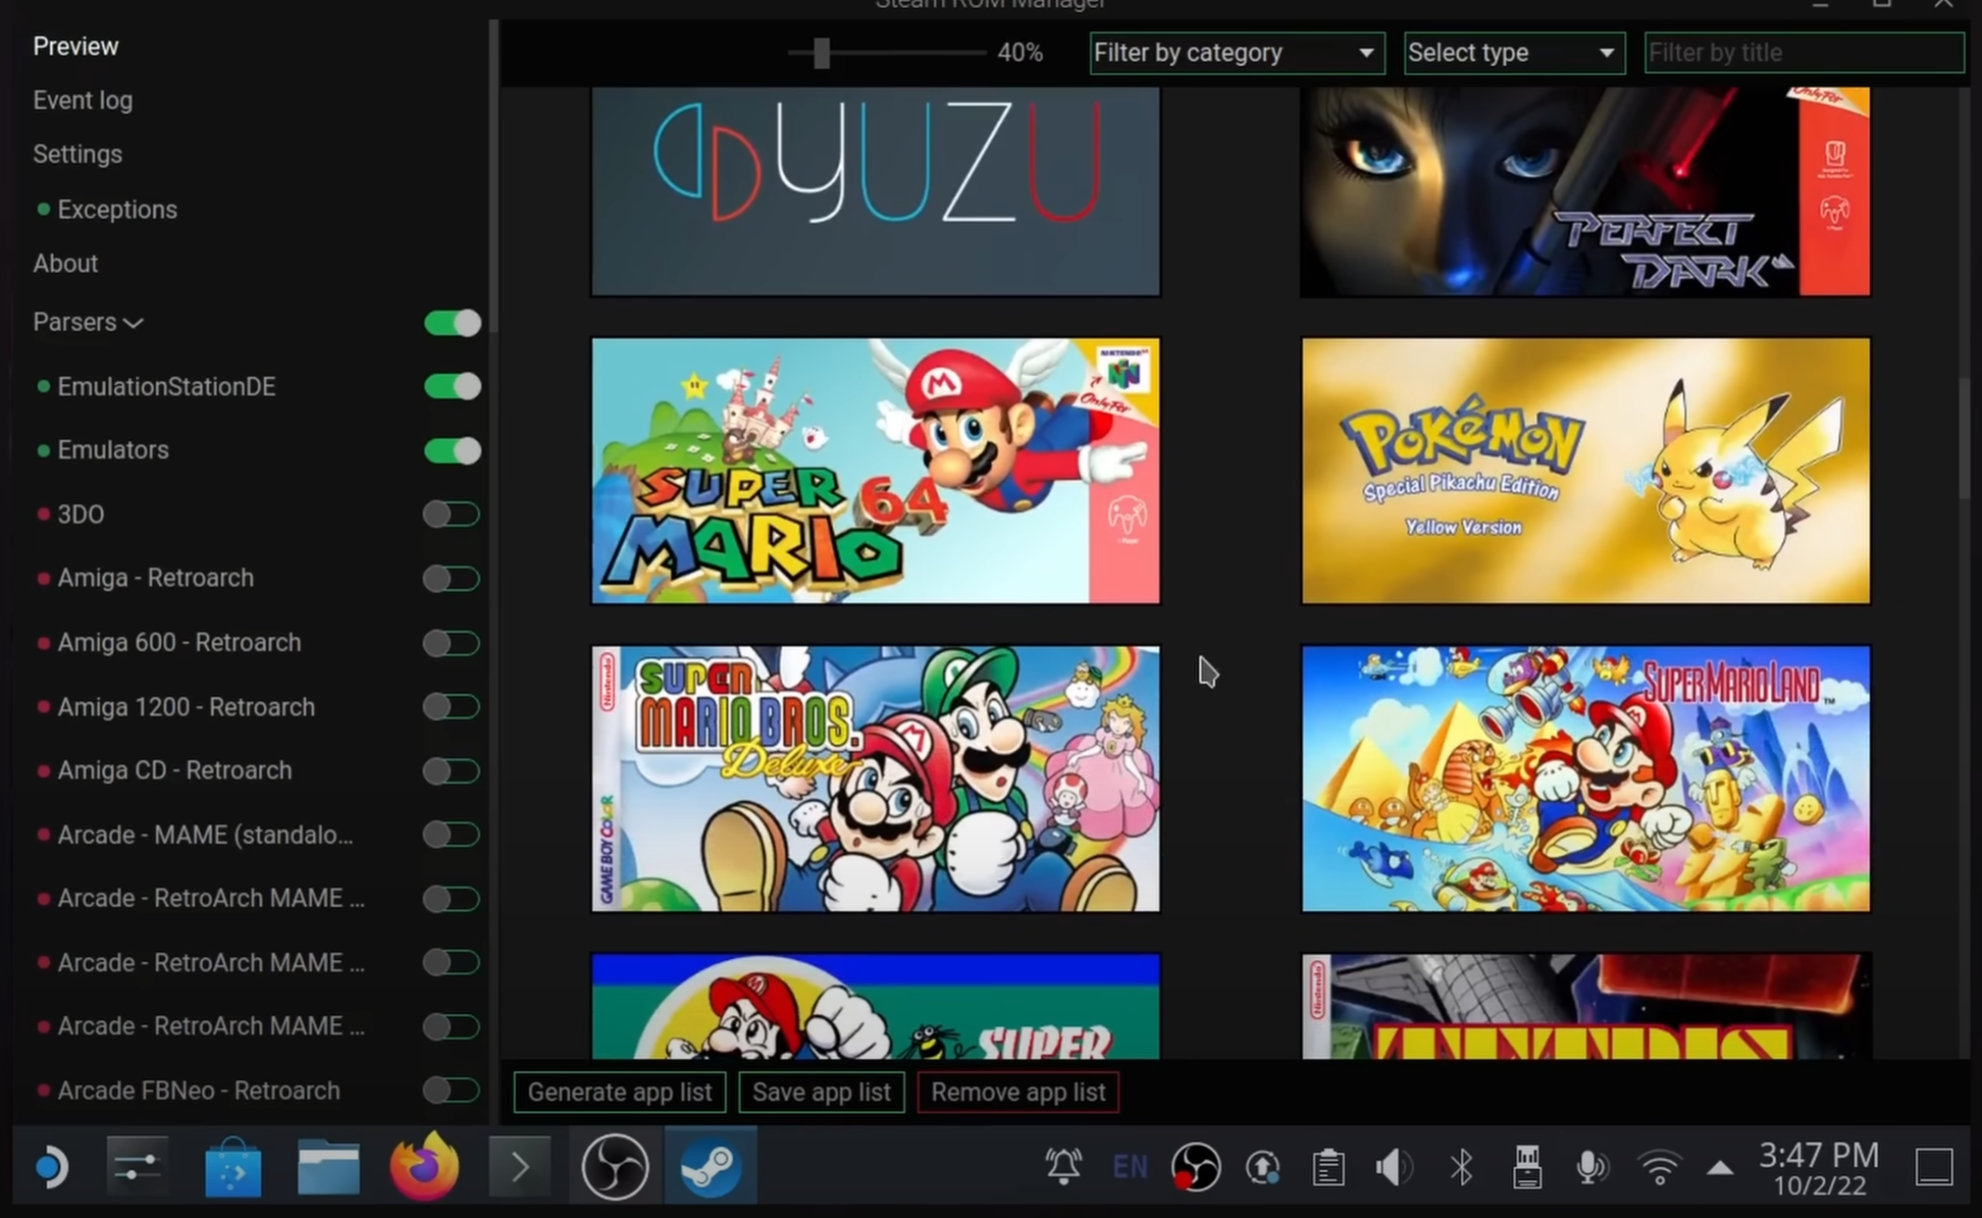
On this screen, you can go through each entry in the list and choose the cover art you’d like to see in your Steam Library. You can also use the Select Type drop-down to change the type of cover art. The Posters and Grids are two of the most common that you’ll see—primarily Posters are what’s used in the Steam Deck’s Library.
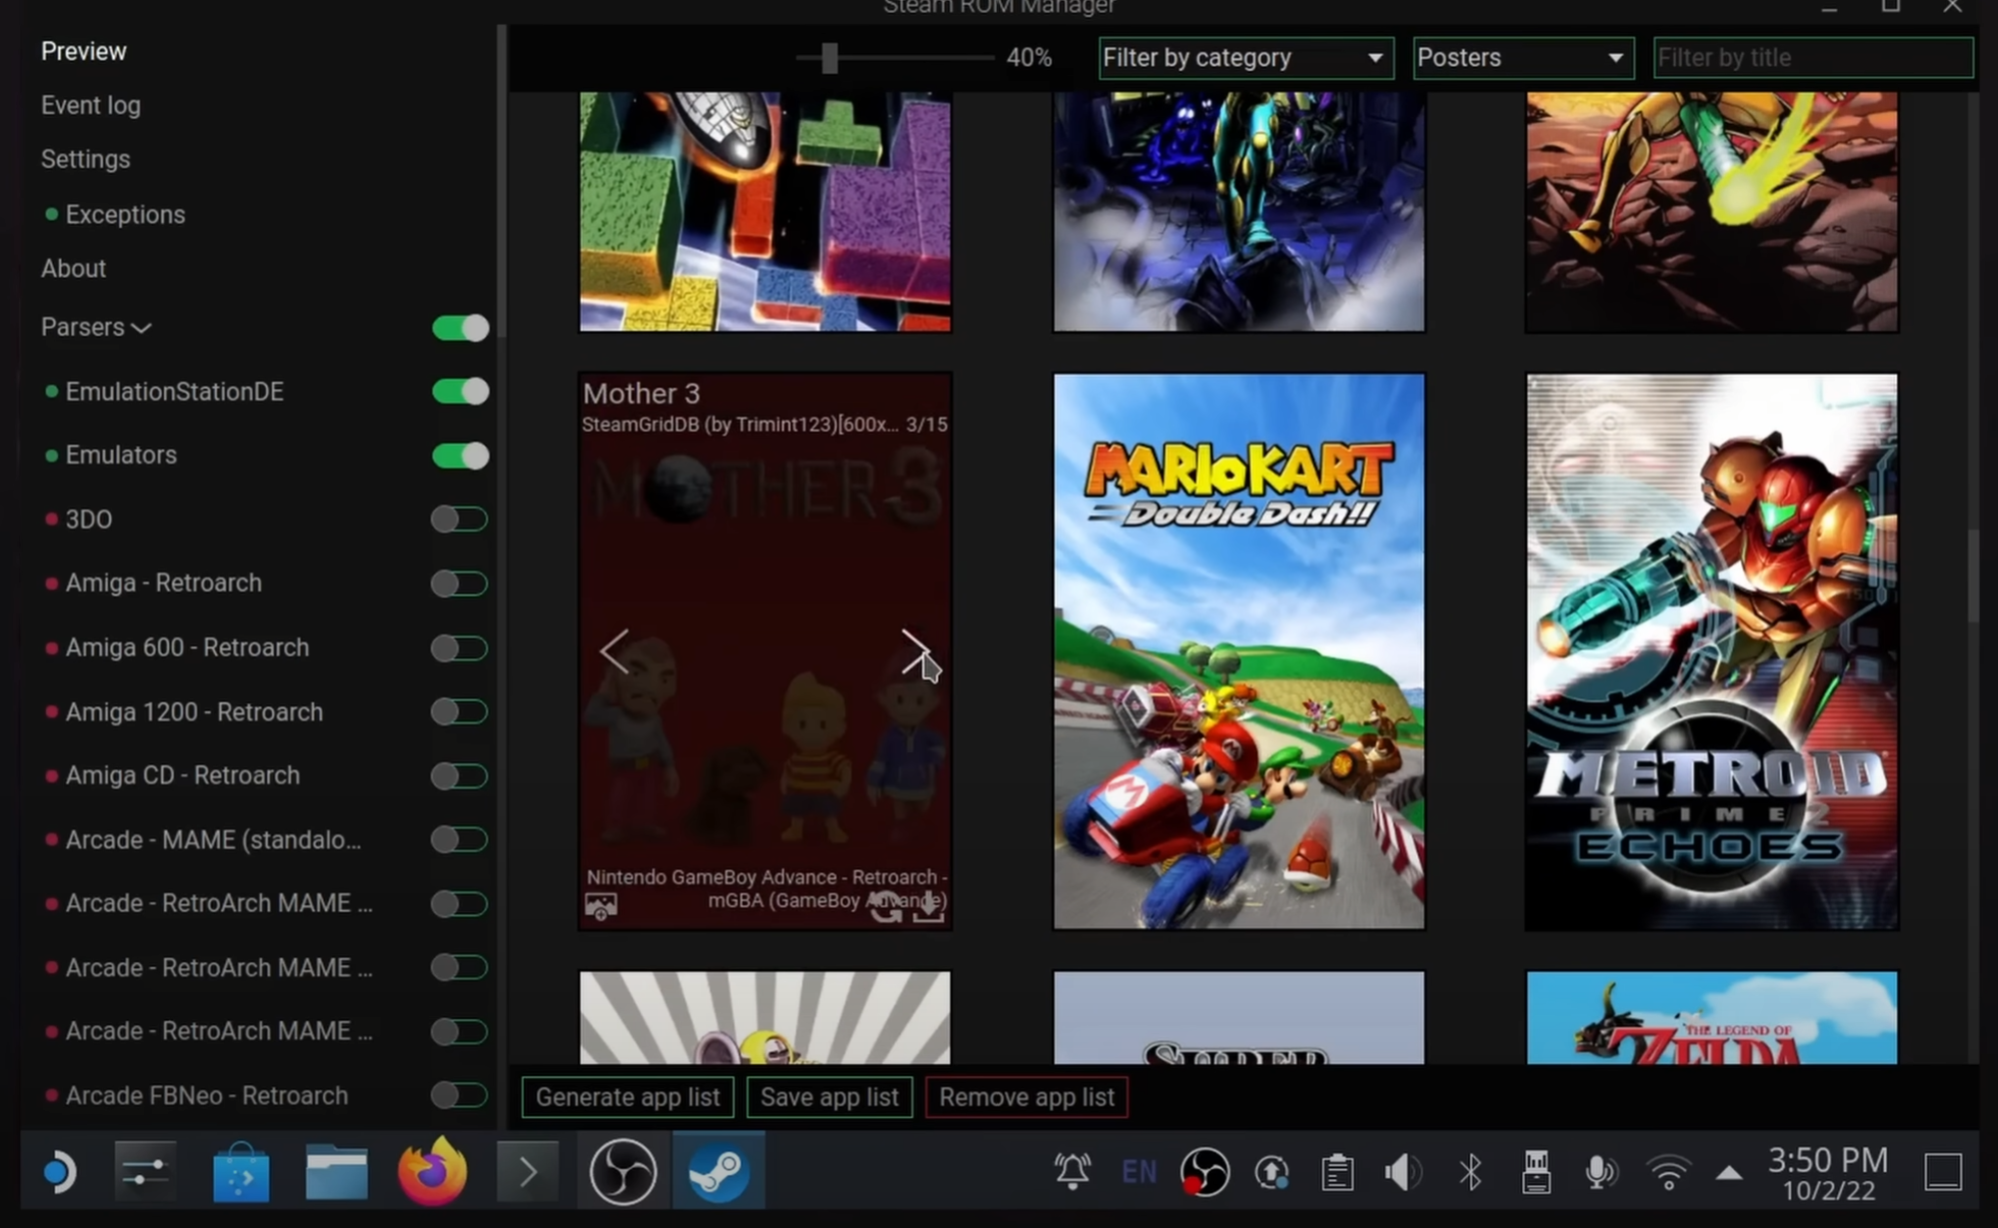
Go ahead and select whichever one looks best for you—or if you don’t care, you don’t have to worry about any of this and you can skip this step.
But you might also want to check for multiple versions of the same game. This happens because there are different emulators available for each system.
For example:
- EmuDeck comes with the standalone PPSSPP install, and it also comes with RetroArch (which has its own version of PPSSPP integrated).
- Another example would be DuckStation vs Beetle PSX for the PlayStation 1.
On the left, you should see a heading called Parsers. Go through this list and disable any emulators that you don’t want included in your Steam Library.
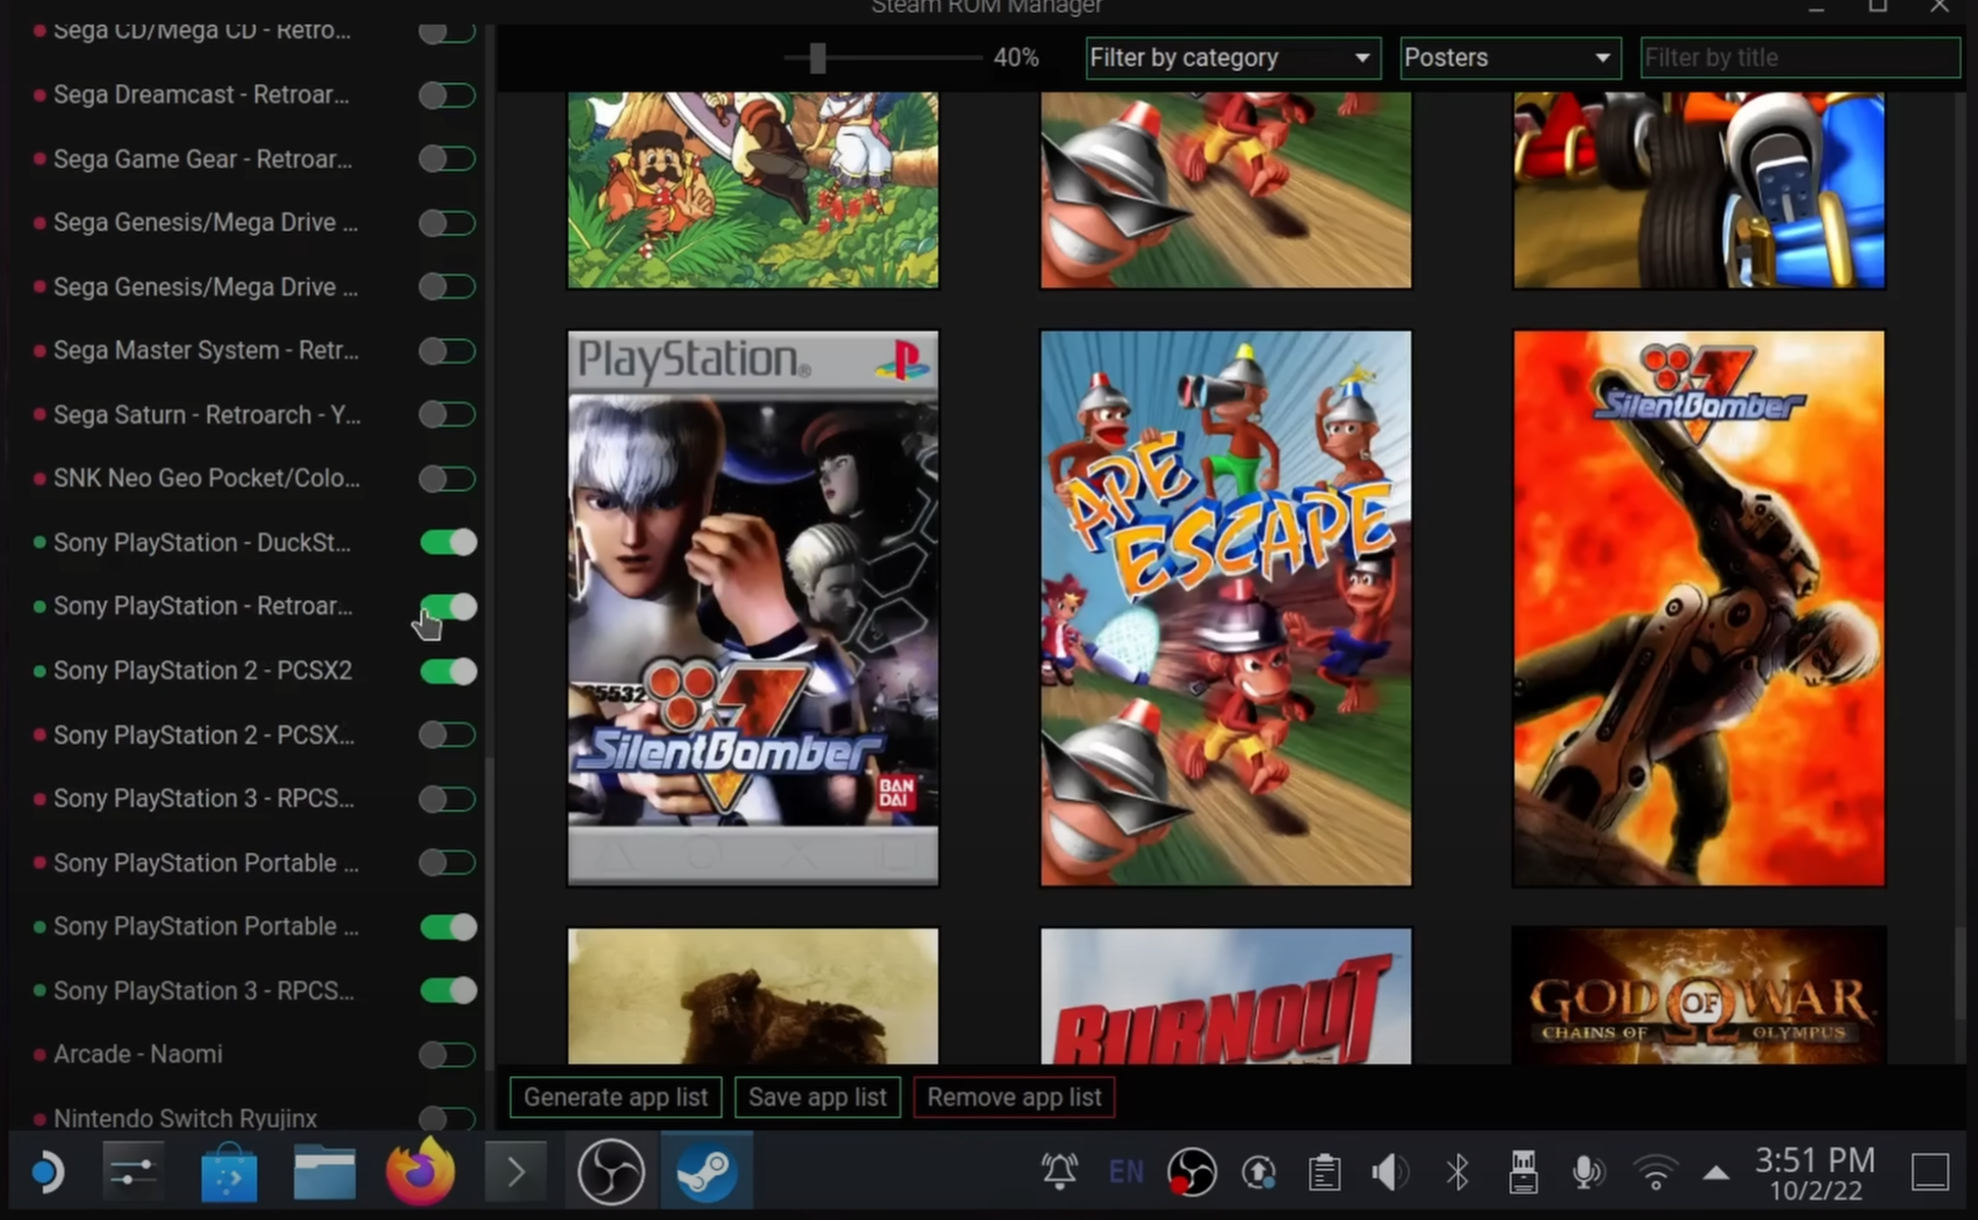
Keep in mind that if the emulator doesn’t have a game installed in its corresponding directory, then it’s actually not going to show up in Game Mode anyway.
Once you’re done, click the Save App List button—but before you do, make sure that you close Steam.
Final Steps and Game Time
Okay, so now you can head back to Game Mode. Click the Return to Game Mode icon on the desktop or open the Deck menu and log out.
Once you’re back in Game Mode, you can go to your Library and then use the R1 button until you get to the Non-Steam Game section. Here you should see all of the games that you set up using Steam ROM Manager.
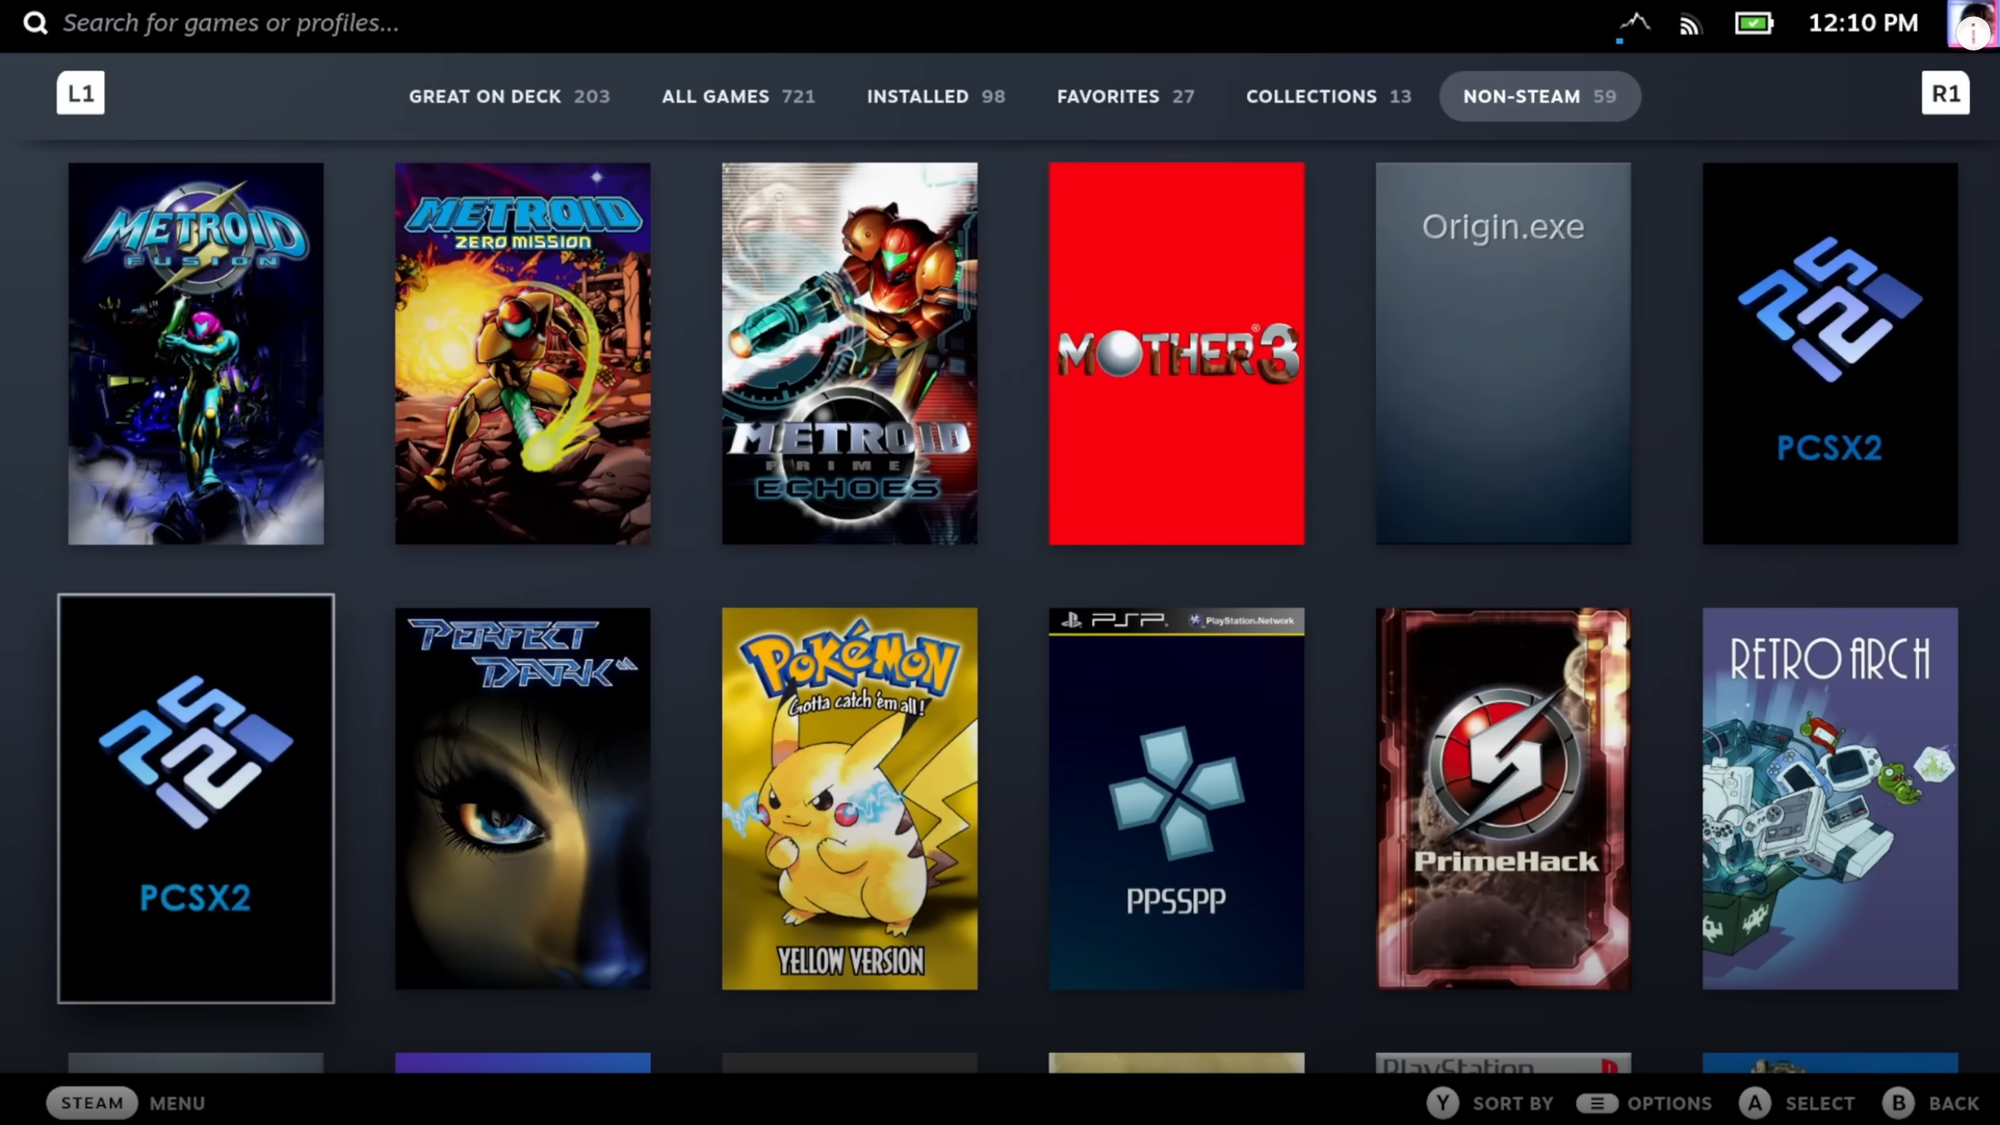
Now go ahead and give your favorite titles a spin—you’ve earned it.
Notes on Performance
I do need to mention that since this is emulation, there is no guarantee that every game is going to work flawlessly.
For example:
- Shadow of the Colossus had some serious issues in the main field, dropping to sub-40 FPS during gameplay.
- Titles like Smash Bros Melee performed great, with only a few minor hitches here and there.
Your mileage is definitely going to vary, but here’s some footage of other emulators running on the Deck to give you an idea of what’s possible:
About The Author:
Gardiner Bryant
I'm an educator, free software advocate, and storyteller. My passion lies in Linux gaming, self-hosting, the fediverse, and the human stories behind the tech we use every day. I believe in privacy, justice, community, and integrity.